Windows Security Tips: How To Protect Your Data And Privacy

Worried about hackers and viruses? You’re not alone. Our guide gives you tools and tips to keep your Windows computer safe. Learn how to guard your private info. Start now!

Essential Windows Security Settings

Windows has a built-in firewall that always works to protect your computer. This means it stops strangers from getting into your system. You must also sign in or make a Microsoft account, which helps with security.

Another big step is turning on automatic updates not just for Windows but also for Microsoft Office and all other programs you use.

Antivirus software comes already set up on Windows devices, known as Windows Defender. It looks out for bad software trying to harm your computer. Also, picking strong passwords is key—they should be like secret codes only you can understand.

Finally, stay away from illegal downloads since they can bring trouble to your device.

Next up—how to keep your files safe right where you are.

Protecting Your Data Locally

Backing up your data is essential. Establish a routine to duplicate files to an external hard drive or cloud service like OneDrive frequently. This method ensures you won’t lose everything if your computer fails.

For extra protection, apply encryption tools on confidential files. Encryption obscures the data so only individuals with the correct keys can interpret it.

Exercise caution with what connects to your computer too. USB drives from friends could carry viruses unbeknownst to them. Consistently scan these with anti-virus software prior to accessing any files.

Similarly, control visibility by setting up distinct user accounts for family members on shared computers. Following this, we explore online security measures to maintain your safety on the internet.

Online Security Measures

For online safety, use trusted browsers like Microsoft Edge. This helps you stay away from harmful sites and keeps your browsing safe. Always check for “https://” in the web address.

It means the site is secure. Avoid using public Wi-Fi for private stuff, like shopping or banking.

Keep an eye out for phishing scams. These are fake emails trying to steal your info. Don’t click on strange links or download unknown attachments. Share personal details only on secure sites you trust.

Read their privacy policies first to know how they protect your data.

Using Antivirus and Anti-Malware Solutions

Windows Security detects and stops malware in real time. It makes sure your data is safe from harmful programs. Microsoft Defender, built into Windows 10 and 11, checks for threats often.

You can use it without adding any other software.

There’s also Microsoft Defender Offline for deeper checks. Use it to find malware that is hard to catch when Windows is running. This helps keep hackers away and prevents them from stealing or harming your files.

Always choose real content over pirated versions to reduce the risk of getting malware.

Advanced Windows 10 Privacy Features

After setting up antivirus and anti-malware tools, it’s vital to dive deeper into privacy features. Windows 10 offers several ways to keep your information safe. You can stop ad tracking, which stops companies from watching what you do online.

Go to Settings, click on Privacy, then General to turn this off. If you don’t want your location known, you can stop that too in the Privacy menu under Location.

Switching from a Microsoft account to a local one gives more control over personal data.

You should also consider managing how Windows 10 keeps track of your activities. Turn off Timeline by going into the Privacy settings and hitting Activity history. This stops Windows from saving a record of files and apps you’ve opened.

For even tighter control over what gets shared, use Microsoft’s Privacy Dashboard online—it shows more about what Microsoft knows about you and lets you delete it if needed.

Protecting Privacy on Different Windows Versions

Different Windows versions need different privacy steps. For Windows 10, switch to a local account from a Microsoft account for more privacy. This stops Microsoft from getting your data like browsing history and location.

Turn off diagnostic data sharing too. In Windows 7 and 8.1, focus on controlling which apps can see your personal info like photos or documents.

Always update your operating system, whether it’s Windows 7, 8.1, or 10. Updates fix security risks that could leak private information online. Use built-in tools like File Explorer to check app permissions and make sure only safe apps can access important stuff.

Next, we’ll talk about how you can avoid threats like phishing scams and secure your home network for even better protection.

Safe Computing Practices

Safe computing means staying alert online. Avoid tricks from scammers and make sure your Wi-Fi is locked down tight.

Avoid Phishing Scams and Suspicious Links

Phishing scams trick you into giving away personal info. They often use fake emails or websites.

  1. Check email sender addresses closely. Phishers use addresses that look like they’re from real companies but have small mistakes.
  2. Look for spelling and grammar errors in emails or messages. Real companies rarely send out messages with mistakes.
  3. Be wary of emails asking for personal or financial information. Banks or credit card companies usually don’t ask for this info via email.
  4. Notice if the message creates a sense of urgency, like saying your account will be closed unless you act quickly. This is a common trick in phishing attacks.
  5. Use anti-malware programs to block phishing attempts and malicious websites.
  6. Turn on two-step verification for extra security on your accounts. This makes it harder for identity thieves to access your info.
  7. Don’t click on links in suspicious emails or messages, especially those claiming to be from social networks, online stores, or banks.
  8. Always check the web address before entering sensitive information to make sure it starts with “https,” which means it’s secure.
  9. Keep your computer and mobile devices updated with the latest security patches and updates.

Next, we’ll discuss how to secure your home network to keep your data safe.

Secure Your Home Network

Securing your home network is crucial to protect your data. It keeps hackers out and your information safe. Here’s how:

  1. Change the default username and password on your router. Hackers know these defaults, making it easier to break in.
  2. Use a strong password for your Wi-Fi network. Combine letters, numbers, and symbols.
  3. Enable network encryption. WPA2 or WPA3 provides strong protection.
  4. Keep your router’s firmware up to date. This fixes security loopholes.
  5. Turn off Wi-Fi Protected Setup (WPS). It has vulnerabilities that can be exploited.
  6. Disable remote management of your router over the internet. This prevents outsiders from accessing your router’s settings.
  7. Create a guest network for visitors. This keeps your main network more secure.
  8. Use a virtual private network (VPN) on all devices when online shopping or banking.
  9. Regularly check for unknown devices connected to your network.

Next, let’s talk about avoiding phishing scams and suspicious links to keep safe online.

Data Protection Strategies

Keeping your data safe is key. Back up often and choose cloud storage carefully.

Backup Your Data Regularly

Backing up your data saves you from losing it all. It keeps your files safe if something goes wrong.

  1. Choose the right tool like FileVault for a full system backup.
  2. Set up auto backups weekly through Windows Update settings.
  3. Keep copies of important files on a flash drive as well.
  4. Use cloud services like OneDrive, but understand how to manage privacy settings.
  5. Make sure to encrypt your backup with secure passwords or decryption keys.
  6. Always check that backups work by restoring a small file.

Next, learn how to safely use external devices.

Use Cloud Services Wisely

After backing up data, choosing cloud services smartly is key. Cloud platforms like Google Drive and Dropbox offer space for files and photos. But, be careful. These services access a lot of info.

For better safety, pick services with strong encryption methods like SSL certificates or openPGP. This keeps data safe during transfers.

Also, read their privacy policies to know how they handle your information. Avoid storing sensitive details such as credit card numbers on these clouds unless necessary. By doing this, you reduce risks of identity theft and data breaches that happen online.

SmartWindows

Restore Browser Tabs with SmartWindows. It maintains an active tab history and restores browser size as well as display position on one screen or many.

Conclusion

Keep your computer safe. Use the built-in firewall. Always update Windows and apps. Install antivirus software for extra protection against bad software. Make strong passwords to keep hackers away.

Turn off ad tracking and manage location settings for more privacy. Back up your data often, just in case something goes wrong. Follow these tips to protect your information and stay secure online.

How to Change Windows 11 Default Browser – Useful Guide

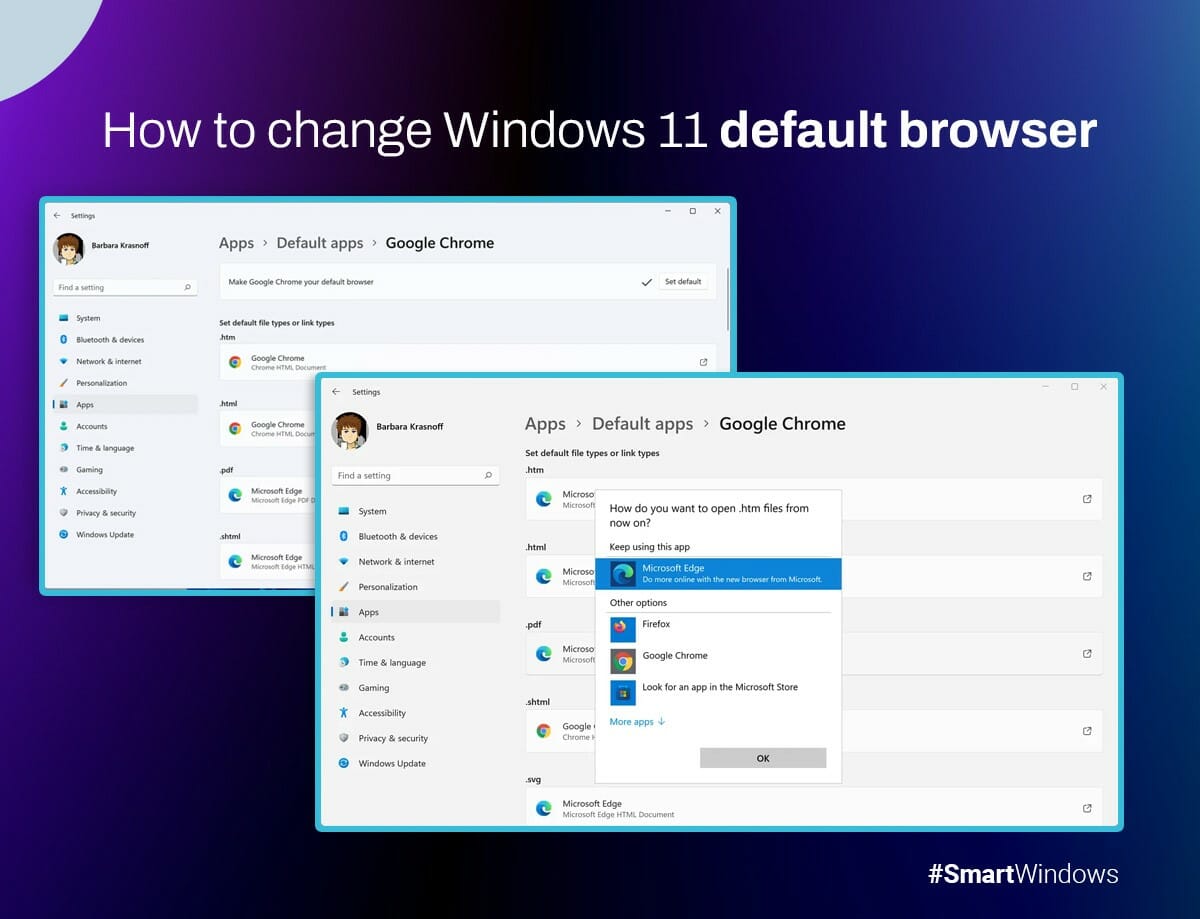
Microsoft’s most current Windows 11 is different from past versions thanks to a number of brand-new features and an improved user experience. The default browser in Windows 11 is one of the significant changes.

Users can still alter their browsing experience despite this change by setting their favorite browser as the default one. This enables people to easily use the functions and features of their selected browser while browsing the internet without any issues. This article will walk you through the quick process to answer your question about how to change the default browser in Windows 11.

  1. Download and Install Your Preferred Browser 

To change the default browser in Windows 11, the first step is downloading and installing the preferred browser. You can download the browser from the browser’s official website or from Microsoft Store if it is available there.

  1. Launch the Settings App

Launching the Settings app is the next action. You can achieve this by selecting the Start menu, followed by the gear symbol. Or, you can launch the Settings app by pressing the Windows key + I.

  1. Navigate to the Apps Section

In the window settings, click on the “Apps” section. Here, you can manage all the applications installed on your system.

  1. Select the Default Apps

Next, select “Default apps” from the menu to bring up a list of default applications set on your system.

  1. Choose the Preferred Browser to Set as Default

Under “Web browser,” you will see the current default browser (most likely Microsoft Edge). Click on it and select the preferred browser set as your default browser.

  1. Test the Default Browser

Open a link or a web page to test if the default browser has been changed. The link or web page should open in the browser you set as the default.

Troubleshooting Methods

Changing the default browser in Windows 11 is a straightforward process, but if you still run into some trouble, don’t worry! To repair it, you can still attempt a few troubleshooting methods.

  • Check if the browser that needs to be set as the default is already installed on your computer before making the change. The browser can be downloaded and installed from its official website or, if available, the Microsoft Store.
  • You can try restarting your system and changing the default browser again. Sometimes, restarting your system can fix issues related to default applications.
  • The antivirus software running on the computer can also cause a problem in changing the default browser. Some antivirus software can block the default application settings from being changed. In this case, you can disable your antivirus software temporarily and then change the default browser again. If disabling the antivirus software resolves the issue, you can contact the software vendor for further assistance in resolving the conflict between the antivirus software and Windows 11.
  • You can reset the default program settings in Windows 11 if the preceding methods didn’t eliminate your problem. Launch the Settings app, then complete this in the “Apps” area. Afterward, choose “Default apps” from the left-hand menu and then click “Reset” next to “Reset to the Microsoft recommended defaults.” After doing this, the default program settings will all be restored to their suggested defaults You may then try setting the default browser again.

Conclusion

You might wonder “Why Microsoft Edge is the default browser in Windows 11.” It’s because Edge has been optimized for Windows 11 and offers various new features, including vertical tabs, web capture, and new themes. Nevertheless, don’t worry if you prefer a different browser to Microsoft Edge. Following the steps outlined above, you can easily change the default browser in Windows 11. Simple measures can be taken to complete the procedure because it is uncomplicated.

If you want to experience productivity boost, you can try SmartWindows. With its advanced capabilities, SmartWindows allows for efficient organization of desktop displays, restoring preset display arrangements, and supporting multiple browsers and Microsoft Office files. By using SmartWindows, users can effectively restore browsers and perform tasks to boost productivity. This ultimately results in a more productive and efficient computing experience.

SmartWindows

Restore Browser Tabs with SmartWindows. It maintains an active tab history and restores browser size as well as display position on one screen or many.

FAQs

How to set default browser Internet Explorer 11 in Windows 11?

  • Go to “Default apps settings” from the Start menu search.
  • Scroll down to “Web browser.”
  • Click on the current default browser.
  • Select “Internet Explorer” from the list.
  • Close the settings window.

Does Windows 11 allow Chrome as default browser?

Yes. You can set Google Chrome as your default browser in Windows 11. When you install Chrome, it’ll ask you if you want to make it your default browser. If you missed that, you can still set it as your default browser by going to the “Default apps settings” and choosing Chrome. 

How do I find my default browser?

  • Click on the Start menu.
  • Type “default apps” in the search bar and click on “Default apps settings” from the search results.
  • Scroll down to the “Web browser” section. The name of your default browser will be displayed there.

Or you can try opening a web link or clicking on an HTML file. Your default browser should automatically open to handle the task.

Google Chrome – How to Save Bookmarks in Chrome?

How to Save Bookmarks in Chrome?

Have you ever found a webpage/website that you want to read later? While researching for a new project or working on an assignment, we often found some relevant website pages that could be useful for a longer time. Or you might love a blog post and want to save it to read anytime again. Bookmarks are a great way to save specific websites so you could revisit them whenever you want. In this article, we will see “How to save bookmarks in Chrome?”

Google Chrome is a favorite browser for many of us. We can use its various features according to our convenience and work habits. Bookmarking is also a useful feature in Google Chrome that allows us to view the webpage later. You can save all important links and websites as bookmarks to view or read them whenever you want. 

So let’s see how to save, manage, and export Chrome bookmarks.

How to Save Bookmarks in Google Chrome?

You can save any webpage as a bookmark you are currently viewing. Follow the steps below.

  1. Navigate to the Omnibox.
  2. Click the star icon to save the current page as a bookmark. You can also use the shortcut key “Ctrl+D” on your keyboard to bookmark the page.
  3. A dialog box will appear. Name the bookmark and click ‘Done’. The page will be saved as a bookmark in the Bookmarks bar.

Save your bookmarks in Google Chrome with these easy steps and open them whenever needed. 

How to Open Bookmarks?

There are three ways to open saved bookmarks in Google Chrome.

The Bookmarks Bar

Just below the Omnibox, you can see the bookmarks bar where all individual bookmarks could be seen. Select the one that you want to open. 

Address Bar

Start typing the bookmark name in the address bar, and you will see suggestions matching the text. Click the one that has a star icon on it and the page will open.

Chrome Menu

Click on the Chrome menu at the top right corner. You will see the option of “Bookmarks”. Click it and choose the one you want to open.

How to Manage Bookmarks?

Bookmark Manager can be used to make use of bookmarks easy.

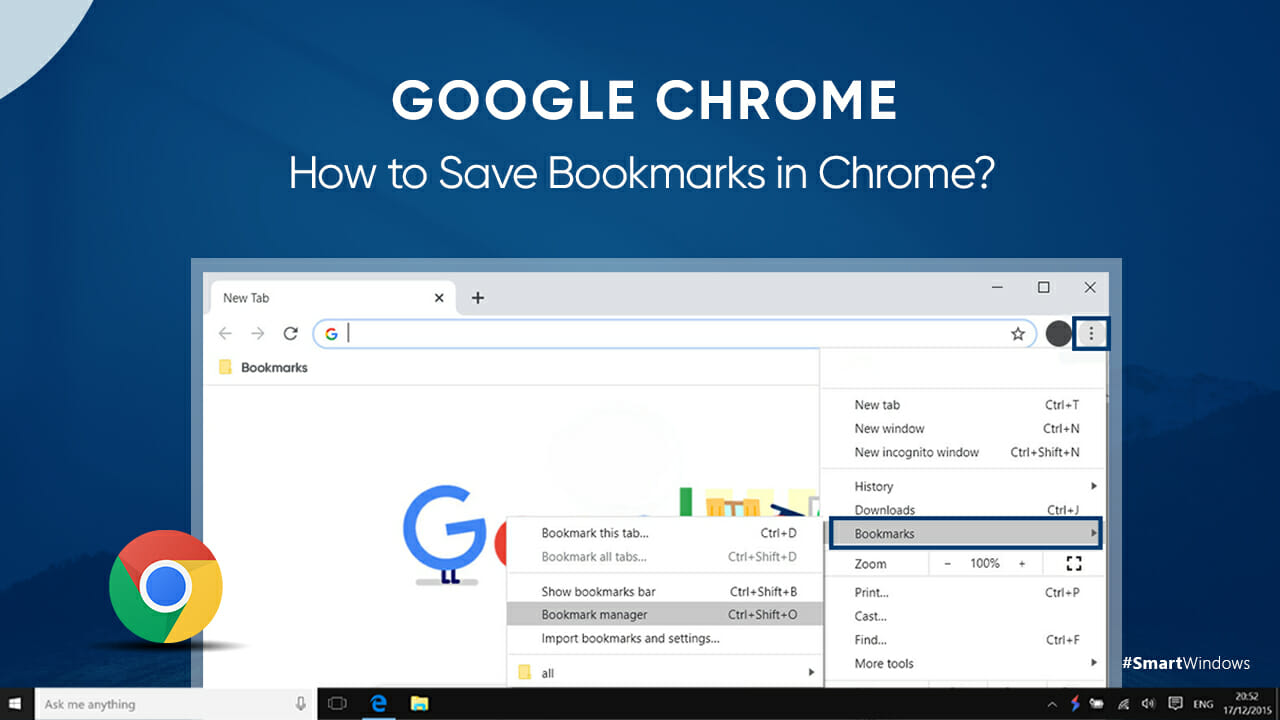
  1. Open the Bookmarks Manager. For this, click the Chrome menu in the top right corner. 
  2. Hover over Bookmarks and select the option “Bookmarks Manager”. You can also use the shortcut key “Ctrl+Shift+O”. Here you can organize all your bookmarks. You can find your bookmarks, delete them, or make folders. 

Managing bookmarks is important to keep track of all the important information. Organize tabs by creating folders against each project. 

How to Export Chrome Bookmarks?

Exporting bookmarks can help you use all the bookmarks on a new computer. While exporting bookmarks, the HTML file is created with the name bookmark.htm. This file can be saved to the ‘Documents’ folder. You can change the file anime and location.

Follow the steps below to export and save your bookmarks.

  1. Open Google Chrome. Go to the menu at the top right corner and hover over ‘Bookmarks’.
  2. Hover over ‘Bookmarks Manager’. 
  3. Click on the three-dot icon at the top right corner.
  4. Select ‘Export Bookmarks’.
  5. Select the location and name the file to save bookmarks.

You can export the bookmarks to get them all on your new computer. 

Save your Bookmarks with SmartWindows!

What is SmartWindows?

SmartWindows is a productivity app for Windows 10 and 11 that allows users to work efficiently with its app auto-restoration feature. SmartWindows offers support for browsers that allows you to auto-restore the closed tabs with a single click. You can create unlimited work zones and save the display setting with SmartWindows. The next time when you open the computer, just go to the SmartWindows icon and select profile to restore the screen configuration. The apps will be restored at the exact same location and with the same window size as you saved the last time. 

SmartWindows saves time opening and arranging apps every time before getting started to work. You can create unlimited work zones and save the screen settings to restore whenever you want. Another amazing feature of SmartWindows is its multi-browser support. The feature allows users to reopen closed tabs with one click. SmartWindows remembers the URLs and maintains an active tab history. On restoration, the tabs restore in exact same order as they were opened previously. 

Keep your Tabs Open!

SmartWindows supports multiple browsers which include Google Chrome, Microsoft Edge, and Mozilla Firefox. Instead of bookmarking the browser tabs with the fear of losing the important websites or web pages, you can just keep the tabs open in your browser.

One of the most common problems that users face while keeping a dozen tabs open in the browser is the slow PC performance. SmartWindows addresses this issue by allowing users to create unlimited profiles. Each profile can be dedicated to a specific project or assignment. You can open the browser windows in each profile to efficiently manage your work, study, and entertainment activities. Separate work zones for each activity ensure optimized PC performance. 

SmartWindows brings you the ultimate solution for keeping your tabs open without any PC performance issues. All you need to do is save the profile in SmartWindows and restore it whenever you want. The tabs opened in the browser help you in easy look-up and instant access whenever you want. So, instead of bookmarking the tabs and managing them, keep all your favorite websites and links open in the browser window and save them using SmartWindows. Restore with a single click whenever you want. 

SmartWindows

Restore Browser Tabs with SmartWindows. It maintains an active tab history and restores browser size as well as display position on one screen or many.

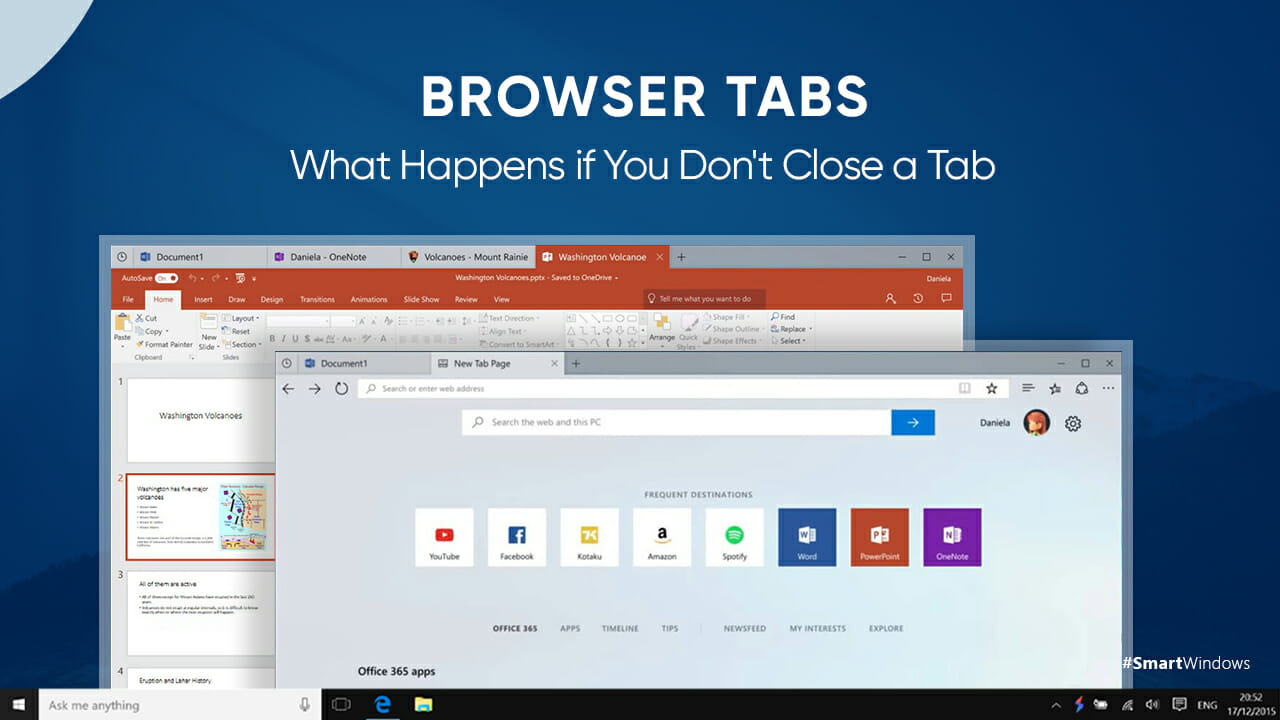
Browser Tabs – What Happens if You Don’t Close Tabs

What Happens if you don't close a tab

Does your Windows lag when you have too many tabs opened in your browser?

This is the case with many of us. The Windows freezes when the browser has some tabs opened. It becomes difficult to switch between tabs or the apps on your desktop. Ultimately, you end up wasting so much of your precious time on a daily basis.  

Just like we check our calendar or email regularly during the day, it seems convenient to keep the browser tabs open throughout instead of typing web addresses again later. Similarly, you cannot bookmark a dozen tabs daily and remain your tabs open. As a result, the system starts lagging and you face difficulty in getting your work done on time.

What Happens if You Don’t Close Tabs?

What happens if I don’t close my tab?

If you don’t close the browser tabs, every function on your PC starts becoming slower and slower. Your PC can manifest in different ways which include:

  • File conversion and saving documents take longer.
  • Program opens and closes slowly.
  • Heavy applications such as games and graphic apps stutter and delay.
  • The operating system takes too long to shut down.
  • File writing and window error messages start appearing on the screen.
  • Graphics take time to load and their frame rates start to drop.
  • Peripherals such as printers connected to your PC do not function properly.

If you are facing any of these issues due to a dozen tabs opened in your browser, you must look for some other way that saves your tabs and ensures the robust performance of your PC. 

Save the Tabs for Later!

If you are working on some important research and have opened some interesting websites and important articles in sorted form, you would definitely not close them with the fear of losing all of them. Unfortunately, if you leave the tabs open, the desktop apps start lagging. One way is to close the tabs and restore them manually through your browser settings whenever you need them. However, there is one smarter way of doing it!

SmartWindows – Restore Browser Tabs with One Click!

SmartWindows is a Windows productivity app available for Windows 10 and 11 that allows users to work efficiently and maximize their productivity at work. One of the best features of SmartWindows is its capability of remembering the browser URLs. It keeps an active tab history and allows users to restore the entire browser window with a single click. Not only this, the app remembers the window positioning of your browser on the desktop screen and rearranges windows at the exact same position and window size.

Optimize your Desktop Performance 

SmartWindows is a smart solution to deal with the lagging issue of your desktop due to open tabs. Instead of opening hundreds of tabs of different projects on one browser, go for creating separate displays or profiles on your Windows. A dedicated profile not only helps you work in an organized manner but also ensures seamless workflow and optimized performance of your PC. 

With SmartWindows you can create unlimited profiles and up to 6 displays. Name each profile according to your project and manage the work files and browser data in each profile separately. The browser bandwidth gets distributed in different profiles and ultimately you can avoid lagging issues on your PC. 

How to Restore Browser Tabs?

Restoring browser tabs is easier with SmartWindows. 

  1. Open the tabs you are working on.
  2. Click on the SmartWindows icon in the icon tray.
  3. Click on ‘Create Profile’ and name the profile.
  4. Click ‘Save’. This will save the entire state and display configuration of your desktop screen.

SmartWindows

Restore Browser Tabs with SmartWindows. It maintains an active tab history and restores browser size as well as display position on one screen or many.

Now when you close a session on a browser, you can automatically restore it using SmartWindows. Open your PC, click ‘Restore’ in your SmartWindows profile, and the browser window will restore all the tabs in exactly the same order as you saved the last time.

SmartWindows eliminates the overhead of remembering steps to restore browser tabs in different browsers. Get your entire browser window restored with a single click!

Conclusion

It is always important to use your PC smartly to avoid any overburden that can ultimately affect the performance. With one click, you can restore the browser tabs automatically. SmartWindows allows you to work efficiently by creating different profiles for different projects. In this way, you can optimize your system performance. 

Google Chrome – How to Hide Tabs in Chrome?

how to hide tabs in chrome

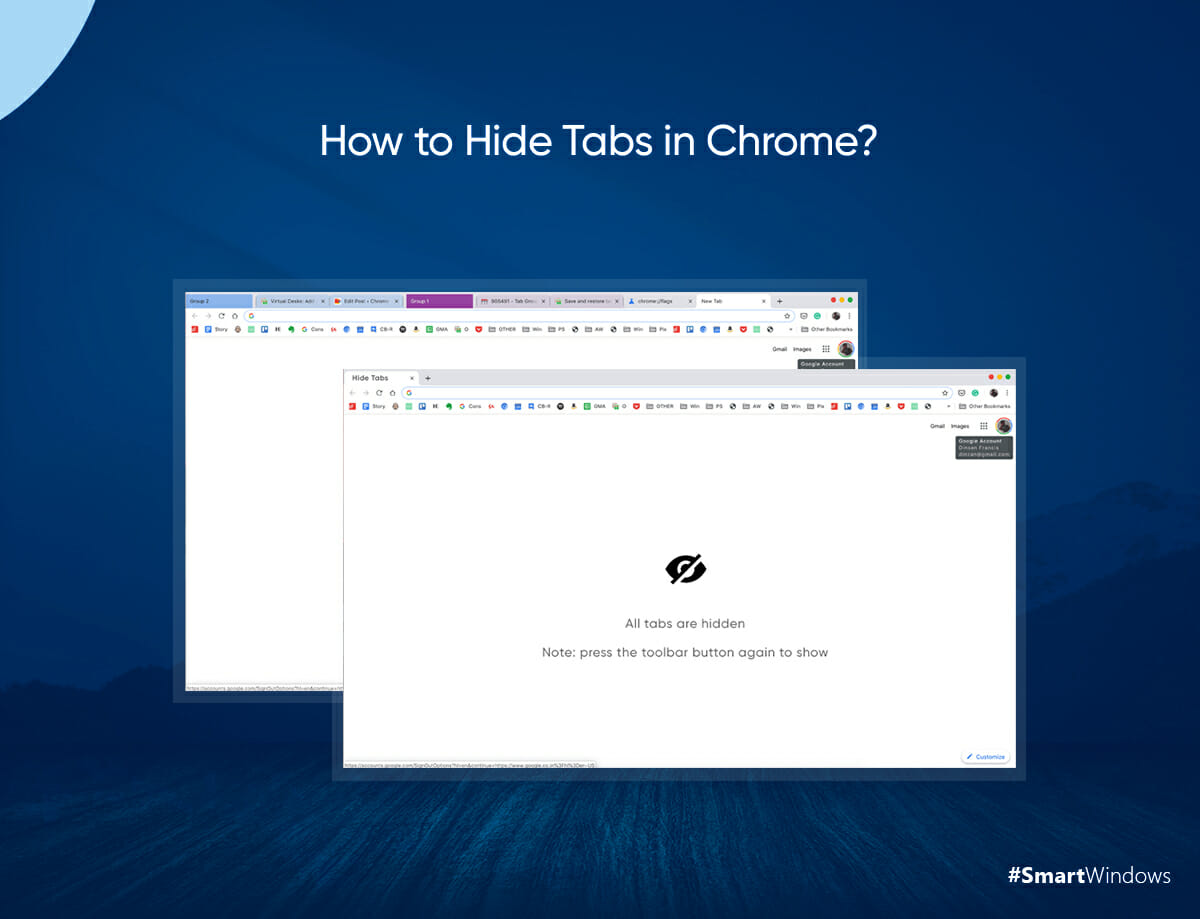
Have you ever felt the need to hide tabs in Google Chrome? If you don’t want to reveal your tabs to people around you, the best way is to hide them from your desktop screen and unhide them whenever you need. Chrome hidden tabs are no longer visible in the tab strip of the browser. These tabs do not get discarded, they are just hidden and available in the browser.

Google Chrome makes it possible for you to keep your privacy while browsing the internet. You can hide your tabs from the browser screen using simple tricks.

How to Hide Tabs in Chrome?

Here are three simple ways to auto-hide tabs in Chrome. Let’s have a look!

  1. Using ‘Panic Button’ 

You can open hidden tabs in Chrome by using the ‘Panic Button’ extension. 

  1. Search for the extension and download it. 
  2. Install it into your Chrome browser.
  3. Open the websites and URLs you want to work on.
  4. To hide tabs, click on the Panic button at the top-right corner.

The panic button will immediately hide all your tabs from the browser window and open a new tab. Click the button again to get your tabs back. On restoring, tabs will reload. It means you must save all your data before hiding your tabs.

Using the F11 Shortcut Key

How to hide tabs and address bar in Chrome?

If you want to hide the tabs as well as the entire address bar from your Chrome browser, you can use the F11 button on your keyboard that will convert your desktop screen to a full-screen view. This will hide all your tabs and address bar from the toolbar menu. 

So if you want to hide the URLs and websites from people around you, just hit the F11 button to get into the full-screen mode. Users can view the tabs without closing the full-screen view. Just hover your mouse on the address bar to view your open tabs. To go back to the normal view, click the F11 button again. 

Pin Tabs

The third way to hide tabs is by pinning them. This method will only hide the name of the tab. The website favicon will still appear in the tab strip of your browser window. Also, you would have to click on each tab individually to pin it. You can hide the name of tabs you don’t want to reveal on your desktop screen.

To pin tabs, right-click the tab you want to hide. Now click on ‘Pin’ and your tab will be pinned to the extreme left side of your browser window. You will be able to see the favicon of the website and not the name. To unpin, again right-click on the tab and click on ‘Unpin’.

All these methods to hide Chrome tabs require manual effort. You would have to choose one of the methods every day to hide the tabs. Instead, SmartWindows offers you a one-stop solution to keep all your private tabs hidden and restore them whenever you need them. Let’s see how!

Close and Restore Chrome Tabs with SmartWindows

SmartWindows is a Windows productivity app for Windows 10 and 11 that helps you save and restore your browser window whenever you want. SmartWindows keeps an active tab history and remembers all your URLs. 

Follow the steps below to save tabs using SmartWindows:

  • Open the Google Chrome browser. 
  • Open the websites and URLs you want to work on.
  • Click on the SmartWindows icon in the icon tray. Click on ‘Create Profile’.
  • Name the profile and click ‘Save’. It will create a SmartWindows profile and save your screen setting. All your tabs and browser will also be saved.
  • Now close your browser window. 

To restore your browser window:

  • Click on the SmartWindows icon in the icon tray. 
  • Click on ‘Restore’. It will restore your browser window with all the tabs in the same order you saved last time.

SmartWindows saves your time opening and restoring browser tabs. You can hide your tabs this way and can restore them when you need them. Similarly, you can create as many profiles as you want in which you can save browser windows accordingly. Not only this, but SmartWindows also remembers the display position of your browser window. You can also restore the positioning of other desktop apps the same way!

So what are you waiting for?

Download SmartWindows now & enjoy a 30-day free trial…

For More Related Information: how to reopen closed tabs | appdata | snipping tool shortcut | windows 10 key 

Google Chrome – How to Restart Chrome?

How to Restart Chrome

Google Chrome is one of the favorite browsers for many of us. It allows you to open a dozen tabs simultaneously without any serious glitches in performance. However, sometimes you might need to restart Chrome browser to get its responsiveness back and increase the load time of tabs. 

Installing new software or updates or working on too many tabs at the same time often reduces the load time of pages due to which rebooting becomes very important. Some users avoid restarting Google Chrome due to the fear of losing their tabs and important information. So not to worry, you can easily restore Chrome tabs after a restart. This article shows you various ways of automatically restarting the Chrome browser and restoring all your precious tabs in seconds. 

How to Restore Google Chrome Tabs after Restart?

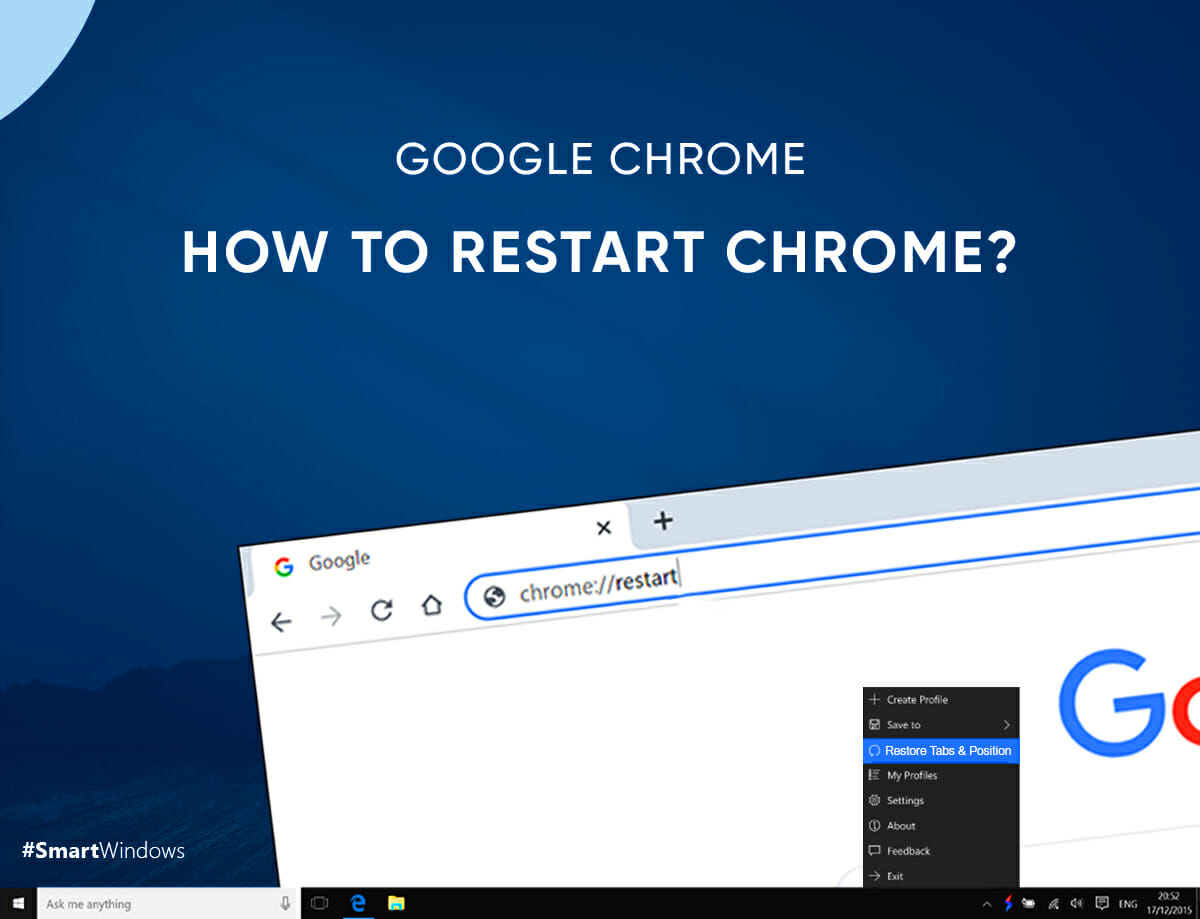
Use the Chrome restart command to easily restore tabs in Google Chrome immediately after restarting it. 

Whether you are on a Windows PC or a Mac computer, just type chrome://restart in the address bar of Chrome browser and press the “Enter” key. This command will automatically restart our Google Chrome browser and restore the tabs you were working on.

How to Restart Google Chrome on Windows?

To restart Google Chrome, follow the steps below:

  1. Navigate to the top right corner of your Chrome Browser.
  2. Click on three vertical dots. You would be able to see an “Exit” option.
  3. Click on “Exit” to quit Chrome.
  4. Now to reopen Chrome tabs, go to the Start menu and double-click on the Google Chrome browser icon. 

You can also quit the Google Chrome browser by clicking on “X” on the top right corner of your browser window. 

If you find out that your browser is unresponsive, you would have to force quit it from the taskbar. For this, right-click on your Google Chrome browser icon, and select the option, “Close window”. 

Restart Chrome using SmartWindows with One Click!

SmartWindows is the ultimate savior when it comes to restoring your Google Chrome browser tabs. It is a productivity-focused app for Windows 10 and 11 to save your time restoring your desktop screens and a browser with no hectic steps.

For instance, if you are using multiple browsers on your computer, you would have to remember the steps to reopen closed tabs for different browsers. SmartWindows eliminates this headache and provides you with a single solution with many other benefits that maximize your productivity at work. 

Browser Support

SmartWindows supports Google Chrome, Microsoft Edge, and Mozilla Firefox. Create a SmartWindows profile and after opening your browser and tabs, save your profile. All your screen arrangements will be saved all at once that you can restore anytime on one or many screens. SmartWindows remembers the URLs you were working on and keeps an active tab history. It restores the tabs in exactly the same order they were before shutting down the PC or closing the browser window. 

Other advantages of SmartWindows are mentioned below.

  • SmartWindows allows users to create unlimited profiles to manage work needs efficiently.
  • It supports up to 6 displays at a time to maximize multitasking.
  • It allows Windows 10 and Windows 11 users to automatically arrange their desktop screens and Snap Layouts with one click.
  • It intelligently positions the apps’ windows exactly the same way they were arranged before.
  • SmartWindows allows you to create multiple work zones and presets to manage work, study, and entertainment-related activities in an organized manner. 

Conclusion

SmartWindows is a perfect solution for you to restore your Google Chrome browser automatically. There is no need to go through a cumbersome process of reopening tabs every time before getting started to work. Use SmartWindows to get your desktop screen all aligned as you left it the day before. 

SmartWindows – Work Smart!

Download the app now and get a 30-day free trial…

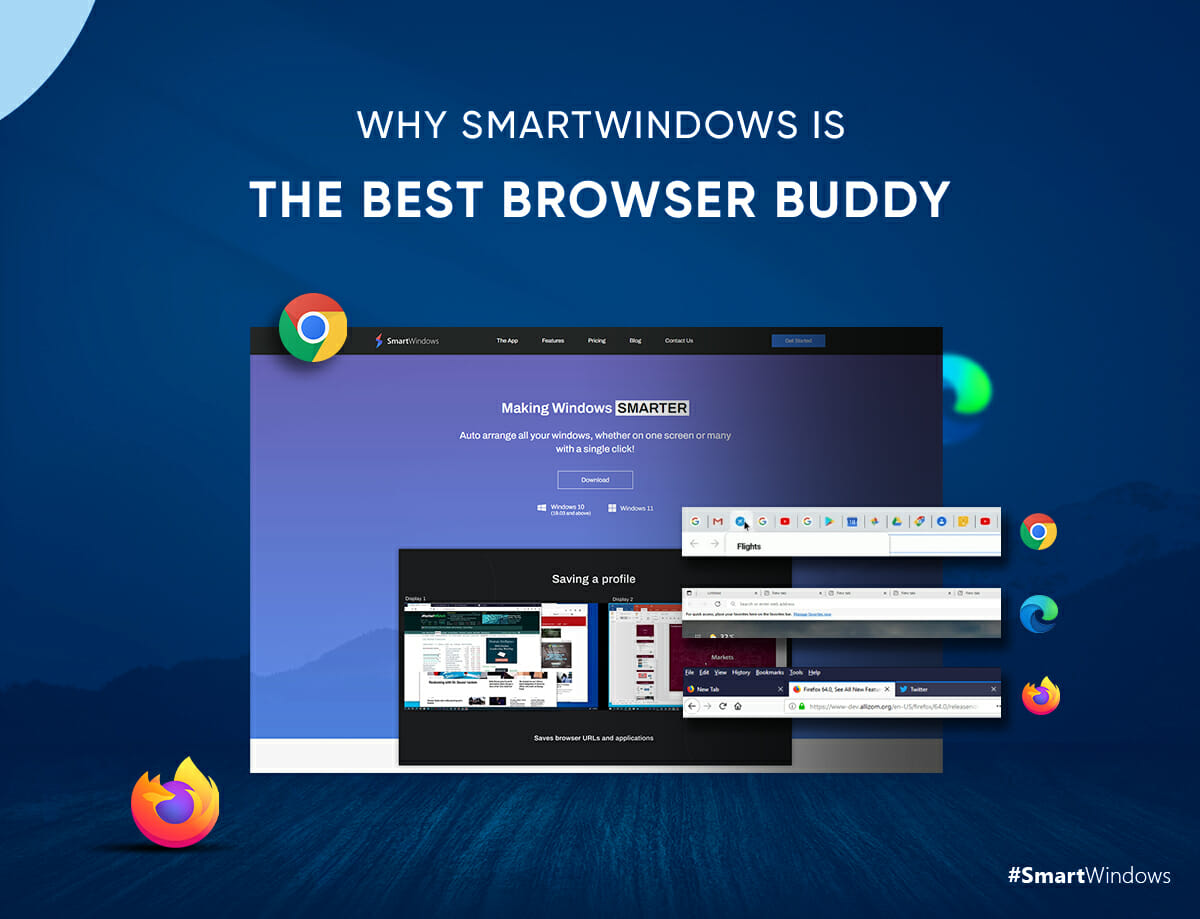
Why SmartWindows is the Best Browser Buddy?

Best Browser Budddy

Lost your entire browser session by accidentally clicking on ‘X’? 

The majority of users open multiple browser windows or browser tabs while working on a project. The issue in this smooth workflow occurs when one loses the browser session by accidentally clicking on the ‘X’ button. It is an instant panic and all the user can do is look for solutions and steps to restore all tabs and save browser sessions at once. Multiple browsers have introduced multiple features for the easy restoration of the browser sessions.

How to Restore Browser Tabs on Google Chrome?

How to save a Chrome session, is a frequently asked question by many users. They find solutions to save Chrome sessions so that they don’t lose the informational browser tabs that they have found. This often requires them to keep bookmarks of all their opened tabs in case of an accidental crash. 

However, to make the restoration process easier for them Google Chrome provides them with solutions to restore the last session in Chrome

To Restore Browser Tabs in Google Chrome

  • Click the three vertical dots in the upper right corner of the menu.
  • Go to History and you’ll see the tabs you had opened in Chrome.
  • Reopen the Chrome browser by clicking on the closed tabs.
  • A new Chrome window session will begin, displaying all of your previously closed Chrome tabs. 

Another Way to Restore Chrome Session Is

  • Right-click anywhere on the empty space in the tab bar.
  • Select ‘Reopen closed tab’ from the menu (If you’ve closed the browser window instead of the tab then it’ll display ‘Reopen Closed Window’)
  • Upon selecting this option, your tab or browser window will be restored.

How to Restore Previous Tabs in Microsoft Edge

Users of Microsoft Edge Browser can restore their recently closed browser tabs. Microsoft Edge restores the previous session using any of the following methods. 

  1. By hitting Ctrl + Shift + T on your keyboard, you can simply restore the recently closed tab.
  2. Right-click on a tab and choose “Reopen Closed Tab” to bring up the previously closed tab.

How to Restore Previous Session in Firefox

Mozilla Firefox empowers its users to restore their browser tabs and browser sessions automatically and manually.

To automatically restore your firefox tabs, you can follow the following steps

  1. In your browser window go to the tab bar and Right-click on it. A pop-up menu will appear and from there click ‘Undo Last Tab Close’.
  2. To reopen the last opened browser tabs, press the keyboard keys, ‘Ctrl + Shift + T’. 

To Restore a Whole Browser Session

  • Go to the ‘History’ icon in the menu button of the browser window and click on it.
  • From the menu, click on the ‘Restore Previous Session Tab’ and your browser session will be restored.

To Restore Previous Session of Firefox Manually,

  • Go to the menu button in the upper right corner of the browser window.
  • Select the ‘History’ icon from the drop-down menu.
  • It will display all your previously opened browser tabs. 
  • You can restore them manually by clicking on them one by one. 

Reduce Time & Effort – Restore Browsers with One Click using SmartWindows 

SmartWindows is a Windows productivity app for Windows 10 and 11, helps restore multiple browser tabs and browser sessions with a single click. 

It empowers its users to create one-time profiles and save their preferred screen arrangement. Users are also enabled to restore that screen arrangement with one click reducing the time and manual labor exercised in reopening them.  

How Does SmartWindows Work?

Often while working on the multiple browser windows and browser tabs there is a risk of losing that information by accidentally clicking on ‘X’ or in case of a crash. To overcome this fear you can save all your multi-session browsers in a SmartWindows profile. 

SmartWindows profile saves the configuration of your desktop windows and screens in their exact display position and size. To create a profile you need to pull up your browser tabs in multiple browser windows. Arrange and resize them as per your work preference and once you’re done making the arrangement save that configuration in your profile. 

To Save a Work Session

  • Right-Click on the SmartWindows icon.
  • Select ‘Create Profile’ 
  • Click on the ‘save’ button

And just like that, your entire screen set-up will be saved, which you can restore any time with one click.

Create and Restore Multiple Browser Profiles

SmartWindows empowers users to create and restore their multiple browser profiles. Instead of remembering a list of restoration steps for different browsers, you can save your browser tabs in a SmartWindows profile and can restore them on one or many screens.

It supports multiple browsers like Google Chrome, Microsft Edge, and Mozilla Firefox enabling the user to use their favorite browsers. It maintains an active tab history and remembers the display size and position of your browser tabs; restoring them in the exact same manner. 

Now you need not worry about saving your browser sessions and exercising manual labor in reopening the multiple browser tabs. SmartWindows restores your browser profiles in a single click.

To Restore a Profile

  • Right-click on the SmartWindows icon 
  • Select ‘Restore Profile’ 
  • Click on the profile you want to restore

And just like that with a single click, you can restore your SmartWindows profile in its exact display position and size. 

SmartWindows empowers you to reduce the manual labor and daily hassle of reopening the same browser tabs and provides you with an automatic solution for the restoration of your multiple browser windows.

Save time and maximize your productivity using SmartWindows!

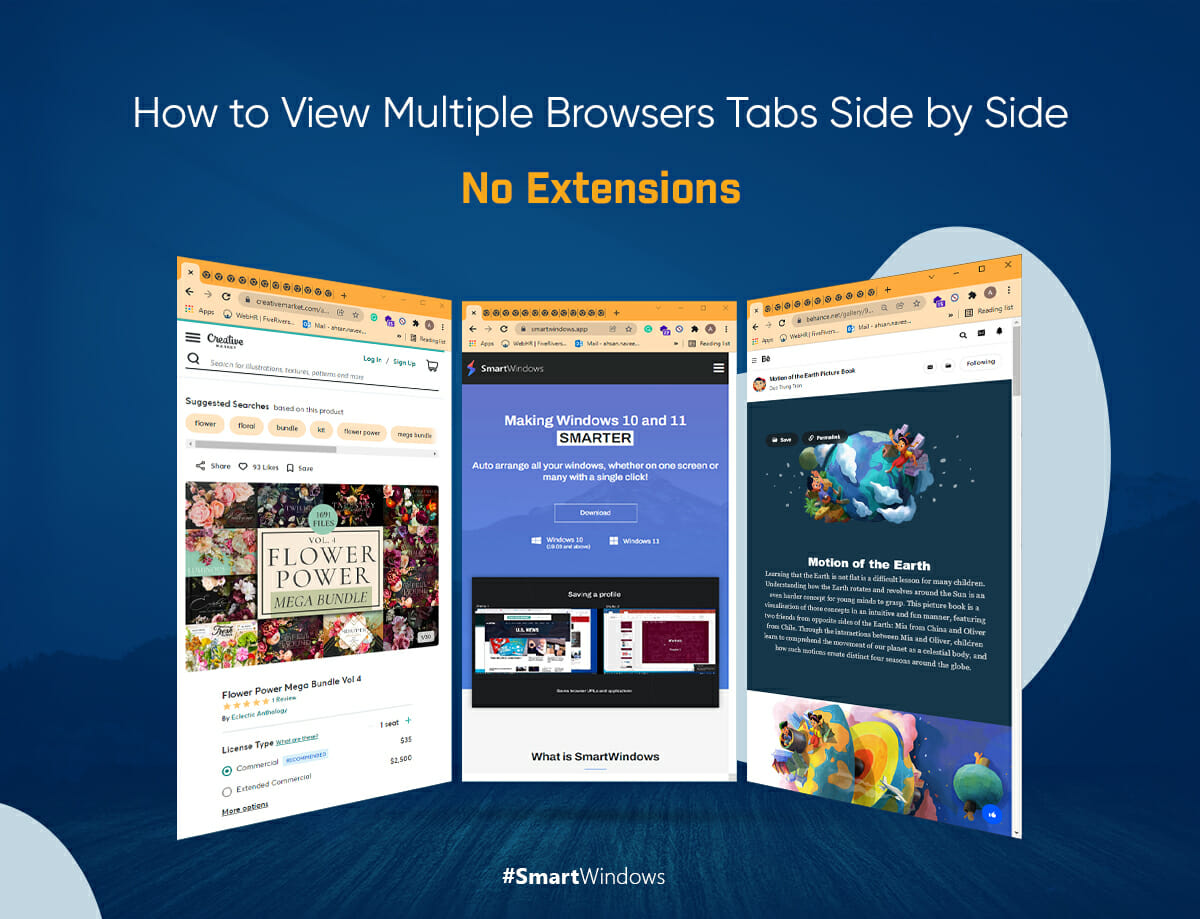
How to View Multiple Browser Tabs Side by Side – No Extensions

View Multiple Browsers Tabs

Research is part of our everyday life. Whether you are a student or an employee, the use of a browser is a must to search for information and data relevant to your study or work. While browsing, one of the main challenges is to access one tab among a dozen of tabs. For example, a writer preparing a report on Google Docs may have it open in one tab, and the rest of the tabs would be containing the necessary information. Continually switching between the tabs proves to be tiresome, as eyes and mind are constantly shifting from one tab to the next.

To overcome this issue, here are a few solutions that can help users work efficiently and maximize their productivity at work. 

Arrange Two Browser Tabs Side By Side In Windows 10

Users of Windows 10 can pull up two of their browser tabs side by side for easy and quick referencing. It is quite simple to carry out.

  • Open the browser tab you intend to place on the left or right side. 
  • Press the Windows button along with the left or right cursor key. 
  • This action will place the tab on the desired side.  

The alignment of two different browser tabs on the same screen makes access to information easy. 

Somewhat similar action can be carried out in Windows 11.

Arrange Up-To Six Browser Tabs Side By Side Using Snap Layouts

Windows 11 enhances work efficiency by providing productive features. The major feature introduced by it is Snap Layouts. It is a group of layouts in which a user can tile up to 6 different browser tabs or apps. 

Using this excellent feature, users can tile 6 different browser tabs and get a birds-eye view. To carry this out, open your browser tabs in different browser windows.

  • Pull up the tab that is to be tiled and hover the mouse cursor over the maximize button.
  • It will display 6 layouts to choose from.
  • Choose the layout as per your work preference.
  • That opened tab will be scaled in the layout.
  • It will display the other opened browser windows in the free space and will allow you to select the one that you want to fit in the respective tile.
  • Repeat the same procedure for tiling the rest of the browser windows.

In this manner, a user can have 6 different browser tabs on the screen that eliminates the hassle of switching between writing and information tabs all the time. To work even more efficiently another option is to make use of multiple monitors. For instance, if you want to work on multiple apps simultaneously; create another display, arrange apps, and save the screen configuration using SmartWindows. 

Switch between the different work zones any time to work accordingly. 

View More Browser Tabs Using Multiple Monitors

Multiple monitors give an extended view of the PC screen. Users can benefit most from them by organizing multiple Snap Groups on multiple screens. Snap Groups provide a visually clean interface as well as help in better organization and arrangement of window screens. 

Arranging browser tabs side by side presents a handful of solutions for increasing work productivity however it becomes a hassle when all those tabs have to be repositioned and re-opened every time before starting work.

SmartWindows Restores Your Browser Tabs

SmartWindows is the ultimate productivity app that helps in multitasking. Researchers, writers, students, teachers, programmers, designers all use SmartWindows to save their screen arrangements and restore their work zones any time with a single click. 

SmartWindows helps in better organization of hundreds of browser tabs as well as restore them with one click. Users can set up their screen configuration one time and restore it whenever they have to work back on it. 

Create Your Browser Profile

Using SmartWindows create your browser profile to smartly arrange your screens.

  • Open up different browser windows that you use and after arranging them on the screens save that configuration by clicking on the ‘Create Profile’ button.
  • The arrangement can also be made using Snap Layouts. Just open up your Snap Group and save that Snap layout in SmartWindows. 
  • The two browser tabs arranged side by side in Windows 10, can also be saved in the profile using SmartWindows.  
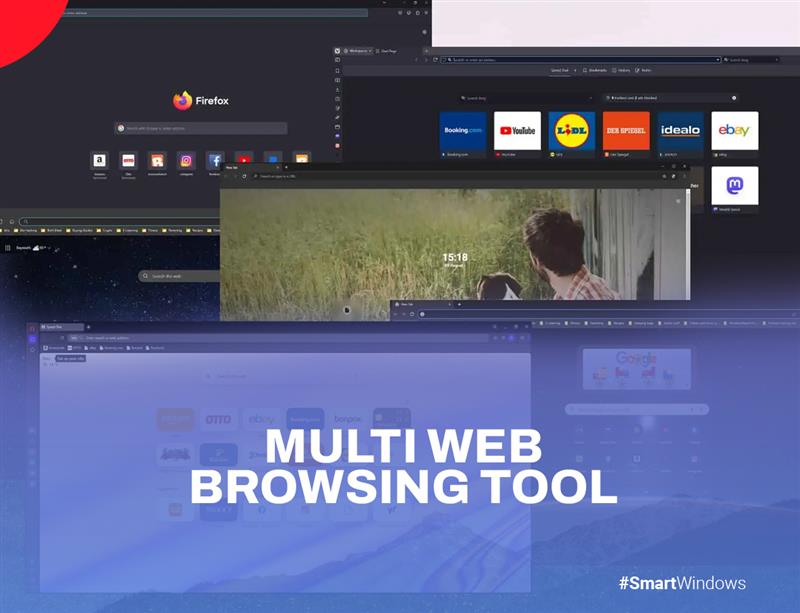
  • With the support for multiple browsers, SmartWindows empowers its users to use multiple browsers like Google Chrome, Mozilla Firefox, and Microsoft Edge. 
  • Users can arrange different browsers including multiple browser tabs of each section side by side to get a bird’s-eye view and a visually clean interface. 
  • Users who need to view more than 6 tabs at the same time can arrange a different layout in the second display. You can save the arrangement of both displays with SmartWindows and restore them at any time. 

With one click users can set up their browser profiles and name them as per their projects or work preferences. This setup makes it easy to distinguish between multiple ongoing projects, organizing relevant data, and an easy restoration option.  

Restore Your Browser Profile with SmartWindows

SmartWindows aids its users in the easy restoration of their saved browser profiles. Just right-click on the SmartWindows icon and click on the ‘Restore’ button. Select the profile you want to restore and just like that your profile will be restored instantly. 

  • This feature takes the lead on Windows 10 and 11 as both do not enable its users to restore their profiles in the same manner they had been saved.
  • SmartWindows maintains an active tab history and remembers the display position and size of your browser windows and tabs, hence restoring them in that same manner. 
  • It also supports multiple monitors and displays which empowers users to even restore their different window screens opened on multiple monitors.
  • The restoring feature eliminates the need to bookmark your browser tabs. Rather than bookmarking, save the tabs in the browser profiles and they’ll be restored instantly.
  • User profile if it consists of multiple displays will be restored as it was saved. 

Without using extensions SmartWindows empowers its users to view their browser tabs side by side. Users have the option to arrange multiple screens on the same or in multiple displays and save that configuration. One click will restore all the work presets on your desktop screen. 

No hassle of extensions – when you have SmartWindows…

SmartWindows – Make your Windows 10 & 11 smarter than ever before!

Get the app now!

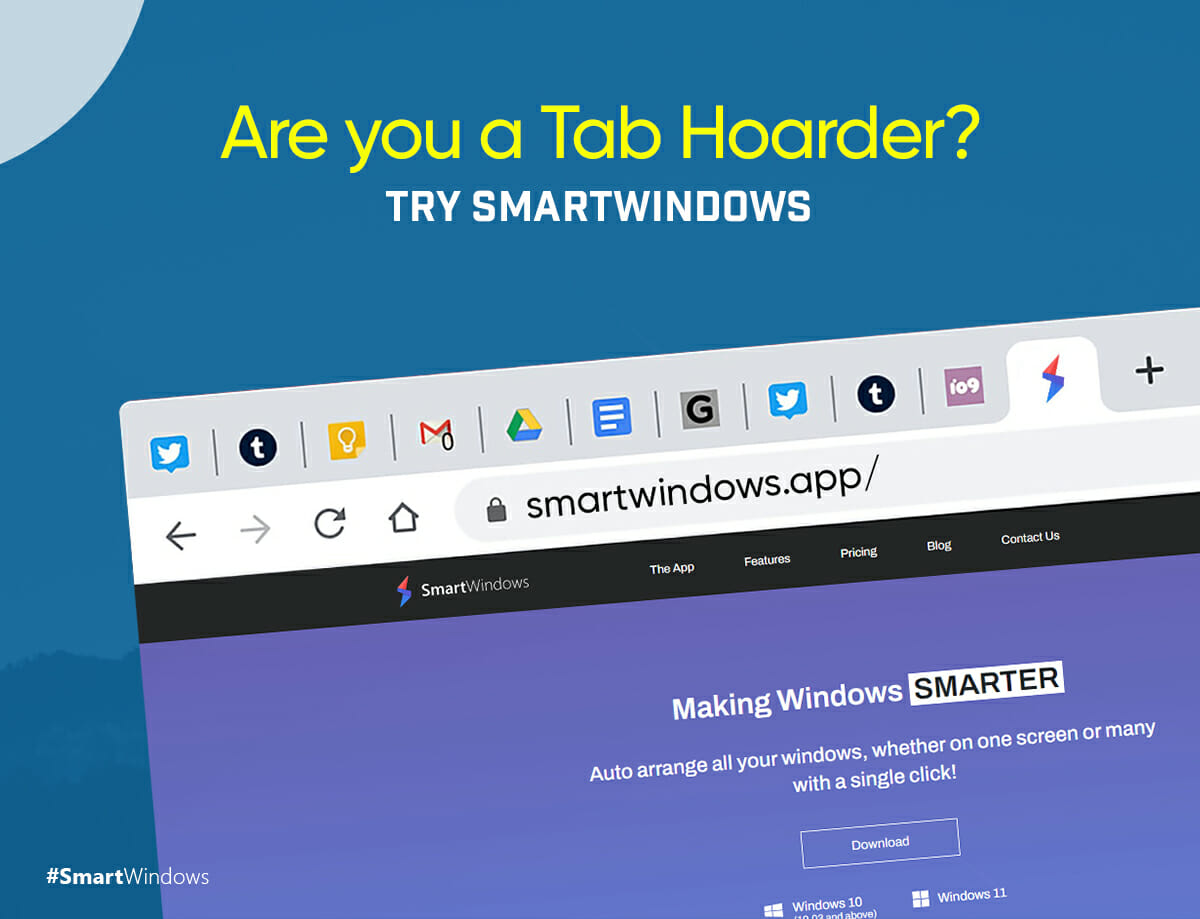
Are you a Tab Hoarder? Try SmartWindows

Tab Hoarder

Lost in a sea of open tabs? Can’t figure out which tab made the notification sound? Can’t find the tab immediately you are looking for? You must be a tab hoarder struggling with efficient tab organization. 

Tab hoarding has now become a phenomenon to which the majority of people are accustomed. Whether it is a researcher, a project manager, a writer, or a student, browsers are used daily for certain tasks. The need however is to organize a dozen tabs in such a way that they could be accessed easily. 

What Is Tab Hoarding? 

A tab hoarder is a person executing tab hoarding. Tab hoarding is the common practice of opening the bulk of browser tabs in one or many browser windows. 

While researching on the web, most people open several browser tabs or URLs for their knowledge and references. Google Docs, Sheets, Drive links, and social websites also contribute to the opened tabs. These accumulated tabs are kept open at all times as per their continuous usage. 

Why Do People Do Tab Hoarding?

  • Losing information for references is a common concern among tab hoarders. They are afraid that they will be unable to locate the same website, information, or link again. This approach makes it difficult for them to close tabs and keep the bulk of tabs open all the time.
  • Furthermore, shutting tabs disrupts the workflow if they need a quick reference. When writing or citing a report, one may require the facts; but, if the tab is closed, the effort of reopening and discovering that link has to be repeated.
  • Browser tabs act as digital storage. People frequently leave them open in order to recall certain events or facts.
  • It has also been observed that tab hoarding is widely used for aligning tasks to be completed later.

How Does Tab Hoarding Cause Problems?

Tab hoarding, on one hand, facilitates users with quick access to the information of different tasks, it also comes up with potential problems. These refer to

  • Organization & arrangement
  • PC crash 
  • Cluttered screen
  • Restoring tabs on one or many browser windows every time before getting started to work

Organization & Arrangement Problems

The majority of browser tabs are extremely hard to organize. Consumers have up to 400 tabs running and are unable to arrange them. Moreover, after opening several tabs, the only thing visible is the favicon. With just the favicon it is hard to determine the information the tab holds. 

Crash 

A lengthy tab session slows down the computer’s performance and frequently results in crashes. Users who do not close their browser windows often experience a sudden crash and lag in their system’s performance.

Cluttered Interface

A lot of tabs clutter the interface that doesn’t look pleasing. It is also hard to get back to the tab that you were using with further intend to use. It is important to organize the tabs task-wise to make access easy. Moreover, you can open tabs related to each task in a separate window or browser to keep track of all information. 

Reopening Browser Tabs

The multiple tabs that are opened during the work hours when closed at the end of the day, cause a stir the next time while reopening them. It is one of the main reasons users don’t end their tab sessions or put their systems to sleep instead of shutting them down. 

Browser Features To Organize Your Tabs

Different browsers have different steps to restore tabs. Google Chrome users can group their various tabs into a folder. Microsoft Edge offers a vertical list display that provides a bird’s-eye view of the tabs, allowing users to effortlessly navigate among them. Whereas Vivaldi allows its users to stack their tabs, resulting in a layout that looks more like accordion tabs. However, all these features do not quite help in the easy access of tabs. As even in grouped tabs, it is possible to lose track of which tab is grouped in which folder, causing inconvenience for the user. Moreover, it still remains a lot of hassle to restore all the browser windows before getting started at work. 

Organize & Restore Your Tabs With SmartWindows With One Click

SmartWindows is a Windows productivity app that assists users in organizing and restoring their screen settings.

It allows users to remember their screen configuration, generate multiple work zones, and organize desktop files, apps, browser tabs, and window screens. It also helps with the restoration of setting up the same desktop apps after powering on the PC.

Arrange Tabs With SmartWindows

SmartWindows empowers users to restore and arrange their browser tabs. This incredible feature of SmartWindows eliminates the hassle of manually restoring tabs in one or many browser windows. 

Consider a user who has a number of open tabs for a certain project. To save the tabs’ layout using SmartWindows, right-click on the SmartWindows icon.  It will display a list of options. Choose ‘Create Profile,’ name the profile after the project, and then click ‘Save.’ With just one click the tabs-arrangement will be saved.

Restore Browser Tabs With SmartWindows

If the user turns off the system or in case of an accidental crash, just right-click on the SmartWindows icon and select ‘Restore.’ Select the profile, and it will be restored with one click.

Every time the system is launched, a user can benefit from this feature. It removes the daily hassle of configuring browser tabs. Now tab hoarders can shut down their devices without the fear of losing their tabs.

Benefits Of Using SmartWindows

With SmartWindows users can make the best use of their time and effort by working on the project rather than opening, arranging, or restoring tabs. 

  • Users can establish one-time settings and readily access multiple profiles as needed. Furthermore, extra changes to the current profile can be made, and just clicking the save button will save all the newly added tabs.
  • SmartWindows supports multiple browsers, allowing the user to utilize their preferred browser with ease. Furthermore, a project’s tabs whether opened in Google Chrome or Microsoft Edge; if saved in the same profile, will be restored in the same way.
  • SmartWindows intelligently maintains an active tab history and remembers the display and location of the tabs and restores them in the exact same manner. 
  • Users can create different work zones for each of their projects. Keeping tabs for various projects in distinct profiles. It also helps with the simple organization of project research and content.  
  • It supports both Windows 10 and 11, providing users with the best productivity features. 

So tab hoarders have got the best solution to keep their tabs always with them!

Get SmartWindows now & boost your productivity at work…

How to Reopen Closed Tabs In Google Chrome & Other Web Browsers

Restore Browser Tabs

We often complain about procrastinating and not meeting our goals at the end of the day even though the tasks are aligned. Sometimes, we unknowingly spend so much time on tasks that consume both our energy and time and they are not worth it. For instance, when we accidentally close the tabs of multiple browsers, we keep on finding hacks to reopen closed tabs to get to pages we browsed last time. It is quite overwhelming to remember and open everything from start. However, browsers give you an option to restore tabs with one click. But SmartWindows brings even a smarter solution for your Windows browsers’ restorations.

The time we used to spend on reopening closed tabs can be used in some other valuable tasks. In this world of increased digitization, one must look for automated ways that assist in daily activities and collectively contribute to increased productivity at work. Similarly, this article refers to the basic and advanced ways to restore closed tabs such that the daily hassle of reopening browser windows and restoring closed tabs could be eliminated.

This article is a guide to how to restore tabs on Chrome, and different browsers such as Microsoft Edge, and Firefox, and how SmartWindows helps users reopen tabs in multiple browser windows with a single click.

SmartWindows

Restore Browser Tabs with SmartWindows. It maintains an active tab history and restores browser size as well as display position on one screen or many.

How to Restore Chrome Browser

How to reopen closed tabs in Google Chrome? Opening closed tabs in Google Chrome is not very complicated. Open your Chrome browser, navigate to the pop-up menu at the upper right corner of the browser. Click on “Reopen Closed Tab” and the previous tab will reopen. Another way to restore Chrome tabs is to press Ctrl + Shift + T keys once and it will open the last closed tab and click keys simultaneously and all the tabs you opened previously will open in the window

It is difficult to manually remember which URL or web page you opened last time, especially when working on a project and opening all the related tabs in Chrome. Due to some malfunction browser gets closed or maybe the Windows shutdown suddenly that ends up closing all the important tabs. You urgently require to reopen closed tabs – how to reopen closed tabs? Restore the last session of Chrome easily by reviewing your browsing history.

How to Reopen Closed Tabs?

Are you looking to restore closed pages in Chrome?

Restore the browser session of Chrome by clicking on the three vertical dots at the upper right corner of the menu. Navigate to History and you will be able to see the number of tabs of the Chrome browser you closed last time. Click on the closed tabs and restore the Chrome browser. A new Chrome window session will open where all your previously opened closed tabs of Chrome will appear. This will restore Chrome tabs with one click.

How to Restore Tabs in Firefox

If you are working on a Firefox browser for browsing and surfing and your Firefox window gets closed, you can easily recover the closed tabs. Right-click on the tab bar of the browser window and from the pop-up menu click “Undo Last Tab Close”. If you want to just open the one last closed tab that you can do following the shortcut for the keys. Press Ctrl + Shift + T and reopen the last closed tab on Firefox browser.

Similarly, if you had a bunch of tabs that you lost and didn’t get the option of recovery, click on the menu button in the upper right corner of the window. Navigate to the icon “History” and click on it. The menu will appear and you can click on the tab you want to open. This can also be done by clicking on the Restore Previous Session tab. Also, you can click on Restore closed tabs and all the previous tabs will open in the current window of your browser.

Firefox also allows you to view the browsing history based on the time in the sidebar. You just need to click on the menu button on the window -> View History Sidebar and the browsing history will show up.

How to Recover Tabs in Microsoft Edge

Reopening the closed tabs in Microsoft Edge Browser is no different. You can easily recover the recently closed tab by pressing Ctrl + Shift + T on your keyboard. Also, you can right-click on a tab and select the option “Reopen Closed Tab” and the previously closed tab will open.

To open the earlier webpage, navigate to the toolbar and click on Activity Center at the upper right corner of the window. You will be able to see the browsing history and click on the webpage you want to open. Another way to do this is that you click on the History icon and click on the time. It will give you the options and you can select the one you are looking for and the pages will reopen in the current window.

All these browsers define certain functions and steps that help you access the browsing history. You can also press CTRL + H to directly access the history of the browser window on any of the browsers discussed above.

When you are managing multiple projects and have opened multiple browsers to do organized browsing, you are highly vigilant about the URLs you have opened. As it is very difficult to remember the useful web pages that can help you out in performing tasks, it is crucial to make sure that you have them all the time. SmartWindows help you increase productivity at work by reopening the closed tabs of multiple browsers at the same time with just one click.

Yes, one-click and all the browsers you have opened on your Windows 10 or Windows 11 will be restored. SmartWindows eliminates the need to manually go into each browser and restore the previous session where you have bookmarked all the URLs and web pages. Instead, it requires one click and all the browsers will restore the tabs of previous sessions. You have saved the time and now are all set to get back to work without making any excessive clicks.

Not only this, SmartWindows make Windows 10 and 11 even smarter with the capability of remembering the position and size of the browser window you adjusted last time on your desktop screen. Now every time you open up your computer, just one click will restore your desktop screen with the same number of windows and their positioning as you adjusted the very last time.

The Bottom Line

SmartWindows makes you work smart and not hard on Windows. Now you do not need to manually open and restore browser windows everytime before getting SmartWindows gives you more hands at work. Now you can reopen closed tabs in Chrome, Firefox, and Microsoft Edge with just one click. Reopen the closed window of your favorite browser with one click. The multi-browser and multi-tab support of SmartWindows saves the browsers with their respective URLs. It helps maintain an active tab history, save the size of browser windows, and the display position on the desktop screen. Now get started with work all aligned on your Windows 10 without wasting your precious time and energy.

Download SmartWindows now and enjoy a 30-day free trial with enhanced features and capabilities for your Windows.