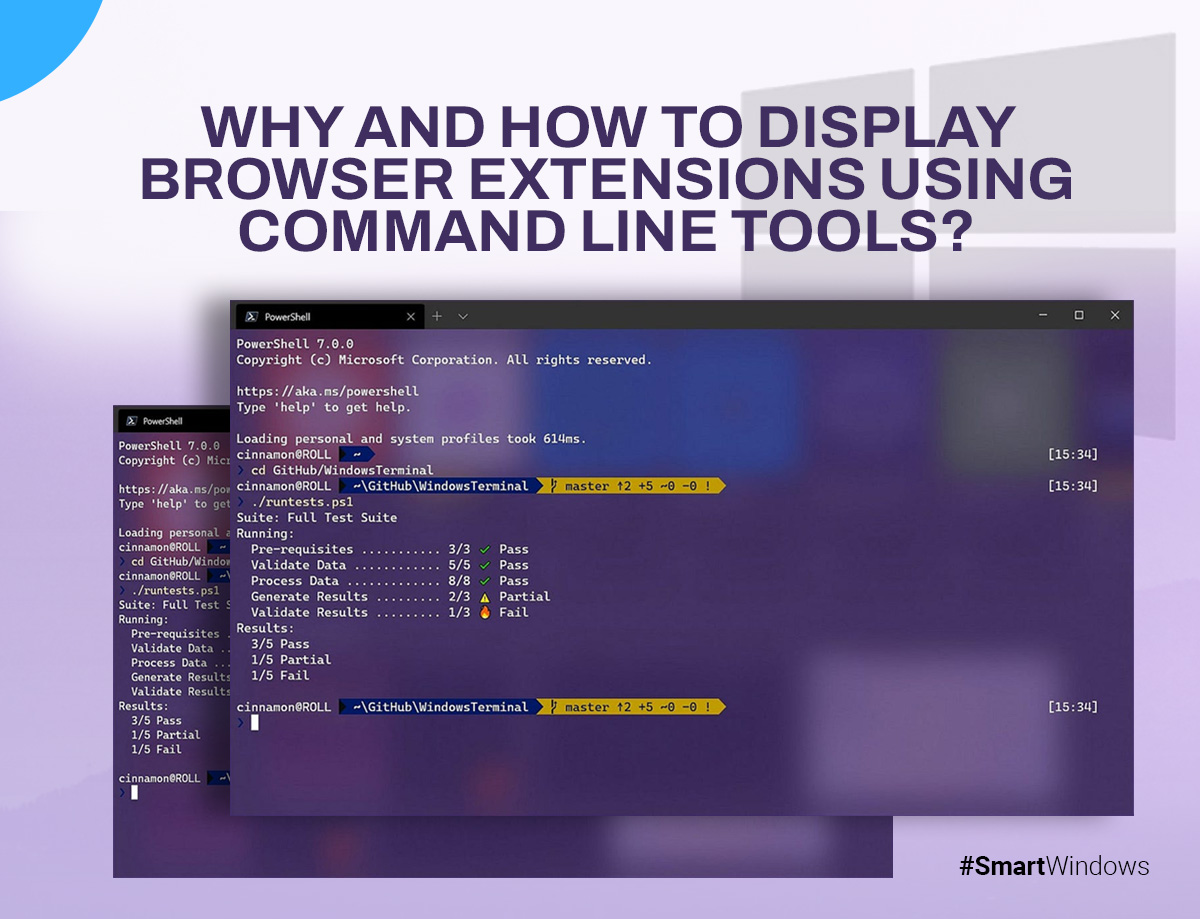
Why and How to Display Browser Extensions Using Command Line Tools?

commandline to display browser extensions

Browser extensions are handy tools that let you customize your web browsing experience. Whether you’re blocking ads, saving passwords, or improving productivity, these small programs can make your browser do more for you. But with many extensions comes the need to manage them effectively, especially if you’re concerned about security or just want to keep things running smoothly. 

That’s where command line tools come in. If you’re unfamiliar with command line tools, you can control your computer by typing text commands instead of clicking through menus. This can be a faster and more powerful way to get things done, and it’s not just for tech experts, anyone can learn to use them to save time and effort. 

So, why should you care about using command-line tools to manage browser extensions? It’s all about gaining better control and doing things more efficiently. With command line tools, you can quickly see what extensions are installed, manage them easily, and even automate tasks to save time. 

In this blog, we’ll explain why using command-line tools to display your browser extensions is a smart move. So, let’s get started!

Why Display Browser Extensions Using Command Line Tools? 

Managing browser extensions through the usual browser interface works just fine for most people. But if you value efficiency, control, and security, using command-line tools can take your extension management to the next level. Let’s explore why. 

Efficiency 

Using command line tools is all about speed and simplicity. Instead of clicking through multiple menus to see or manage your extensions, you can get the job done with just a few commands. Whether you’re listing all installed extensions or disabling one that’s causing issues, command line tools let you perform these tasks in seconds. 

Automation 

One of the biggest advantages of command-line tools is their ability to automate tasks. Automation can be a game-changer if you manage extensions across several browsers or devices. You can create scripts that handle routine tasks like enabling or disabling extensions, updating them, or even uninstalling ones you no longer need. This way, what might take minutes or even hours manually can be done instantly. Command line tools are a powerful ally for those who like to streamline their workflows. 

Detailed Information 

Sometimes, the browser’s user interface doesn’t give you all the details you need about your extensions. With command line tools, you can access more in-depth information, such as specific extension IDs, version numbers, and even each extension’s exact permissions. This level of detail can help you better understand what each extension is doing and whether it’s safe to keep it installed.  

Security 

Regarding security, command line tools can help you closely monitor what’s going on in your browser. Regularly listing and reviewing your extensions through the command line lets you quickly spot any that you don’t recognize or didn’t install. This is crucial for preventing unauthorized extensions from compromising your security or privacy. In environments where security is a priority, such as in IT departments or businesses, using command-line tools to audit extensions can provide peace of mind. 

What are Command Line Tools 

Command Line Interfaces (CLI) might sound a bit technical, but they’re quite simple and incredibly useful once you get the hang of them. Instead of clicking through menus and options with a mouse, a CLI allows you to type commands directly into a terminal or command prompt. These commands tell your computer exactly what to do, often more quickly and efficiently than using a traditional graphical user interface (GUI). 

Basics of Command Line Interfaces (CLI) 

If you’re new to the command line, think of it as having a direct conversation with your computer. You type a command and press enter, and the computer responds by performing that command. While it may seem intimidating initially, using the command line becomes second nature with a little practice. Also, it’s a skill that can save you a lot of time, especially for repetitive tasks. 

Popular CLI Tools for Browsers 

Different web browsers have specific command line tools that allow you to manage extensions. Let’s take a look at some of the most popular ones: 

Chrome-cli for Google Chrome 

If you’re a Chrome user, chrome-cli is a tool that opens up a world of possibilities. It lets you control your browser directly from the command line. With chrome-cli, you can list all your installed extensions, enable or disable them, and even open or close tabs and windows. 

Web-ext for Firefox 

For Firefox users, web-ext is the go-to CLI tool. Originally developed to help extension developers, it’s also incredibly useful for everyday users who want to manage their extensions more effectively. With web-ext, you can list all your installed extensions, run them in a test environment, and even automate installing or updating them.  

Edge-CLI for Microsoft Edge 

Microsoft Edge has its own CLI tool, Edge-CLI, which provides similar capabilities. With Edge-CLI, you can manage your extensions, tabs, and browser settings without ever leaving the terminal. Whether you’re looking to streamline your browsing experience or need to manage multiple instances of Edge, this tool can be a huge time-saver. 

Step-by-Step Guide to Displaying Browser Extensions 

Let’s see the steps for Google Chrome, Firefox, and Microsoft Edge, so you can follow along no matter which browser you use. 

Using `chrome-cli` for Google Chrome 

Installation and Setup 

  • Install Homebrew (Mac users only): If you’re on a Mac, the easiest way to install `chrome-cli` is via Homebrew. If you don’t have Homebrew installed, open your terminal and enter: 
  • Install `chrome-cli`: Once Homebrew is set up, you can install `chrome-cli` by running: 
  •  For other operating systems, you may need to build from source, which you can find on the official `chrome-cli` GitHub page. 

Commands to List and Manage Extensions 

  • List Installed Extensions: To see all the extensions currently installed in your Chrome browser, use the command: chrome-cli list extensions 
  • Enable/Disable Extensions: To enable or disable an extension, you first need its ID, which you can get from the list command.  

Using `web-ext` for Firefox 

Installation and Setup 

  • Install Node.js: If you don’t have Node.js installed, download and install it from the official [Node.js website](https://nodejs.org/). 
  • Install `web-ext: With Node.js installed, you can install `web-ext`. 

Commands to List and Manage Extensions 

  • List Installed Extensions: To display all extensions installed in Firefox, use: web-ext list 
  • Enable/Disable Extensions: Similar to Chrome, you can enable or disable extensions by first listing them to get their IDs: 
    • web-ext enable <extension_id> 
    •  web-ext disable <extension_id>
  • Run Extensions in a Test Environment: If you’re developing or testing extensions, you can run them in a test environment without affecting your main browser profile. 

Using `Edge-CLI` for Microsoft Edge 

Installation and Setup 

  • Install `Edge-CLI`: Microsoft Edge’s command line tool isn’t as widely supported as Chrome and Firefox, but it’s still very useful. You can install `Edge-CLI` by following the instructions on the [official repository](https://github.com/microsoft/edge-cli). 

Commands to List and Manage Extensions 

  • List Installed Extensions: To see all installed extensions in Edge, use: edge-cli extensions list 
  • Enable/Disable Extensions: To enable or disable an extension, first list them to find their IDs, then use:
    • edge-cli extensions enable <extension_id> 
    • edge-cli extensions disable <extension_id> 

SmartWindows

Restore Browser Tabs with SmartWindows. It maintains an active tab history and restores browser size as well as display position on one screen or many.

Conclusion  

Using command line tools to manage your browser extensions is a fast and effective way to keep your browsing environment organized and secure. It simplifies tasks, provides detailed information, and enhances your control over your extensions. Give these tools a try and see how they can make managing your extensions easier. 

How to Save and Restore Your Workspace Layout in Windows 11?

save workspace layout windows 11

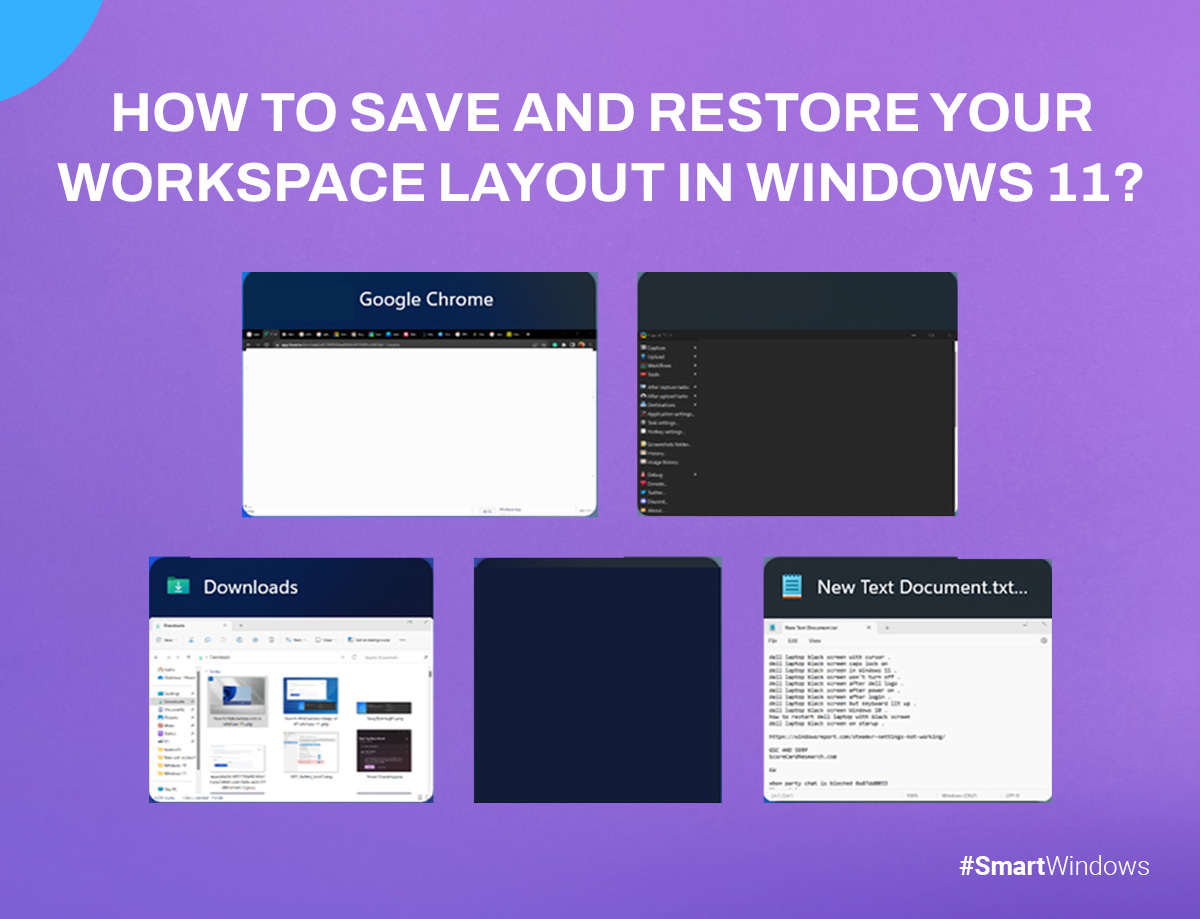
Managing workspace layouts is essential for productivity, especially if you juggle multiple tasks or work across multiple monitors. The new capabilities in Windows 11 have made it much simpler to maintain an ordered workstation. But what happens when your carefully arranged layout gets disrupted? Whether it’s due to a system reboot, switching between tasks, or connecting external monitors, restoring your ideal workspace layout can be frustrating. In this guide, we’ll explore how to save and restore your workspace layout in Windows 11 using built-in tools, third-party software, and practical tips.

What Are Save Workspace Layouts in Windows 11?

A workspace layout refers to how you organize your apps, windows, and tools on your screen. It’s more than just having multiple windows open; it’s about creating a configuration that allows you to work efficiently. For example, you might have a browser open on the left side of your screen, a document on the right, and a task manager running in the background.

Windows 11 has introduced several features that make workspace management more intuitive, including Snap Layouts, Snap Groups, and Virtual Desktops. These tools help streamline your workflow by allowing you to organize and restore your workspace layout with minimal effort. However, you may significantly increase your productivity if you know how to utilize these tools properly.

Built-in Tools for Managing Workspace Layouts

Snap Layouts and Snap Groups

Snap Layouts is one of Windows 11’s standout features for workspace organization. By hovering over the maximize button on any window, you may quickly and simply arrange several windows in different pre-defined combinations using Snap Layouts. This allows you to place windows side by side, in a grid, or in a combination that best suits your needs.

Snap Groups, on the other hand, takes this functionality a step further by grouping these windows together. When you click on one window in a Snap Group, Windows 11 automatically brings up the entire group. This makes switching between tasks much easier, as you don’t have to manually restore each window’s position and size.

How to Use Snap Layouts and Snap Groups?

  • Move your mouse pointer over any open window’s maximize button.
  • Choose a layout configuration from the Snap Layouts options.
  • Select the apps or windows to fill each portion of the layout.
  • Once your layout is set, the windows are saved as a Snap Group.
  • To restore a Snap Group, hover over the app icon on the taskbar, and select the group from the preview.

This feature is particularly useful when you need to switch between different sets of apps, such as a research group for browsing and note-taking, and a work group for project management and email.

Virtual Desktops

With virtual desktops, you may set up many desktops, each with a different set of windows and applications. This is perfect for grouping several projects together or dividing work from personal responsibilities. Unlike Snap Groups, Virtual Desktops give you an entirely new desktop environment, making it easier to focus on specific tasks without the clutter of unrelated windows.

How to Use Virtual Desktops?

  • Press Windows + Tab on your keyboard to open Task View or click the “Task View” icon in the taskbar.
  • To establish a new Virtual Desktop, select “New Desktop” in the upper-left corner.
  • Open the apps and windows you need on this desktop.
  • To switch between desktops, use Ctrl + Windows + Left/Right Arrow or go back to Task View and select a different desktop.

Virtual Desktops are saved even after a reboot, so you can return to your work exactly where you left off

Multiple Monitor Setups

If you work with multiple monitors, Windows 11 makes it easier to save and restore your layout across different screens. When you disconnect and reconnect an external monitor, Windows 11 remembers the position of your windows and restores them to their previous location.

How to Set Up Multiple Monitors?

  • Connect your external monitors and open the settings app (Windows + I).
  • Go to “System”> “Display” and arrange your monitors in the configuration that matches your physical setup.
  • Windows 11 will automatically save this configuration and restore it when you reconnect the monitors.

For users who frequently switch between laptop and desktop setups, this feature is a game-changer.

How to Save Your Workspace Layout?

While Snap Layouts, Snap Groups, and Virtual Desktops offer excellent ways to manage your workspace, ensuring these layouts are saved and restored correctly can sometimes be tricky. Here’s how to ensure that your workspace is saved properly.

Using Snap Groups

Snap Groups are automatically saved when you create them, but they are dependent on the apps being open. If you close all the apps in a group, you may lose the layout. To avoid this, try to keep your Snap Group apps open or use hibernation mode instead of shutting down your computer.

Saving Virtual Desktop Layouts

Virtual Desktops are persistent through reboots, meaning your layouts will remain intact even after you turn off your computer. However, the apps themselves might not reopen in the same arrangement if they don’t support session saving (e.g., Chrome might not restore all windows).

To avoid this issue, manually save your work and reopen apps when starting up. Alternatively, you can use a third-party tool to automate the process.

Multiple Monitor Setup

Make sure your display settings are configured to expand rather than duplicate your screen when utilizing multiple monitors. This way, your workspace layout will be preserved across the monitors.

To make sure your layout is saved:

  • On the desktop, use the right-click menu to choose “Display settings.”
  • Choose “Extend these displays” from the display options.
  • Position your monitors in the arrangement that best suits your workflow.

Tips for Effortlessly Restoring Your Workspace

Now that you know how to save your workspace layout, let’s look at some tips for restoring it quickly and efficiently.

Restoring Snap Groups

When switching between tasks, you can restore Snap Groups by hovering over the app icon on the taskbar. From the preview, select the Snap Group to bring back your entire layout.

Reverting to Saved Layouts with Virtual Desktops

You may quickly move between multiple layouts with virtual desktops. Use the Task View button or the keyboard shortcut (Ctrl + Windows + Left/Right Arrow) to move between desktops and restore the associated layouts.

Restoring Layouts with External Monitors

Ensure your external monitors are connected before booting up your computer. Windows 11 will automatically restore your saved layout based on your display settings.

Troubleshooting Layout Restoration Issues

Sometimes, layout restoration doesn’t work as expected. Here are some common issues and their solutions:

Snap Groups Not Saving Properly

Ensure that your apps remain open in the Snap Group. Closing all apps in a group may cause the layout to be lost.

Virtual Desktops Not Retaining Layouts

If apps aren’t restoring correctly, check if they support session saving. If not, consider using a third-party tool.

External Monitor Setup Issues

Make sure your display settings are set to “Extend” rather than “Duplicate.” If issues persist, update your graphics drivers.

Conclusion

Customizing and save workspace layout windows 11 can greatly improve your productivity and workflow. By utilizing pre-installed tools such as Virtual Desktops, Snap Groups, and Snap Layouts.

Examine these choices to see which ones are most suitable for you. You won’t ever have to be concerned about forgetting your workspace arrangement again if you have the proper setup.

For More Related Information: how to reopen closed tabs | appdata | snipping tool shortcut | windows 10 key 

What is the Startup Folder in Windows 10? 

startup folder windows 10

When you power on your computer, various programs and processes begin to load, some of which are necessary, while others may not be as crucial.  

These programs are managed through the Startup Folder, a vital component in ensuring a smooth and efficient startup experience. This blog will delve into the intricacies of the Startup Folder in Windows 10, including its location, how to modify its contents, and troubleshooting tips to fix common issues. 

What is the Startup Folder? 

The Startup Folder in Windows is a special directory where shortcuts to programs are placed, allowing them to launch automatically when your computer boots up. This feature is designed to save users time and enhance productivity by ensuring that essential applications and services are ready to use immediately upon startup. 

The Startup Folder can include various types of software, such as: 

  • Antivirus programs to ensure your computer is protected right from the start. 
  • Cloud storage services like OneDrive or Google Drive to keep your files synced. 
  • Communication tools like Skype or Microsoft Teams for instant connectivity. 

However, not all programs that load during startup are beneficial. An excessive number of starting apps might cause your computer to run slowly, take longer to load up, and use up system resources. Therefore, keeping your system operating at its best requires that you understand and take care of the Startup Folder. 

Where is the Startup Folder in Windows 10? 

Finding the Startup Folder in Windows 10 can be somewhat elusive if you’re not familiar with the system’s structure. Windows 10 has two primary Startup Folders: 

  • The User-Specific Startup Folder: This folder contains programs that start only for the currently logged-in user. 
  • Path: C:\Users\[Username]\AppData\Roaming\Microsoft\Windows\Start Menu\Programs\Startup 
  • The System-Wide Startup Folder: This folder includes programs that start for all users on the computer. 
  • Path: C:\ProgramData\Windows\Microsoft\Start Menu\Programs\beginning  

You may use the Run dialog box to access these folders:  

  • Utilize Windows + R to initiate the Run dialog box. 
  • Type shell:startup for the user-specific folder or shell:common startup for the system-wide folder. 
  • Press Enter, and the respective Startup Folder will open. 

How to Change Programs in the Startup Folder in Windows 10? 

Managing the programs in your Startup Folder involves adding or removing program shortcuts. Here’s a step-by-step guide: 

Adding Programs to the Startup Folder 

Locate the program you want to add: Find the executable file (.exe) of the program or its shortcut. 

Create a shortcut: Create a shortcut may be selected by right clicking the executable file or its shortcut. 

Move the shortcut: Copy and paste this shortcut into the appropriate Startup Folder (user-specific or system-wide). 

Removing Programs from the Startup Folder 

Open the Startup Folder: Use the Run dialog as described above to navigate to the user-specific or system-wide Startup Folder. 

Delete the unwanted shortcuts: Locate the shortcut of the program you wish to remove, right-click it, and select Delete. 

Using Task Manager to Manage Startup Programs 

Windows 10 also allows users to manage startup programs through the Task Manager: 

Open Task Manager: Press Ctrl + Shift + Esc or right-click the taskbar and select Task Manager. 

Navigate to the Startup tab: A list of the applications that launch on your computer may be found here. 

Enable or disable programs: To enable or disable a software, right-click on it and choose. 

How to Fix Windows 10 Startup Folder? 

Sometimes, issues with the Startup Folder can arise, causing certain programs not to launch correctly or the system to experience delays. Here are some common problems and their solutions: 

Missing Startup Folder 

If the Startup Folder is missing or inaccessible, it could be due to file corruption or incorrect settings. 

Check for hidden files: Go to the File Explorer Options > View tab > Show hidden files, folders, and drives to make sure hidden files and folders are visible. 

Restore the default folder path: If the folder is still missing, you might need to recreate it manually at the default path. 

Startup Programs Not Launching 

If certain programs are not launching at startup, consider the following: 

Check the shortcut path: Ensure the shortcuts in the Startup Folder point to the correct executable files. 

Run as administrator: Some programs require administrative privileges to run. Set the shortcut attributes so that the administrator is always run. 

Compatibility issues: Check for compatibility issues with Windows 10. Sometimes, older software may need compatibility mode enabled. 

Slow Startup Times 

Excessive programs in the Startup Folder can slow down boot times.  

Disable unused applications: To disable unused starting programs, use Task Manager.  

Conduct a system scan: Use the built-in utilities DISM and sfc /scannow to examine and fix system files. 

Conclusion 

The Startup Folder in Windows 10 is a powerful tool for enhancing productivity and ensuring essential programs are ready to use immediately upon booting up your computer. By understanding its location, how to manage its contents, and troubleshooting common issues, you can maintain a fast and efficient system startup. 

You can keep your computer running at its best by keeping your startup folder organized and optimized. Recall that although setting up some apps to launch automatically might be handy, you should balance them to prevent using your system’s resources too much. 

By following the guidelines provided in this blog, you’ll be well-equipped to manage your Windows 10 Startup Folder effectively, ensuring a seamless and productive computing experience.