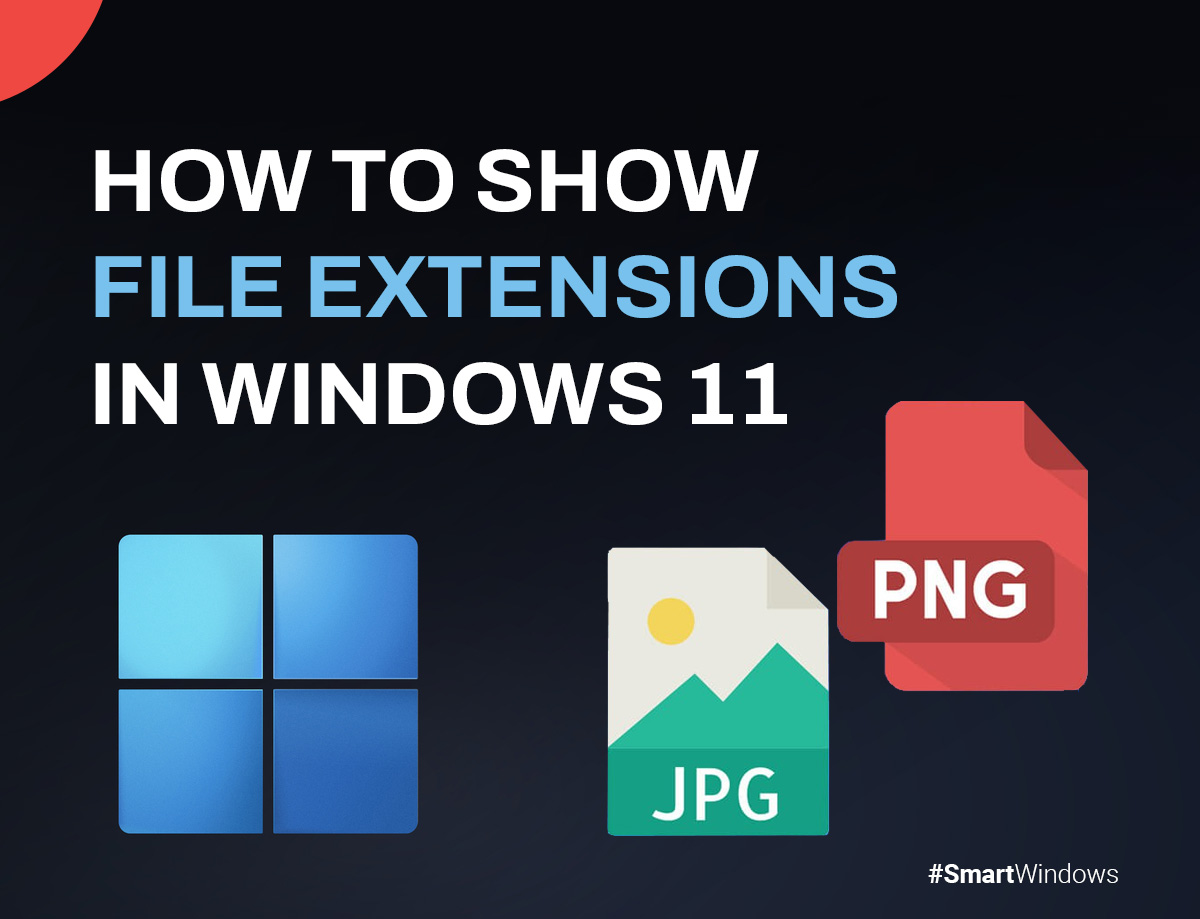
Upon diving into Windows 11, you might notice an interesting quirk within File Explorer: it conceals the extensions for familiar to show file extension Windows 11 file types as the default setting. Yet fear not, for there exist several avenues through which you can unveil these extensions.
A file’s extension, a sequence of three or four characters following the dot at the end of its name, symbolizes its format. Consider filenames like ‘my-notes.txt‘ or ‘my-document.docx‘. Although including extensions might seem superfluous once the file is saved, it serves as an additional visual cue to recognize the file format swiftly. Moreover, it proves beneficial when the need arises to switch between compatible extensions—say, transforming ‘.txt‘ to ‘.bat‘, especially when creating scripts or batch files. In this article, we’ll discuss how to show file extensions in Windows 11. So, let’s get started!
How to Show File Extensions Using File Explorer
Within Windows functionality, the File Explorer is an important tool, granting you access to and dominion over your operating system’s array of files. Moreover, this versatile utility accommodates the revelation of file extensions dwelling within your computer’s precincts. To undertake this venture, adhere to the following guidelines:
- Initiate the File Explorer by navigating through the Start menu bar. Simply type ‘file explorer’ and select the most pertinent option from the array of search outcomes.
- Go to the ‘View’ tab on the interface.
- Click “View” to see more options, then click “Show” to proceed.
- Select “File name extensions.”
- Confirm your intention to display file name extensions Windows 11 and watch the satisfying transformation.
- With this final step, your computing world will undergo a refreshing transformation. Watch as file extensions are revealed like a curtain being drawn back to reveal the hidden nature of each Windows 11 file.
See File Extensions via Command Prompt
If you face any problems with the avenue, don’t worry. You could also try using the Command Prompt. Here are the steps to get started:
- To start, open the Start menu and type “cmd” in the search bar. Choose the Command Prompt application from the search results.
- You’re ready to take control with the Command Prompt at your fingertips. Here’s how to show file extensions in Windows 11 command line:
reg add HKCU\Software\Microsoft\Windows\CurrentVersion\Explorer\Advanced /v HideFileExt /t REG_DWORD /d 0 /f
- Hit the ‘Enter‘ key to set this command into motion.
Using command lines lets you control your system and learn more about it. Using a specific command allows you to see file extensions and better understand your system.
View File Extensions through File Explorer Options
File Explorer options let you navigate your system’s settings. By following these steps, you can change how File Explorer behaves, including whether or not to show file extensions:
- Open the Start menu’s search bar and type ‘control panel.’ Choose the best match that appears.
- Inside the Control Panel, search for ‘file explorer options‘ and select the most relevant result.
- Click on the “View” tab.
- Look for ‘Advanced settings‘ and find the section named ‘Files and Folders.‘
- Find the box that says, “Hide extensions for known file types.” Uncheck it to trigger the display of hidden extensions.
- Confirm by clicking ‘OK.’ Your settings will be saved instantly.
Display File Extensions in Windows 11 via Folder Options
To show file extensions on Windows 11 using Folder Options, follow these steps:
- Launch File Explorer and tap the three-dot menu on the upper toolbar. From there, select “Options.”
- Move to the “View” tab in the ensuing window. Scroll to find the setting you’re looking for.
- Spot the checkbox labeled “Hide extensions for known file types.” Uncheck it, then confirm by hitting “OK.”
- Explore a folder containing various file types, and you’ll now notice the file extensions accompanying each file name.
- If you wish to revert to the default hidden state, return to Folder Options and check the “Hide extensions for known file types” checkbox. Confirm by clicking “OK.”
Show File Extensions in Windows 11 via Windows Settings
To make file extensions visible in Windows 11 using the Settings app, follow these steps:
- Swiftly launch the Settings app by pressing “Windows + I“ keys together. Next, let’s head over to the left sidebar and click on “Privacy & Security.” Once you’re there, check out the right pane and click on “For developers.” It’s right there waiting for you!
- Locate the “File Explorer” section, then click “Show settings” next to the option “Change settings to show file extensions.”
- The familiar Folder Options window will open, akin to the previous method. In this window, clear the checkmark next to “Hide extensions for known file types.” Confirm by selecting “OK.”
- Now, your Windows 11 PC will unveil file extensions for easy access.
The Bottom Line
The new Windows 11 Explorer interface looks pretty nice. They’ve moved some of the most-used options to the View menu so you can get to them quickly. It’s important to turn on the display of file extensions in Windows 11 so you know what kind of file you’re about to open. To enhance your Windows 11 experience further, consider downloading SmartWindows. This cool application makes your Windows 11 experience smoother and faster, so you can get more done in less time.
SmartWindows
Restore Browser Tabs with SmartWindows. It maintains an active tab history and restores browser size as well as display position on one screen or many.
FAQs
How do I show all file extensions?
- Launch File Explorer.
- Select the View tab.
- Select the checkbox labeled “File name extension.”
- Optionally, you can also enable Hidden items.
- Now, file extensions will be visible.
What is the shortcut to show file extensions?
- Use Windows logo + E to open File Explorer.
- Press Alt, then V, and finally HF to toggle file name extensions.
How do I hide file extensions in Windows 11?
When in the Folder Options window, scroll to Advanced settings. You can hide or show file extensions by selecting or deselecting the “Hide extensions for known file types” checkbox in File Explorer. Confirm your choice by clicking Apply and OK at the bottom.