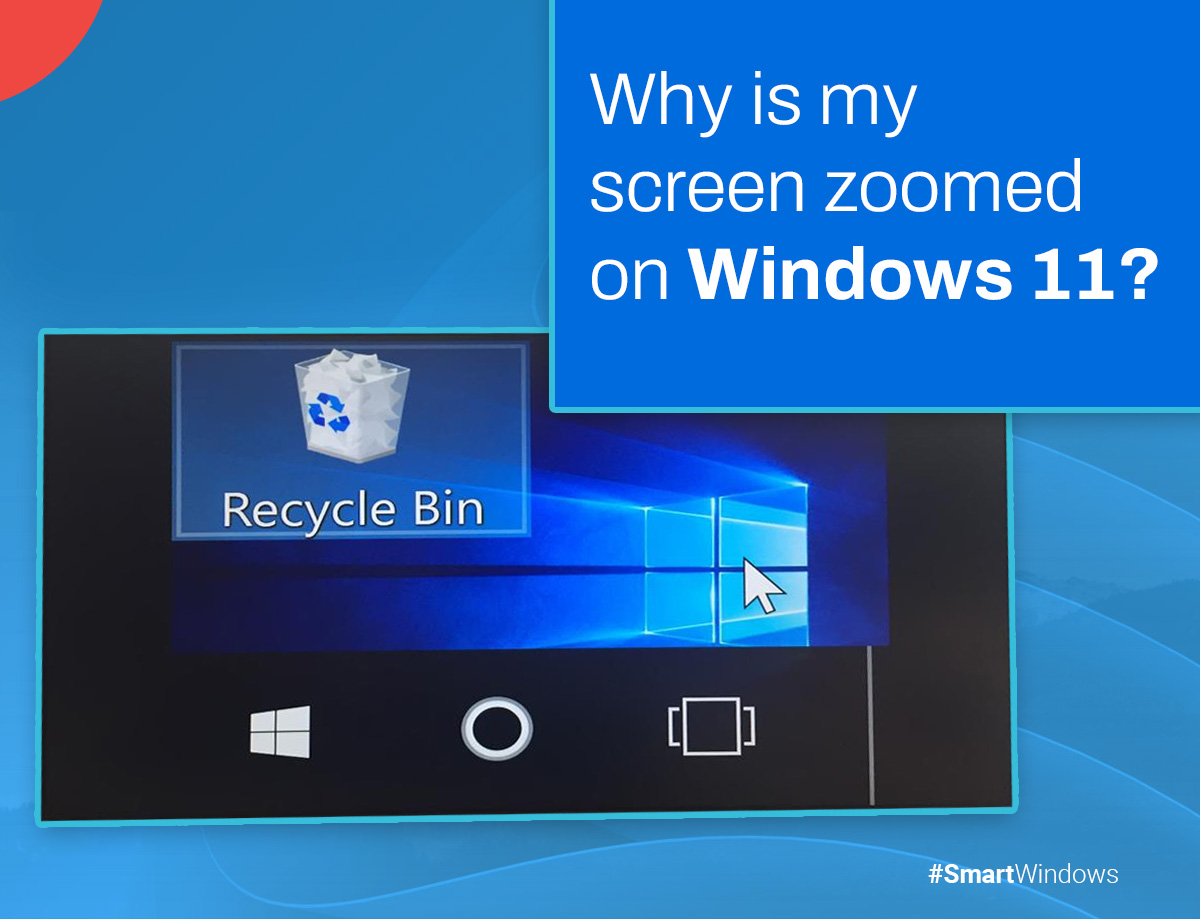
If your monitor or screen presents an excessively magnified view, it suggests that the current display configurations are not optimally set. Scaling and display resolution enable a zoomed-in perspective on the screen, leading to larger icons. These utilities make the screen easier to read by changing how images and text are displayed. Windows generously empowers users to customize the desktop’s display parameters to align with their preferences. Typically, instances of the over-enlarged display phenomenon on Windows 11 tend to manifest after a Windows update or due to an outdated or corrupted graphics driver within the system.
In this article, we’ll answer your question, “My computer screen is zoomed in How do I get it back to normal?” So, let’s get started!
Why is Your Screen Zooming on Windows 11?
Windows 11, the latest rendition of the Windows operating system, introduces a range of novel features that can inadvertently lead to the phenomenon of screen zooming. Diverse factors contribute to this occurrence; fortunately, most of them can be swiftly and efficiently rectified.
This article will discuss the causes of screen zooming in Windows 11 and how to fix them. Among the foremost triggers behind this occurrence lies in alterations to system settings. Windows 11 arrives equipped with an array of customizable settings, encompassing display scaling, resolution, and text dimensions, each capable of molding your user experience. The outcome can manifest as an enlarged screen presentation if any of these settings undergo modification.
Thankfully, the resolution is within reach—restoring these settings to their default configurations is a straightforward remedy. Another plausible instigator of zooming on Windows 11 pertains to hardware intricacies. If your computer’s display calibration is skewed, the outcome might translate into a zoomed-in display. Redressing this entails fine-tuning the hardware settings associated with your display. It’s worth noting that improper display connectivity can equally contribute to the zoomed-in effect.
Solution 1 – Adjusting Scale and Display Resolution Settings
If you want to open up your Settings on your computer, just hit the Windows key and the letter ‘I’ at the same time.
- Ensure that the left panel displays the ‘System’ category.
- To the right, find and click the “Display” option.
- Within the ‘Display’ section, use the provided dropdown menu linked to ‘Scale’ and opt for either the 100% setting or the recommended choice tailored to your specific display.
- Consider clicking on the small arrow next to the dropdown box for more tailored adjustments.
- This action will take you to the ‘Custom Scaling‘ page, where you can set a custom scaling size from 100 to 500.
- Once you’ve configured your preferred custom scaling, affirm the changes by selecting the checkmark symbol.
- Conclude this step by restarting your computer and assessing whether the display issue persists.
- If the zoomed-in display problem persists, return to the ‘Display Settings‘ page. Locate the dropdown adjacent to ‘Display resolution’ and choose an alternate value for the screen resolution.
- While adjusting the resolution, exercise caution to select a value that corresponds accurately to your screen’s native display resolution.
Solution 2 – Reverting to a Previous Display Driver Version
- If you have a zoomed-in screen after a Windows update, revert to an earlier version of your display driver.
- Just press the Windows key and S simultaneously, then type “device manager” in the search bar that appears.
- Select the “Device Manager” option from the search outcomes.
- To access the “Display adapters” section in the Device Manager, simply click on the small arrow icon located next to it. This will expand the section and allow you to view and manage your display adapters with ease.
- Locate your display adapter in the list, then right-click on it. Choose the “Properties” option.
- Navigate to the “Driver” tab within the window that appears.
- If the “Roll Back Driver” button is accessible, click it. Follow the instructions on-screen to initiate reverting the driver to its previous version.
- Reboot your computer and see if the zoomed-in screen issue has been resolved.
Solution 3 – Updating Your Display Driver
- To initiate the process, concurrently press the Windows key and R. Doing so will open the Run dialog box.
- To open the Device Manager, type “
devmgmt.msc” in the Run dialog box and press Enter. - To access the Display adapters category in Device Manager, simply locate and click on the small arrow icon located next to it. This will expand the category and provide you with more options.
- To update your display adapter, first open the Device Manager and locate your display adapter from the list. Next, you should right-click on it and select the “Update driver” option from the menu.
- When you take this action, the window for updating drivers will be opened. Within this window, select the option labeled “Search automatically for drivers.”
- Allow Windows to perform a search for updated drivers and subsequently install them.
- To resolve the problem with the screen zooming, try updating your display drivers. After finishing the update process, please restart your computer and check if the problem has been resolved.
Solution 4 – Fine-Tuning Hardware Configurations
- Search for “Control Panel” in the Windows search bar.
- To access the Control Panel, simply right-click on the Windows icon.
- To access the Control Panel on your Windows device, simply press the Windows key and X key together and click on “Control Panel“ from the options that appear.
- To access the “Display” settings, simply make your way to the Control Panel. This can often be found under “Appearance and Personalization.”
- Look for the “Adjust Display Settings” option. This section lets you customize your display settings.
- Within the “Adjust Display Settings” section, assess the current settings and make adjustments as necessary to counteract the zoomed-in screen issue.
- Focus on parameters like resolution, which might be a key factor in the problem.
- Apply changes, exit Control Panel.
Solution 5 – Reinstall Windows 11 as a Last Resort:
- Obtain Windows 11 installation media (USB drive or disc).
- Insert the media and restart your computer to boot from it.
- Follow on-screen instructions in the Windows 11 installation wizard.
- Choose installation options that suit your preferences.
- Windows 11 will be reinstalled with default settings.
Conclusion
A zoomed-in computer screen can be frustrating, but various solutions can bring it back to normal. You can often resolve display problems by adjusting settings, updating drivers, and fine-tuning hardware. If these methods prove ineffective, reinstalling Windows 11 as a last resort might provide a fresh start.
SmartWindows streamlines adjusting settings, fine-tuning resolutions, and optimizing visuals. Seamlessly adapt scaling, brightness, and resolution to your preference.SmartWindows fixes display glitches and restores seamless screen experience when conventional fixes fail.

SmartWindows
Restore Browser Tabs with SmartWindows. It maintains an active tab history and restores browser size as well as display position on one screen or many.
FAQs
How do I get my screen back to normal size on Windows 11?
- Access your Display settings by staying in or opening the appropriate section.
- Navigate down to the Scale & Layout section.
- Within this section, choose Scale, then select an option. Opting for the one marked as “Recommended” is generally the ideal choice.
Why can’t I resize a window?
This encompasses adjustments to both display resolution and scaling. Yet, manually altering these settings might lead to complications, particularly regarding app window resizing functionality. To resolve this concern, it’s crucial to reverse the modifications and restore the display settings to those recommended by Windows.
Which window Cannot be moved or resized?
Before relocating a window, ensure it is not in the maximized state. The ability to resize a window is disabled when it’s maximized. If the window is maximised, click the maximize or resize button to restore its adjustable state.
For More Related Information: how to reopen closed tabs | appdata | snipping tool shortcut | windows 10 key


