How to Make a Program Open on a Specific Monitor in Windows

how to make a program open on a specific monitor windows 10

Do you have a  multi-monitor system that you use to boost productivity and efficiency? However, it is often seen that many users struggle with launching apps and programs on a specific display. Here you can learn “how to make a program open on a specific monitor windows 10”.

If you are someone who is facing such issues, then don’t worry! We have put together a guide on how to open programs and apps on a specific monitor display.  We’ll also discuss some fixes for multi-monitor display issues.

How Do I Open a Program on a Certain Monitor?

If you use a dual or even multi-display setup and don’t know how to open a program on a certain monitor, we have three methods that can help you do this.

  1. Drag and Drop

You can drag and drop a program in the following way to open it on a specific monitor:

  • First, launch the program you wish to open on the monitor.
  • Drag and drop it to the monitor you want to open it on.
  • Then click on the “Restore Down” icon. This will reduce the size of the window by half
  • Press the “X” button and close the window

Now, whenever you launch the program, it will open on the specific monitor. If you want the program to open on another monitor, follow the same steps. 

  1. Keyboard Shortcuts

Another way you can open a program on a specific monitor is by using keyboard shortcuts. Here’s how: 

  • First, launch the program.
  • Press the Windows + Shift + Left arrow key to open a program on the monitor to the left.
  • Press the Windows + Shift + Right arrow key to open a program on the monitor to the right.
  • Reduce the size of the program by half by clicking on the “Restore Down” button and dragging the window’s corner inward.
  • After this, close the program.

Now, whenever you launch the program, it will open by default on your chosen monitor.

  1. Change the Main Display

If you want to launch a program on a specific monitor, then you can make that monitor your primary display by following these steps:

  • Go to Windows settings by pressing Win + I.
  • Click on System.
  • From there, select Display.
  • In the “Multiple Display” section, select your desired monitor.
  • After selecting your monitor, check the box “Make this my main display,” and you are done.

Fixes for Issues With Multi-Monitor Displays

If you are still facing issues with launching programs on multi-monitor displays, then you can try the following fixes to resolve these issues:

  1. Utilize The Extend Option

You can troubleshoot your multi-monitor display systems by enabling the extend mode on each monitor for easy navigation.

  • Press the Windows + P buttons.
  • Click on “Extend”
  • Repeat these steps on all of the monitors before opening a program on a different monitor.
  1. Restart and re-plug your system

To resolve the issue of programs not opening on your desired monitor, shut down and unplug all of the devices. Afterward, plug everything back in, turn on all of your monitors and computers, and see if this fixes the issues. Moreover, connect all of the monitors with an HDMI cable for faster connectivity.

  1. Update your display drivers

Another way you can fix your multi-monitor display issues is by updating your display drivers.

  • Press Win + X buttons simultaneously.
  • Click on the “Device Manager” option.
  • Expand the “Display Adapters” section
  • Then, right-click on your primary display adapter and select “Update driver”.

Once the drivers are updated, restart your PC and launch the program on the monitor you desire. This will resolve the multi-monitor setup issue.

SmartWindows

Restore Browser Tabs with SmartWindows. It maintains an active tab history and restores browser size as well as display position on one screen or many.

Final Word

After following these steps, you can use your multi-monitor setup or how to make a program open on a specific monitor windows 10 to its maximum benefit. Also, if you want your desktops to save your preferences, you can use SmartWindows for that.

SmartWindows is a Windows utility app that lets users arrange their windows on one screen or many with just a click. There is no need to go and set up your apps to open on specific monitors every time; just create your profile, and SmartWindows will save all of your preferences. 

FAQs

How Do I Get Windows 10 to Remember the Windows Position on Multiple Monitors?

  • Open the Windows Settings by pressing Win + I.
  • Open the System Section.
  • Click on the Display Tab.
  • Locate the Multiple Displays section on the right
  • Select Remember window locations.
How to Change Primary Monitor in Windows 11 – Useful Tips

Setting up your computer screens can be easy for some people, but hard for others who don’t know much about technology. It might feel confusing to use the new Windows Settings app from Microsoft.

The Settings app serves as a modernized alternative to the Control Panel. It has many features in the same places as the previous operating system. Setting up multiple monitors is easy and quick once you know where to go. This includes deciding which monitor to designate as your primary display. Would you like to change the monitor that is currently in use? In this article, we’ll tell you how to change primary monitor in windows 11. So, let’s get started!

Set Up Your Dual Monitors

When multitasking or tackling complex tasks on your computer, having multiple monitors can boost productivity. While setting up dual monitors is a simple task, there are a few things you should consider before you begin.

First, you need to check if your computer can support dual monitors. Here are the steps:

  • Open the Settings menu on your Windows computer.
  • Navigate to the “System” section.
  • Click on “Display” from the options listed on the left sidebar.
  • Move the cursor down and find the “Multiple Displays” option. If this option is present, your computer is equipped with dual monitors.
  • Once you’ve confirmed your computer’s dual-monitor capabilities, the next step is to assess the hardware prerequisites.

Older computers might need a VGA cable and an HDMI to VGA converter to facilitate the connection. Conversely, modern computers typically require just an HDMI cable. In either case, you’ll also need to acquire an external monitor to function as your secondary display.

Make sure to use the correct cable to connect your computer and monitor. Check your computer’s video output ports and securely attach the cable to your monitor and computer. Finally, choose a display configuration that meets your requirements.

Selecting Your Display Arrangement

After successfully connecting your additional monitor, the next step is to determine how you’d like to manage and showcase your content. Follow these steps to access the projection menu using the Windows + P keyboard command. You’ll find four distinct options to choose from:

PC Screen Only 

This serves as the default setting. It directs all content exclusively to the primary monitor, leaving the secondary monitor dormant and unutilized.

Duplicate

Opting for this mode results in both the primary and secondary monitors displaying identical content. This configuration is especially practical when the secondary monitor is larger and aims to replicate the primary monitor’s output.

Extend

Use the second monitor to expand your workspace. Widely adopted due to its versatility, the primary and secondary monitors can exhibit different content, making it an excellent choice for multitasking.

Second Screen Only

Here, the secondary monitor takes center stage, exhibiting all content while the primary monitor remains inactive.

Determining Your Primary Monitor

It’s important to establish which monitor holds the status of being the primary display. The initial display device linked to your computer assumes this role by default. The built-in screen is inherently the primary monitor for laptops, while any external monitors are considered secondary.

To pinpoint the primary monitor, adhere to these steps:

  • Launch the Settings menu on your Windows computer.
  • Access the “System” section.
  • Choose the “Display” option.
  • In the case of Windows 11, click on “Identify” to assign a numerical label to each screen.
  • The monitor designated with the number 1 at the center is unequivocally the primary monitor. As you progress numerically, the second monitor assumes the number 2, while a third monitor claims the number 3.

Changing Your Primary Monitor

While the default assignment of the primary monitor is typically automated, you have the flexibility to alter this configuration manually. The process for changing your primary monitor varies depending on the type of computer in use. Let’s look at the Windows 11 change display shortcut:

  1. Go to Settings

To start, go to your settings menu. You can do this by clicking on the Start menu, which is the Windows icon in the bottom-left corner of your screen. Then, click on the gear icon to open Settings.

Or you can also locate the search icon adjacent to it. You can directly input “Change primary display ” by clicking on this icon. This Windows shortcut change primary monitor will direct you to the relevant settings page, bypassing the need to navigate various menus.

  1. Access the “Multiple Monitors” Option

Next in line, click on the “Multiple Monitors” setting. Remember that this option might appear greyed out if your computer cannot detect the monitor you intend to designate as the new primary display.

Should you encounter difficulties with your PC’s ability to identify the intended monitor, a troubleshooting process will be necessary to rectify the issue.

Troubleshooting 

Encountering issues with your multi-monitor setup? Here’s a concise troubleshooting guide:

  • Check Connections: Ensure monitors are connected to the graphics card, not the motherboard.
  • Cable Adjustment: Switch cables to the GPU if needed. Consider USB-C or Display Port cables.
  • Quick Settings: Press Windows Key + P to adjust monitor settings. Ensure it’s not set to display one screen only.
  • Try Another Cable: Sometimes, a different cable can solve the problem.
  • Update Drivers: Update graphics card and onboard card drivers. Use software like GeForce Experience for NVIDIA or AMD’s software.
  1. Adjusting Primary Monitor and Display Arrangement

Inside the menu, you’ll see a visual representation of your connected monitors, complete with approximate display size and their spatial arrangement. This representation corresponds to how you’ll navigate your cursor between the monitors. You can rearrange these icons if your monitor positions change, but the main purpose here is to:

Select the icon representing the monitor you wish to designate as the primary display. From this point onward, most applications and content will typically open on this screen by default.

Monitor Disconnection Experience in Windows 11

Windows 11 has a useful feature that keeps the positions of program windows even if you disconnect your monitor. This is useful for laptop users who switch between various setups, such as docking stations and wired connections. With this feature, returning to your previous setup becomes seamless. You no longer have to endure the frustration of reorganizing your desktop layout due to Windows seemingly shuffling your windows like a game of 52-card pick-up.

Conclusion 

Configuring multiple displays and setting a primary monitor can be daunting at first, but it’s actually pretty easy. However, don’t worry, as the elucidation provided within this article serves as your guiding light. Elevate your multitasking prowess both in the home and office settings with the ingenious assistance of SmartWindows. Seamlessly accommodating up to 6 displays, SmartWindows revolutionizes multi-monitor support, enhancing your productivity across many screens.

SmartWindows

Restore Browser Tabs with SmartWindows. It maintains an active tab history and restores browser size as well as display position on one screen or many.

FAQs

How do I change the main monitor in Windows 11?

To designate a monitor as your primary display, click on its corresponding number in the section above the “Multiple Displays” option. Customize your display by changing the wallpaper or screensaver, adding widgets, and selecting your monitor as the main display for the best viewing experience. For added convenience, Windows 11 allows you to retain your open windows’ positions by clicking on the “Remember window locations based on monitor connection” button. 

How to shift a window from one monitor to the other?

Should a window materialize on the incorrect monitor within your multi-display setup, rectifying the situation is a breeze. By employing the Windows Key + Shift + Left/Right Arrow Key shortcut keys, you can smoothly navigate the window to the desired monitor. Use the left arrow key to shift it to the previous display or the right arrow key to relocate it to the subsequent one.

How do I change my primary monitor fast?

Customizing your primary display is a simple process. To customize your display, simply right-click on your desktop and choose “Display settings.” Once there, click on the box corresponding to the numbered display you intend to set as your main. Scroll to the bottom of the page and tick the checkbox labeled “Make this my main display.” Click the top-right X to finalize changes.

How to Restore Display Settings in Windows – Ultimate Guide

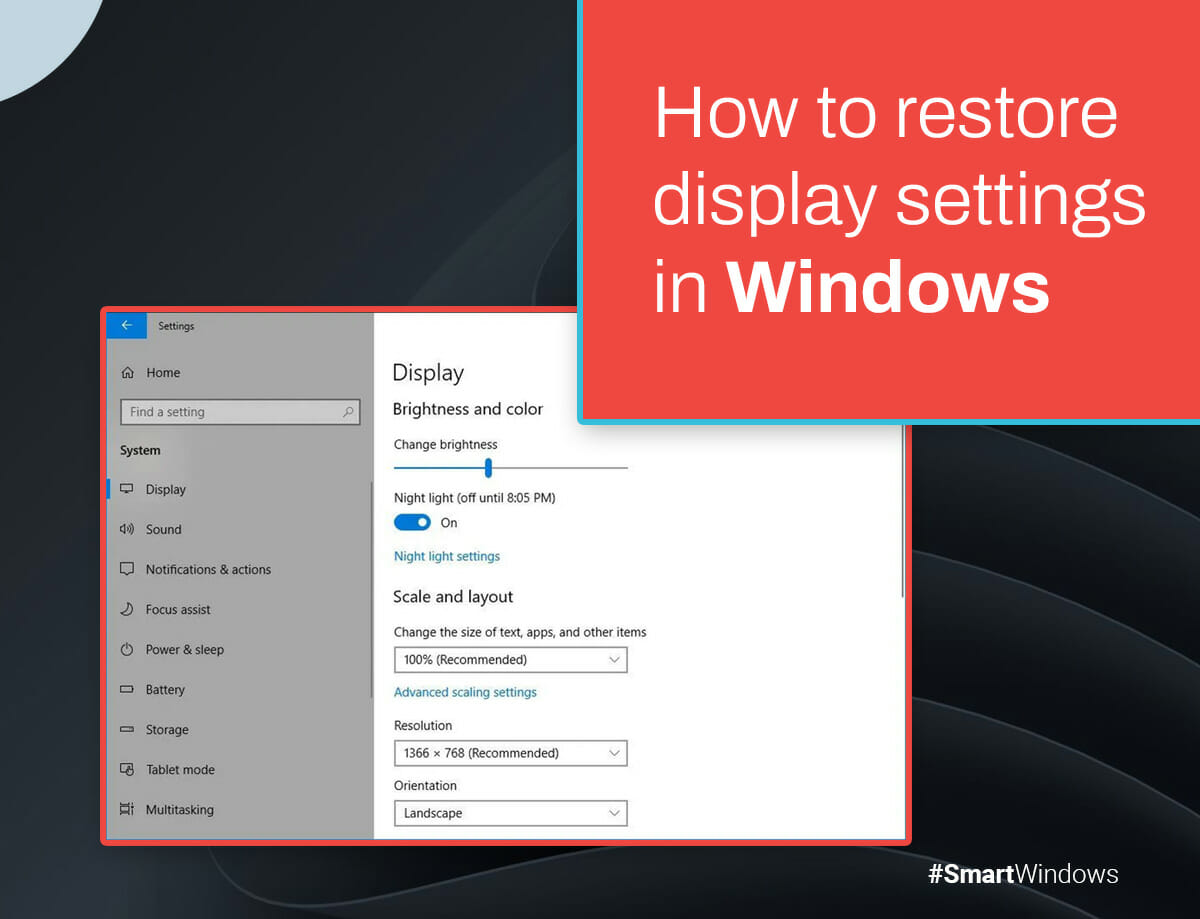
Encountering display troubles like wonky scaling, color wonkiness, or resolution hiccups on your Windows desktop? Don’t worry! Resetting your display settings can often save the day. With issues tackled and worries banished, you can restore sanity by reverting to default settings.

But here’s the catch: Windows 11 doesn’t offer a quick keyboard shortcut for this reset magic. But don’t worry. In this article, we’ll discuss how to restore display settings in Windows. So, let’s get started!

Resetting Every Option on Windows 11

Windows grants us the luxury of tweaking display settings to match our preferences. The options are vast and varied, from themes to colors, fonts to text sizes, and resolutions to orientations.

But, oh, the difficulty when it’s time to reset them! Don’t worry, for the solution is here. No more fretting or frantic searching. Let’s see how to easily reset display settings Windows 11 shortcut.

Windows 11’s Color Schemes

Color scheme choices are personal, but the dark mode is popular in tech. But Windows doesn’t merely stop at light and dark modes. Customization is an available option for you to explore. And if the thought of restoring this scheme baffles you, here’s your map to returning to the default (light) mode:

  • Launch Settings from the start menu and navigate to the Personalization tab.
  • Within, find and select Colors.
  • Now, opt for Light within the “Choose your mode” category. Witness the magic as your display’s color scheme resets.

Windows 11’s Scaling Feature

Display scaling, undoubtedly, is your ticket to screen zooming mastery. The power to expand or shrink your visuals rests in your hands. But what if you’re yearning for the good ol’ default? Allow us to guide you:

  • Press Windows + I to whisk you straight to the Settings app.
  • Now, dive into System > Display.
  • Look for the Scale option nestled within Scale & Layout. Witness the drop-down menu unfurl; pick the recommended percentage like a pro.

But wait, there’s more! If custom scaling has you entangled and you’re craving a reset, consider this your lifeline:

  • Return to the Display settings window.
  • Lay eyes on the “Turn off custom scaling and sign out” choice.
  • With a click, your computer reboots. Upon re-entering Windows, the display scaling fairy waved its wand, restoring the default harmony.

Balancing Pixels on Windows 11

Tinkering with display resolution can shrink or expand your pixel landscape. But beware of the pixel pitfalls! To avoid this problem, we advocate embracing the recommended settings. While a direct reset might elude you, the default path is paved with these steps:

  • Begin your journey at Settings > System > Display.
  • Scout the terrain for the Display Resolution drop-down. Give it a click.
  • Discover the ideal setting for your monitor, which depends on its size and aspect ratio.
  • With your heart set, click the Keep Changes button.
  • Your display resolution is restored to its default setting as the pixels move in perfect synchronization.

Display Orientation on Windows 11

A topsy-turvy or sideways display? The culprit is an errant display orientation. Typically, Ctrl + Shift + Up arrow is your saving grace. Yet, if luck’s not on your side, allow us to guide you back to an upright world:

  • Journey to Settings > System > Display > Scale & Layout.
  • Within this realm, uncover the Display orientation option.
  • Choose Landscape as a simple option.
  • Within 15 seconds, seal the deal with a decisive click on the Keep Changes button. Should you dally, the changes are whisked away, reverting to their previous state.

Color Harmony & Display Accuracy

Color Management is your artistic palette, where you craft color profiles to orchestrate hues on your PC. Think of it as guiding your system’s color symphony. Complex profiles can complicate your color search. Here’s how to restore default display color settings in Windows 11:

  • Summon the Control Panel via Windows + R and the control command.
  • Tune the View by option to Large icons.
  • Focus on Color Management.
  • As the Color Management window opens, select your monitor.
  • Now, uncheck the “Use my settings for this device” box. This extinguishes any color profile blaze, unveiling the default shades.

Calibration is important to maintain accurate colors. It helps avoid printing problems caused by mismatched hues. The Windows calibration beacon can guide you through the process, so you don’t have to worry:

  • Within the Color Management window, leap to the Advanced tab.
  • Summon the “Change system defaults” button, embarking on the Advanced tab.
  • Under Display Calibration, embrace the “Use Windows display calibration” beacon.
  • Seal the deal with the Close button and witness the return to harmonious color realms.

Theme Reversions on Windows 11

Customized aesthetics or daring contrasts? Themes in Windows 11 are your gateway to an altered visual realm. But when the call of the default theme beckons, follow our lead:

  • Go to Settings > Personalization.
  • Go to the Themes tab.
  • Select the venerable Windows (light) theme in the current theme. Default returns.

Simplify your interface by dialing back on daring contrasts, like the Aquatic theme. Follow these steps for a more streamlined look.

  • Go to Settings and tread the path to Accessibility.
  • Under Vision, the land upon Contrast themes.
  • Open the Contrast themes drop-down and select None.
  • Seal the deal with an Apply click. 

Default Text Color on Windows 11

Tinkering with text color might seem enticing, but the aftermath can leave you squinting. When reading or identifying text becomes a trial, resetting the display setting is your beacon. Here’s how to unravel the solution:

  • Open Registry Editor with Windows key.
  • Enter this address in the Registry address bar to traverse the digital realm:
  • Computer\HKEY_CURRENT_USER\Control Panel\Colors
  • On the right-side panel, scroll down and double-click WindowText.
  • Set Value data to 0 0 0 and click Ok.
  • To remove highlight text, double-click Window and set Value data to 255 255 255.
  • Restart your PC to restore the text color to default.

Text Size Back to Default

Text size adaptation is great, but you can reset it if necessary. Here’s how:

  • Go to Settings > Accessibility > Text Size.
  • Slide the Text size slider to the left to 100%.
  • Click Apply.
  • Enjoy the text size returning to its default.

Desktop Icons

Personalized desktop icons are nice, but you can easily restore the default icons. Here’s how:

  • Go to Settings > Personalization > Themes.
  • Click Desktop icon settings.
  • Select the icon you want to restore to default.
  • Click Restore default.

Mouse Cursor 

If you want to stick with the default pointer on Windows, here’s a quick guide.

  • Go to Settings > Accessibility > Mouse pointer and touch.
  • Change the mouse pointer to white in the Mouse pointer settings.
  • If the pointer is too small, adjust the size of the Mouse pointer and touch tab.

Other Settings 

Many display settings can be customized. To reset them to default, you need to understand their default configuration. Here are a few more display properties that you can adjust:

  • Restore the default screen refresh rate
  • Dim transparency effects
  • Use a system accent color
  • Set touch keyboard size to 100% and theme to default
  • Manage visual effects in Accessibility settings
  • Tweak text cursor appearance, thickness, and indicators

Revolutionize Your Windows Workflow with SmartWindows

Elevate your Windows experience with SmartWindows. Seamlessly manage open app windows, snap them into perfect layouts, and personalize workspaces to match your needs. Intuitive display settings shortcut Windows 11, easy restoration, and a user-friendly interface make multitasking a breeze. This innovative technology will help streamline your work and keep everything in order.

SmartWindows

Restore Browser Tabs with SmartWindows. It maintains an active tab history and restores browser size as well as display position on one screen or many.

Can Windows 11 Support 3 Monitors? Explained

3 monitor setup

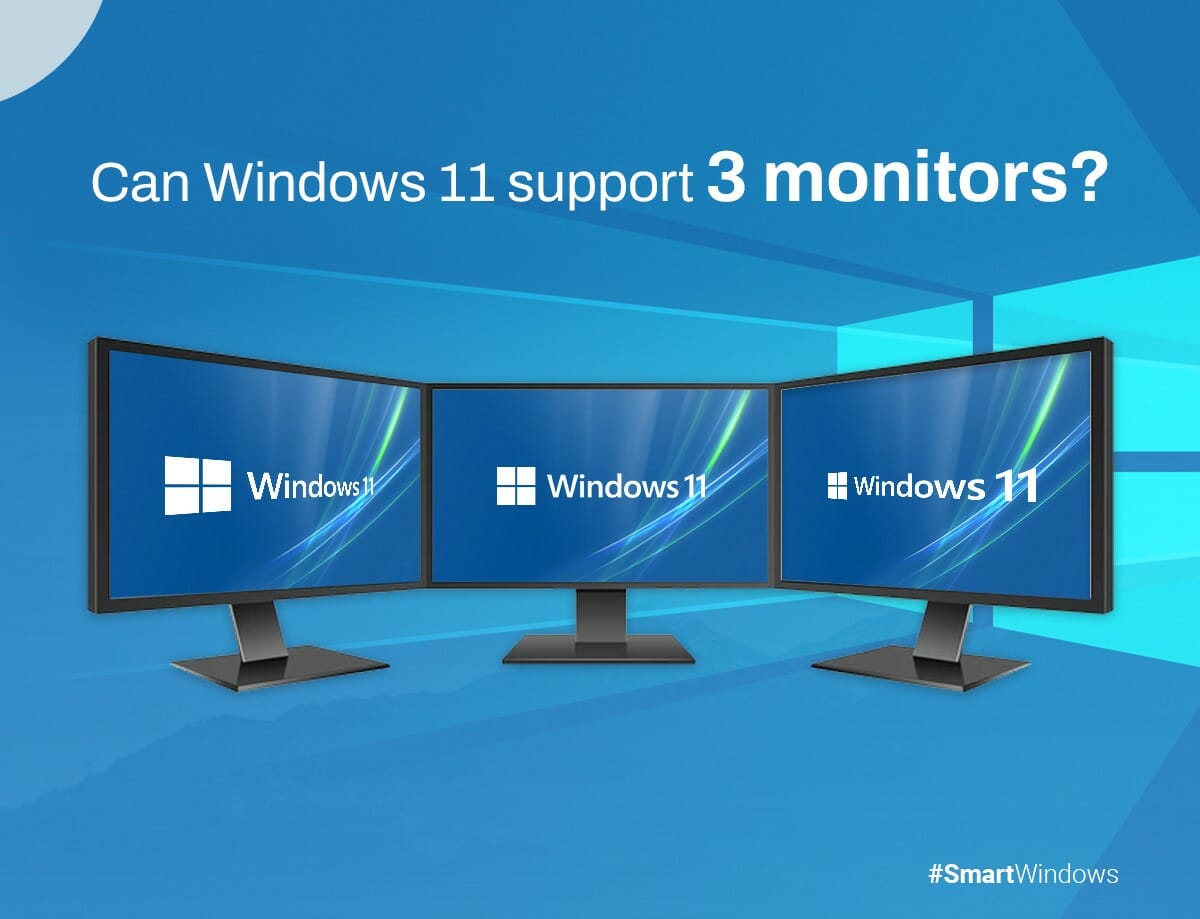
Windows 11 is the newest version of Microsoft’s operating system, bringing a revamped and contemporary appearance to the Windows interface. Although Windows 10 was famous for accommodating several monitors, users are eager to know whether Windows 11 can handle 3 monitor setup or more monitors. This article will explore the prerequisites for running three monitors on Windows 11 and how many monitors can windows 11 support. as well as the various methods for connecting and setting them up.

Requirements for Running 3 Monitors on Windows 11?

Graphics Card and Driver Requirements

To run 3 monitors on Windows 11, your computer must have a graphics card that supports three or more displays. The most recent driver must also be installed for the graphics card to function correctly with the operating system. The manufacturer’s website or Device Manager on your computer allows you to view the specifications for your graphics card.

Display Output Requirements

Apart from the graphics card, your computer must have the necessary display output ports to connect three monitors. HDMI, DisplayPort, and VGA are the most common display output ports. If your computer lacks the required ports, you can use display adapters to connect them.

How to Connect 3 Monitors to Windows 11

Connect 3 different monitors to your computer using a combination of display output ports and adapters. They can have different input types like HDMI, DisplayPort, or VGA. You can connect a 3rd monitor to the first two using a VGA to HDMI adapter, with the other two connected by DisplayPort and HDMI.

If your computer lacks the required display output ports, you can connect the monitors using display adapters. To connect three monitors to your computer, you have the option to use various types of adapters such as USB to HDMI, DisplayPort to HDMI, and VGA to HDMI.

Configuring Multiple Monitors on Windows 11

Display Settings

Once you have connected the monitors to your computer, you can configure them through the Windows 11 monitor settings. Right-click on the desktop and then choose “Display Settings.” Here, you can choose each monitor’s orientation, resolution, and scale.

Taskbar and Start Menu

You can also configure the Taskbar and Start menu to work across all 3 monitors. Right-click on the Taskbar. Then choose “Taskbar settings.” Select “Show taskbar on all displays” under  the “Multiple displays.” You can also configure the Start menu to open on the display of your choice.

Multi-tasking with Three Monitors

You can multitask more efficiently with 3 monitor setup by having different applications and windows open on different screens.

Common Multi Monitors Issues and Troubleshooting

Running 3 monitors on Windows 11 is simple. Still, you may encounter some Windows 11 multiple monitors issues that require troubleshooting. Let’s have a look at them: 

  • Windows 11 extend display not working: Update your graphics card driver to the latest version. This can resolve compatibility issues and enable extended display functionality.
  • Windows 11 not detecting second monitor: Verify that the second monitor is properly connected to your computer and powered on. Check the cables and connections to ensure they are secure.
  • Windows 11 dual monitor resolution problem: Ensure that both monitors are set to their native or recommended resolution. Right-click on the desktop, select “Display settings,” and adjust the resolution for each monitor individually.
  • Second monitor resolution too low: Update your graphics card driver to the latest version. Download the appropriate driver for your graphics card model. Installing the latest driver can help resolve resolution issues.
  • Performance issues: Running three monitors can tax your computer’s performance, especially if you are running resource-intensive applications. You can improve performance by closing unnecessary applications, updating drivers, or upgrading your hardware.

Conclusion

Windows 11 supports three monitors or more, provided your computer meets the necessary requirements. By ensuring that you have the right graphics card, display output ports, and adapters, you can connect and configure three Windows 11 to improve your productivity and multitasking abilities; we hope this article helps solve your question of How do I setup 3 monitor setup on Windows 11.

If you are still facing any issues, then you can try SmartWindows. SmartWindows is the program for you if you want to increase both your personal and workplace efficiency. Thanks to this useful tool, it’s much simpler than ever to handle many apps and tasks at once, enabling you to connect up to six screens to your computer. SmartWindows makes it simple to keep everything organized and in one location, so you can stop flitting between screens and windows. Try it out and observe the impact it can have!

SmartWindows

Restore Browser Tabs with SmartWindows. It maintains an active tab history and restores browser size as well as display position on one screen or many.

FAQs

Can I run three monitors on Windows 11 without a graphics card?

No, you must have a graphics card that supports three or more displays to run three monitors on Windows 11.

How many monitors can I run?

Well, it depends on your graphics card and the number of available display output ports.

Can I use different monitor brands and sizes for my three-monitor setup?

Yes, you can use different monitor brands and sizes for your three-monitor setup, but you may encounter issues with resolution and scaling.

Does having multiple monitors affect PC performance?

Yes, running 3 monitors on Windows 11 can be resource-intensive, especially if you are running resource-intensive applications. You can improve performance by closing unnecessary applications, updating your drivers, or upgrading your hardware.

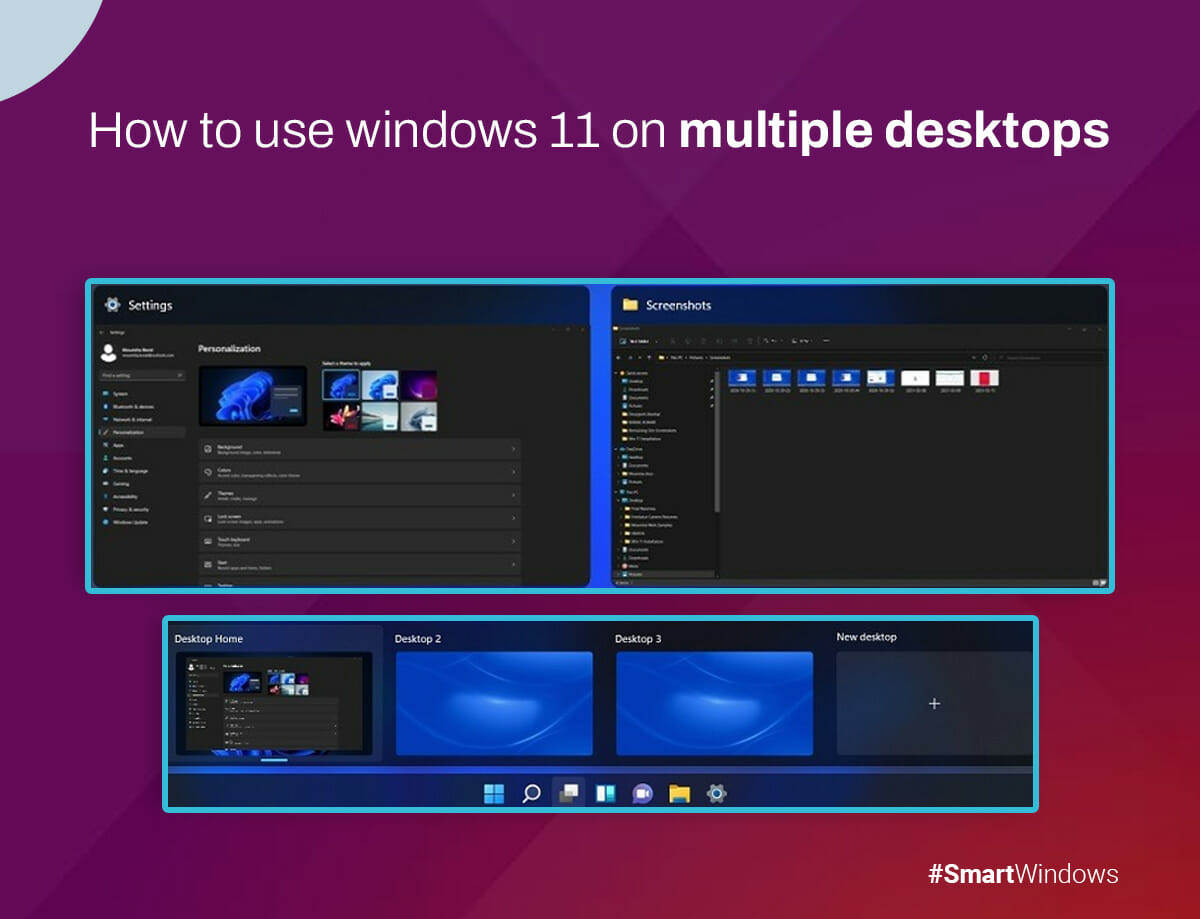
How to Use Windows 11 Multiple Desktops – Useful Guide

You know how chaotic your desktop can become if you work on a single monitor and juggle multiple projects. Fortunately, Windows 11 has a feature that can help – virtual desktops. Creating multiple desktops allows you to organize your work and avoid visual clutter.

Using Windows 11 virtual desktops is easy. Simply access the Task View pane and create the number of needed desktops. You can move applications to different desktops and switch between desktops in Windows 11. Keeping your workspaces separate lets you focus on each project and be more productive.

Need help with virtual desktops in Windows 11? We’ve got you covered. This article will show you how to use Windows 11 multiple desktops. So, let’s get started!

How to Add a New Desktop in Windows 11?

Virtual desktops are a great way to separate your work and personal life or organize your workspaces by project or task. Here’s how you can add a new desktop in Windows 11:

  • Open “Task View.
  • Click on the Task View.
  •  Right-click the taskbar if you can’t find the button, and select “Taskbar settings.”
  • Switch from “Task View” to “On.”
  • Click the “New Desktop” button in the Task View pane. This will create a new virtual desktop that you can switch to whenever necessary.

To create a new desktop even faster, use the keyboard shortcut Windows Key + Ctrl + D. In a swift moment, a new desktop materializes, bypassing the need to access the Task View pane.

How Can You Switch Between Different Desktops in Windows 11?

Having several desktops set up makes switching between virtual desktops a breeze. You may view thumbnail previews of your active desktops by selecting the Task View button on your taskbar. To switch between desktops in Windows 11, follow these steps:

  • Click on its preview.
  • To access the left and right desktops, enter Windows Key + Ctrl + Left Arrow and Key + Ctrl + Right Arrow.

Windows 11 multiple desktop shortcuts can speed up switching between virtual desktops and save time.

How to Rename Your Desktops in Windows 11?

Undoubtedly, a crowded desktop can be stressful, especially when you have work to complete. Windows 11 offers convenient features to enhance organization and productivity. One such tip is to rename your desktops for a clear and efficient workspace. To do this:

  • Enter the Task View pane.
  • Right-click the desktop and choose “Rename.”

You can give your desktop a new name that accurately describes its contents, making it simple to quickly determine which desktop has what you need without opening each one individually.

How to Customize Desktop Backgrounds in Windows 11?

The ability to customize your desktop backgrounds is another fantastic feature of Windows 11. This can help visually distinguish your workspaces, which can help maintain focus on the task at hand. To modify your desktop wallpaper:

  • Right-click and choose “Select a background.”
  • Pick an image from your existing collection or browse the alternate choices available.

How Can You Move Windows Between the Desktops in Windows 11?

Moving windows between desktops is also a breeze in Windows 11. Effortlessly navigate to the desired application by accessing the Task View pane, where a simple hover over the corresponding desktop allows you to select and relocate it seamlessly.

  • Click and glide the application to the preferred location.
  • Choose “Move to” and meticulously designate the desired desktop for a seamless transition.

That’s it! Keeping your applications organized and moving them around depending on the task you are working on is quite simple in Windows 11.

How to Move APPs Between Desktops?

Windows 11 allows you to have multiple desktops, and when you open an app, it appears only on your active desktop. This feature makes creating a desktop with specific apps convenient by opening a new desktop, switching to it, and launching the desired apps there. If you relocate an app to a different desktop, you can easily move it using Task View. Let’s see how:

  • Click on the Task View on the taskbar. This will open the Task View pane, which displays thumbnails of your desktops.
  • Locate the app you want to move and click and drag it.
  • While dragging the app, move your cursor to the desktop thumbnail where you want to place the app.
  • Drop the app on the desktop thumbnail. The app will then switch to the new desktop.

How Can You Close Desktops in Windows 11?

Finally, when you’re finished with a virtual desktop, you can quickly close it out in Windows 11.

  • Hover over the desktop until an X symbol emerges in the corner.
  • Click it to close the desktop.

Or, you can open Task View with Windows Key + Tab, choose the virtual desktop you want to close, and press the Delete key.

Conclusion

Windows 11 has excellent tools that will keep your workspace effective and organized. You can easily maintain focus and productivity while using your computer by renaming desktops, changing backgrounds, moving windows, and compact desktops. This article helped you learn how to use Windows 11 on multiple desktops. 

If you still have problems, you can tend to SmartWindows. It can help you increase your productivity and efficiency on Windows 10 and 11 with its helpful features like desktop arrangement, multiple monitor setup, multi-browser setup, etc. This software lets you do your work and play games on different desktops with its Windows 11 multiple desktop shortcuts.

SmartWindows

Restore Browser Tabs with SmartWindows. It maintains an active tab history and restores browser size as well as display position on one screen or many.

FAQs:

Why do I have two desktops on my Windows 11?

If you see two desktops on your Windows 11, you have multiple virtual desktops enabled. Virtual desktops make multitasking easier. You can open multiple desktops simultaneously, each with its windows and programs. This way, you can organize different tasks or projects and switch between them effortlessly.

What is the shortcut key for switch desktops in Windows 11?

In Windows 11, you can quickly switch between desktops using the shortcut key “Windows key + Ctrl + Left/Right arrow.”

Or

  • Click the Task View.
  • Select the desired desktop from the thumbnails shown in the Task View pane.
  • This lets you switch to the chosen desktop and access its windows and programs.

How do I get rid of multiple desktops in Windows 11?

  • Click the Task View button on your taskbar.
  • Hover over the desktop you wish to close.
  • Look for the desktop thumbnail displaying an “X” in the top right corner and click it to close.

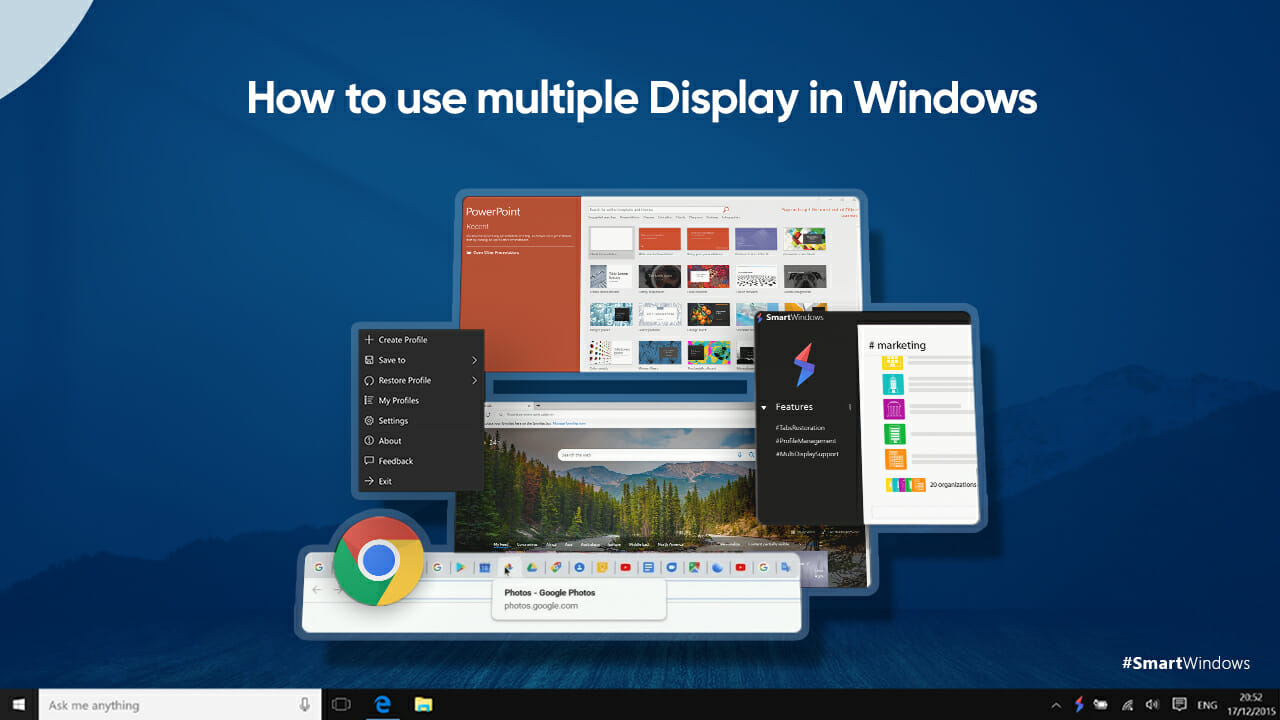
How to use Multiple Display in Windows

How to use Multiple Display in Windows

Whether you are a researcher or a programmer, a writer or a project manager, you must be facing the constraints of having one monitor where you can not access everything. A dual monitor setup somehow assists you to open the most used apps and work on them simultaneously, but it also has some limitations. When it comes to multitasking, you must have multiple displays that help you view, access, and work on multiple apps at the same time. They not only eliminate the overhead of switching between multiple apps but also allow you to quickly navigate to the app or file you want to work on.

In this blog, we will look at the ways of setting up the display configuration that could split your screen into multiple displays as well as have a multiple display setup to view various apps on multiple screens. 

Split Screen

To view multiple apps on one desktop screen, you can configure the display settings according to your choice. 

Follow the steps below to split your desktop screen into two.

  1. Right-click on the desktop and select “Display Settings”.
  2. In the “System > Display” menu, click on “Advanced Display Settings”.
  3. Set the orientation of displays and multiple display settings.
  4. Customize your displays and the changes will be saved automatically.

Other than this, you can use Windows Snapping feature to snap the apps’ windows in different locations on the screen and can access multiple apps on one desktop screen at the same time.

Snap with Snap Assist

Snap Assist works when you have snapped the window of an app and have empty space available on your screen. In the empty space, you will see thumbnails of all the other apps. To use Snap Assist, just click the thumbnail of the app that you want to work on and it will open up in the empty space. When both the windows are opened, you can adjust their window size by selecting and dragging them and can position them on the screen according to your convenience. Moreover, when you resize one window, the other will adjust its size accordingly.

Snap with a Keyboard

Another option is to snap your windows using a keyboard. For this, first, select the window that you want to snap on the screen. Press the “Windows Key”  + “Left Arrow” or the “Windows Key”  + “Right Arrow” and your window will snap on the side of the screen. You can drag the window on the screen according to your choice. 

All these methods are used to snap multiple windows on one desktop screen. Other than that, if you work on multiple screens, you can make your multi-monitor setup more powerful. Open different apps on each screen to get a visually clean interface and access apps at a click of a button. For this, you do not need to aggressively switch between apps all the time. Reduce the number of clicks and get a unified interface of apps on multiple screens.

Multi-Monitor Setup

To set up multiple monitors, follow the steps below.

  1. Before running to buy multiple monitors, first, make sure you have the support of graphic cards. If your PC has enough ports, you can easily set up a number of monitors. If not, you would have to purchase additional graphic cards to get the support of multiple monitors. 
  2. The second step is to choose the monitors. A 24-inch or 21.5-inch screen monitor is ideal for you. Select two, three, or four as per your need.
  3. The third and last step is to set up your PC. Configure Windows to efficiently make use of multiple monitors. For this, right-click on your desktop, select display settings, and then “Screen Resolution”. With this, you can configure options for multiple monitors.

After you have set up your multiple monitors, you can open and position the apps on screens accordingly for easy access. It will save time and allow you to multitask. Moreover, you would be able to work efficiently instead of messing up the screen with a number of apps.

How does SmartWindows Work?

SmartWindows is the ultimate solution to maximize productivity at work. If you are a Windows 10 or Windows 11 user, you can use SmartWindows on your desktop to efficiently restore the display configurations with one click. One of the best things about SmartWindows is its support for multiple displays in Windows

SmartWindows supports up to 6 displays. It means you can set up 6 monitors, open your favorite apps, arrange the display settings on each monitor, and save them for future use. This is exactly what SmartWindows does. Create a one-time screen setup for each monitor, arrange the apps on the display and save the settings using SMartWindows. The app remembers the display position and window size of each app on each monitor and helps you automatically rearrange the apps on the screen with a single click.

Not only this, it gives multi-browser support to help you reopen the closed tabs automatically on one or many browser windows. SmartWindows remembers an active tab history and restores all your tabs in exactly the same order you saved last time. 

Benefits of using SmartWindows

SmartWindows is a Windows productivity app with the following benefits.

  • It helps you save time opening and rearranging apps every time before getting started to work.
  • It helps you use smart displays by giving the auto-restoration capability to apps on each display.
  • It allows you to create customized work zones, and save and restore them anytime.
  • It allows you to work on multiple displays and create separate profiles for different projects to work efficiently on one PC.
  • It helps you view and access multiple apps on a multi-monitor setup in a smarter way.

So what are you waiting for?

Give your multi-monitor setup more wings with SmartWindows!

Download the app now…

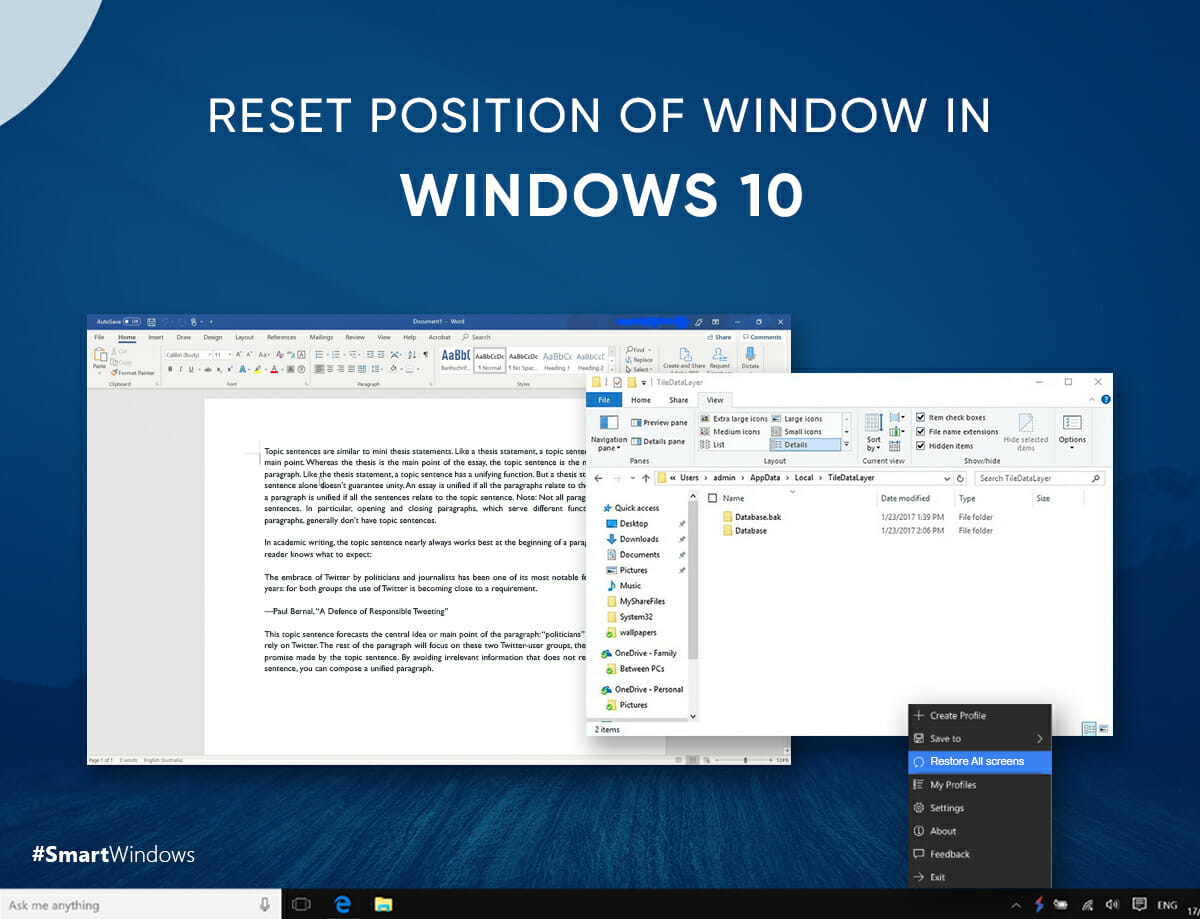
Reset Position of Window in Windows 10

windows reset window position

How much time do you spend daily rearranging desktop apps on the display screen?

It is a daily hassle to start up a computer, open apps you work on, and arrange their position on the screen based on your work preferences. All these steps consume a substantial amount of time that you can save with a smarter approach. Use automated solutions to reset the position of windows in Windows 10 and minimize the overhead of manual tasks.

SmartWindows – Intelligent App Positioning

SmartWindows is the best productivity tool for Windows 10 with the capability of intelligent app positioning. It allows you to create separate work zones for study, work, gaming, or more. Create multiple displays and arrange the apps on the screen according to your choice. Once done, you can save and restore window positions automatically using SmartWindows. 

SmartWindows enables Windows 10 users to maximize productivity at work by working smartly. Windows 10 users can now create a one-time display setup and save the display settings in the SmartWindows profile. Once saved, the screen configuration can be restored anytime whenever needed. It does not only save time rearranging apps but also helps Windows 10 users remember windows size and position.

How does it Work?

To get started with SmartWindows, follow the steps below:

  1. Pull up all the desktop apps you work on whether they be MS Office work files or browser windows.
  2. Position windows on the screen by resizing the windows of each app as per your work preferences.
  3. Navigate to the taskbar and right-click on the SmartWindows icon.
  4. Select the option ‘Create Profile’. This will create your profile in the SmartWindows app. Remember, SmartWindows allows you to create unlimited profiles to efficiently manage your study, work, and entertainment-related activities on one PC.  
  5. Name the profile and click ‘Save’. Your SmartWindows profile will be created and all the arrangements on the screen will be saved in that profile.
  6. Make changes in the display settings and save your SmartWindows profile again. Make Windows remember window position with SmartWindows!

How to Reset Window Position in Windows 10?

The next step is to restore the display and window positions using SmartWindows. Follow the steps below:

  1. Right-click on the SmartWindows icon.
  2. Select ‘Restore Profile’
  3. Choose the profile you wish to restore.
  4. It will take only one click to reset the window location in Windows 10. Your desktop apps will be arranged in the exact size and display location it was saved. 

SmartWindows makes display restoration simpler and saves time for opening and arranging apps every time you switch on a PC. 

SmartWindows

Restore Browser Tabs with SmartWindows. It maintains an active tab history and restores browser size as well as display position on one screen or many.

MS Office Files Support

SmartWindows supports Microsoft Office Files such as Word, PowerPoint, Excel, Notepad, Wordpad, etc. SmartWindows enables teachers, students, writers, accountants, and managers to remember the positioning of their files without the headache of opening and arranging them again and again. Arrange the files on the screen and restore their positioning on the screen with one click using SmartWindows. 

Restore Browser Windows

SmartWindows supports multiple browsers such as Google Chrome, Mozilla Firefox, and Microsoft Edge. It enables Windows 10 to automatically restore the browser windows and reopen closed tabs with one click. So if you work on a dozen tabs at the same time, SmartWindows remembers the respective URLs and keeps an active tab history to restore the entire browser window automatically. The tabs reopen in exact order on one or many browser windows. 

Restore Multiple Displays

SmartWindows’ support for multiple displays allows you to create up to 6 displays. Empower your multi-monitor support by giving app restoration capability to each display. Organize your files efficiently on each display, save and restore them all using SmartWindows. For instance, you have multiple users of a single PC, each user can create a separate display and restore Windows 10 screen position whenever needed. 

Unlimited Profiles

Create unlimited profiles in SmartWindows to save multiple presets. Create separate environments in a single PC for study, work, and gaming. Save each environment and restore anytime. SmartWindows enables Windows 10 users to make efficient use of PCs, multitask, and maximize work productivity. 

Conclusion

Reset window position in Windows 10 using Intelligent App Positioning feature of SmartWindows. Power up the use of your PC by creating separate profiles for different work environments and organizing the data of each project efficiently on one computer. Save time and work smart with SmartWindows!

5 Signs You Need Dual Monitors

5 Signs You Need Dual Monitors

With the advent of technological advancements and exponential innovations in the IT industry, many of us and our occupations rely on the use of computers. The lockdown due to COVID-19 outbreak has also introduced a sharp increase in the need for computers due to virtual learning, online banking, online shopping, and remote work. 

Use of Computers based on Profession

Each person makes use of a computer based on their job role and profession. For instance, if you are a software engineer, you will be using the IDEs for coding, browsers to search for errors or read the documentation of programming languages, YouTube to watch for solutions of the problems, virtual machines, and other desktop apps. 

Similarly, if you are a project manager, you are supposed to keep track of multiple projects, maintain statuses, monitor the tasks, and evaluate the team members. With a dozen tasks on a daily basis, you use data management software, content planners, excel sheets, testing tools, communication channels, and more apps at the same time. 

If you are a content writer, you are making excessive use of browsers to do extensive research to generate unique content, content management software, Google Docs, task management tools, Thesaurus, Copyscape, etc.

No matter what role it is, you are still working on a number of apps, tools, and software on a daily basis. The majority of the users use a single monitor for work that sometimes becomes critically inefficient when it comes to switching between the applications and opening them in parallel for comparison purposes. 

Common Problems faced by Single Monitor Users

Below are some common challenges every single-monitor user faces.

  • When it comes to data entry, you are supposed to do excessive switching between the files and apps. 
  • Drafting email or writing content using source materials would require switching between a dozen tabs on one or many browsers.
  • Comparison of different products is difficult to perform on one monitor.
  • Viewing and analyzing large spreadsheets on one monitor is very inefficient, tedious, and time-consuming.
  • It is hard to balance work life and entertainment life on one monitor as the apps and files create a mess on a desktop screen.
  • It is hard to chat and work with clients at the same time on one monitor.
  • It is hard for data analysts to track the business performance against multiple success parameters and graphics on one monitor.
  • Comparison of multiple sources and references is difficult on one screen.
  • Working on a single monitor consumes much energy and time. 

To all these problems, dual/multiple monitors are the solution. There are potential advantages of dual monitors that you can employ at your home or office workspace to manage tasks in an effective manner.

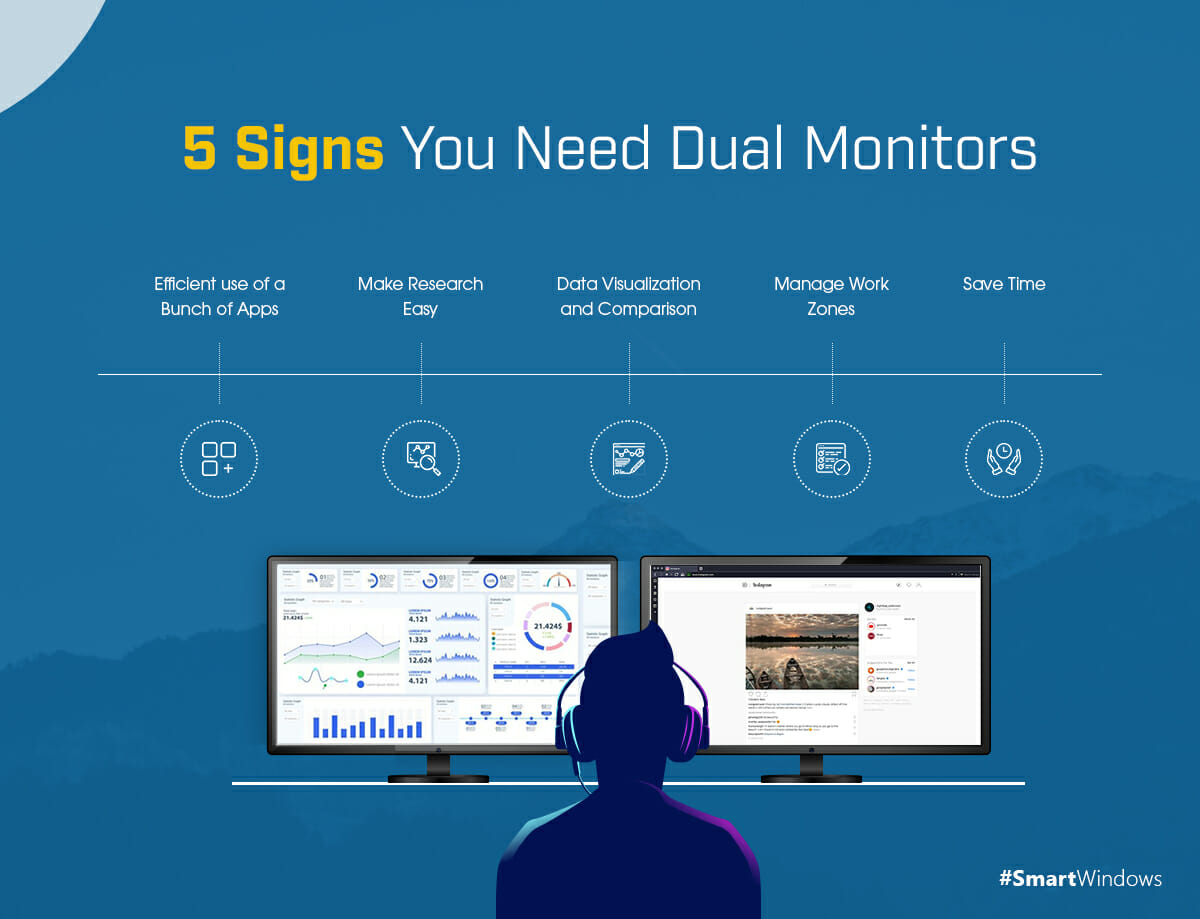
5 Signs You Need Dual Monitors

Below are the five signs that demonstrate the need for dual monitors.

  1. Efficient use of a Bunch of Apps

No matter in which profession you are. You are struggling with a number of desktop apps every day to perform tasks. When more than three apps accumulate on your screen, switching between them becomes very tedious. It is hard to navigate, compare and analyze the data on one monitor. In this situation, you need a dual monitor where you could split the apps and efficiently focus on each app and its functions.

  1. Make Research Easy

Research work involves the excessive use of browsers. You have hundreds of tabs opened on multiple browsers from where you refer and get the information. It is hard to switch between the multiple browser windows and even if you arrange them on one screen, the tabs appear so small that you end up closing them accidentally. To eliminate this headache, use dual monitors.

Split browsers windows on two monitors to research the different subjects easily. You can also open a browser on one monitor and the text document on another monitor to research and write simultaneously. The purpose of dual monitors here is to do multiple tasks at the same time.

  1. Data Visualization and Comparison

When it comes to performing comparisons between two sources, references, apps, data files, or graphics, a single monitor is infeasible. Similarly, if you have large spreadsheets with huge data, it becomes very inefficient to open all of them on one monitor.

In that case, the dual-monitor can help you by showing different files on two monitors. One of the major benefits of the dual monitor setup is that it makes analysis and comparison easy for the user.

  1. Manage Work Zones

It is hard to make more than one work zone on a single monitor. You can either manage your work life or your entertainment life. If you try managing both, the data, URLs, Gmail profiles, and files get jumbled in each other. It becomes a tedious task to find a file from a mess immediately when you need it.

To avoid the hassle, use dual monitors. Dedicate each monitor to work and entertainment-related activities separately. Imagine working and gaming with two monitor setup where you have flexibility and a dedicated screen for each. Organize your work and fun-related activities with this amazing approach.

  1. Save Time 

A single monitor requires an excessive click to switch between the application, arrange the most-used apps on the screen, and split them by spending so much time. After all this, you end up zooming in and out the data in each window to adjust it according to your convenience. These tasks are minor but consume much of your precious time and effort. Dual monitors help save 20-30% of your time with the efficient access and arrangement of apps on two screens. 

How SmartWindows Empowers your Dual Monitor Desk?

SmartWindows is a productivity software that gives you more hands at work. It makes your Windows smarter than ever before. Develop your Windows 10 or 11dual monitor setup along with SmartWindows to maximize productivity at work.

The following features of SmartWindows apply to Windows 10 & 11 dual display/monitor that helps you work smart and bring more creativity to your daily tasks.

  • Multi-browser and multi-tab support of SmartWindows allows you to reopen closed tabs on multiple displays/profiles with just one click. So if you are working on two browsers at the same time on different monitors, SmartWindows reopens both with one click.
  • SmartWindows allows you to create multiple profiles where you can set your own work zones and restore them anytime.
  • Create up to 6 displays to work efficiently on different tasks and projects. Multitask with multiple displays in Windows.
  • SmartWindows remembers the window size and display position of the apps that you arrange on dual screens.
  • It restores and auto-arranges the apps at the exactly same position on the screens.
  • SmartWindows reopens MS Office files such as Word, Powerpoint, Excel, Project, Notepad, etc.
  • It eliminates the overhead of manually re-arranging apps and does it all automatically.
  • SmartWindows contributes to increased productivity on the dual displays with its enhanced capabilities.

So what are you waiting for?

Give wings to your dual monitor setup with SmartWindows!

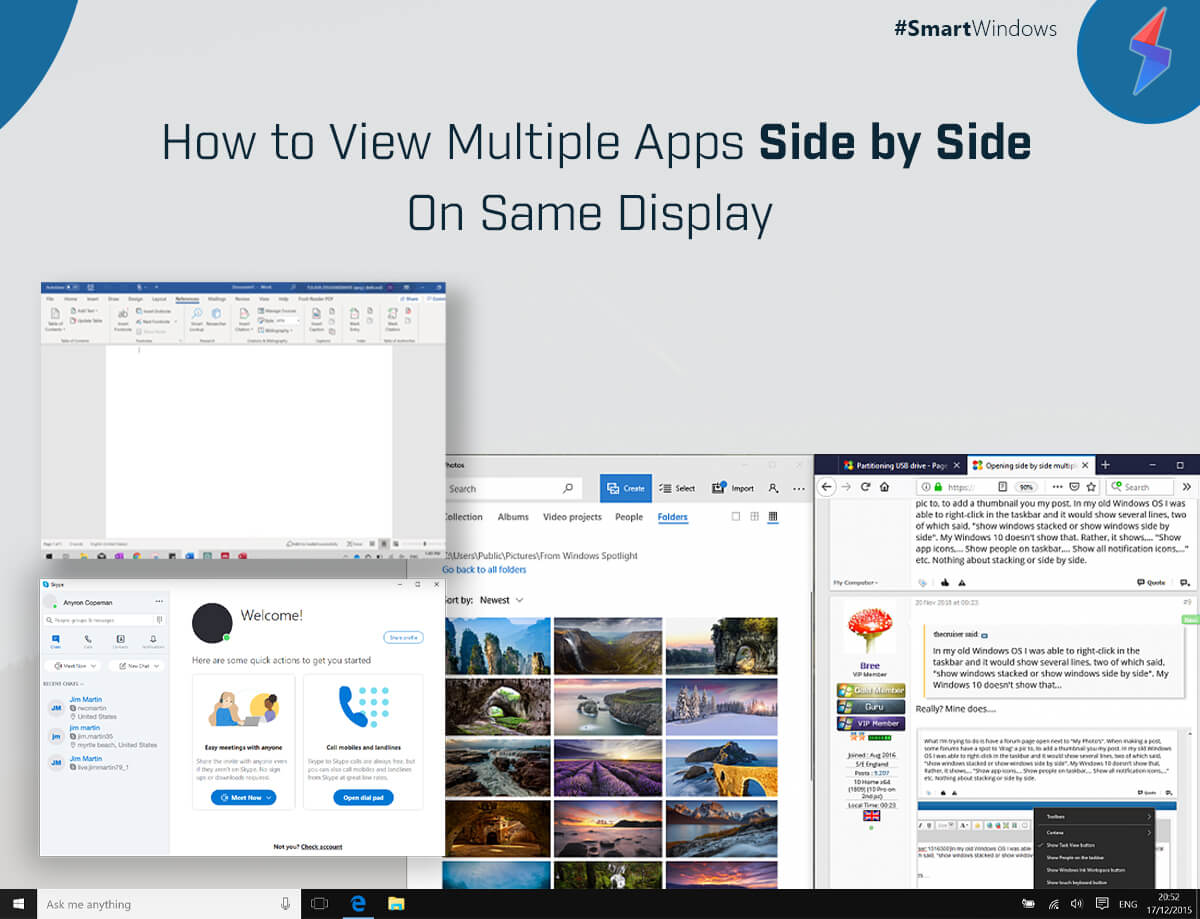
How to View Multiple Apps Side by Side On Same Display

View Multiple Apps Side by Side

It could be very overwhelming to deal with multiple apps and files at the same time. You shift from one desktop app to the other, make excessive clicks to switch from Outlook email to Photoshop, Chrome to Acrobat Reader, Skype to MS Office files, or Notepad to YouTube, etc.  The continuous switching between apps becomes very annoying. The best way to handle all the apps and tasks simultaneously is to open desktop apps’ windows side by side.

A 360-degree view of all the most-used apps gives you easy access to each app and saves both your time and effort. Resize the apps’ windows and arrange them on Windows side by side. This one-time arrangement of all the apps on the computer screen will eliminate the need of switching between the apps every now and then. SmartWindows gives the capability to your Windows 10 and Windows 11 to save the screen configuration and restore it every time on your next startup. You can auto-arrange the previously saved screen configuration with just one click using SmartWindows. 

Arrange Apps Side by Side to Multitask

If you are using more than one desktop app to perform certain tasks, the effective way is to arrange the apps’ windows side by side. Organize the screen, adjust the window size and position on the screen according to your liking, and get a visually clean interface. The fish eye view will make it easy for you to switch between the applications. Arranged apps will help you multitask and increase productivity at work.

SmartWindows

Restore Browser Tabs with SmartWindows. It maintains an active tab history and restores browser size as well as display position on one screen or many.

Below are some ways to view multiple apps side by side on the same display and work efficiently.

Multiple Displays/Monitors

Create multiple monitors or displays to separate your work life from entertainment. On the entertainment display, you can use gaming apps and websites, youtube, music, and Netflix, etc. Whereas the work display can be organized to use IDEs, MS Office files, and designing apps simultaneously. 

Arrange the apps on the display. Adjust the window size of each app and position it correctly on the screen. Once everything is set, you can easily switch between the apps. You can then save these as profiles in SmartWindows. SmartWindows supports up to 6 displays that you can use for multipurpose. SmartWindows does not only allow you to multitask but also adds to your productivity by automatically arranging the apps’ windows with the same size and display position as you saved the very last time. 

How does SmartWindows work?

SmartWindows works like this:

  • Create a profile on SmartWindows.
  • Set up the desktop screen with your favorite apps.
  • Resize apps’ windows and adjust their display position.
  • Save the configuration of the screen.

The next time you open your PC, go to your profile and click ‘restore’ and SmartWindows will auto-arrange with the exact screen configuration you made last time. In this way, you can make presets of the display and save configurations in profile respectively. On saving, the profile will save the configuration of each display. With just one click, you are ready to continue work on multiple displays. This saves your time to rearrange apps again and increases productivity.

Drag, Resize, and Position

If you want to use two or more apps at the same time, drag the app window from the top and adjust it on the screen. Similarly, choose the other apps, re-size, and position them on the screen. A unified interface will help you view everything at a glance. Make multitasking easy with SmartWindows with its auto-arrangement and auto-restoration features.

Multiple Profiles

If you feel tangled between so many apps on Windows 10 & 11 and have jumbled up the work and entertainment-related stuff, creating multiple profiles can really help. With SmartWindows you can create unlimited profiles on Windows 10 and Windows 11 that are dedicated to specific tasks.

Each profile could be configured with one or many displays that show apps’ windows side by side in Windows 10 and Windows 11. Create customized setups on one or many displays or profiles and save them. Click ‘restore’ and SmartWindows will pull them up at exactly the same display position and window size on the screen.

Save time by making Windows smarter!

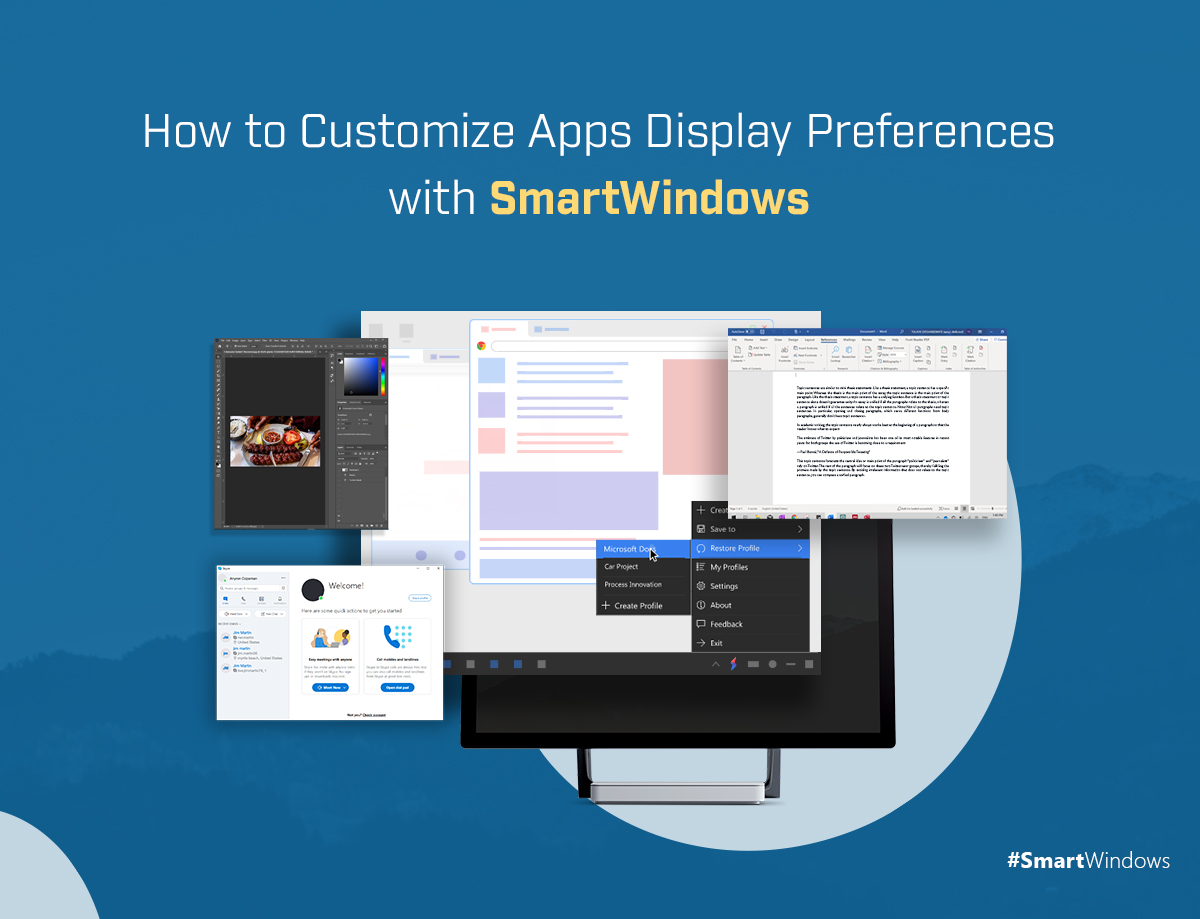
How to Customize Apps Display Preferences with SmartWindows

adjust display position windows 10

The pandemic has normalized work from home. It is challenging to manage everything on a laptop especially when there is more than one user and you are supposed to manage all work efficiently. You spend so much time adjusting the display position of apps on Windows or resizing the window size on the screen according to your liking. A sudden shut down of your laptop could result in the loss of all your work.

This terrible situation could be due to a power outage, unexpected Windows updates, scheduled restarts, Windows crash, Blue Screen of Death (BSOD), or simply due to excessive RAM consumption. You wouldn’t like to spend another hour re-organizing the apps on the display screen. To keep you away from this overhead, SmartWindows brings an all-in-one solution to customize App display preferences and restores default display settings in Windows 10 and Windows 11 with one click.

Multiple Displays Windows 10 & Windows 11

Make work from home easier with SmartWindows. Doing multiple tasks and switching between various applications at the same time is cumbersome. SmartWindows gives you the flexibility of managing multiple monitors on your laptop. Now you can arrange the applications efficiently on each display. SmartWindows allows you to use up to 6 displays on which you can arrange the desktop applications and browsers without affecting the system performance. It remembers the configurations of Windows multiple displays. Each display saves the app’s positioning and restores them exactly from where you left. Just one click restores all the tabs of multiple browsers with their respective URLs. SmartWindows eliminates the overhead of excessive clicks and manual Apps restoration. It is a feature-rich application that saves time and adds to your productivity at work.

Unlimited Profiles

When you have multiple users at home and just one laptop, it becomes difficult to manage and restore all the work, whenever a new user starts up the computer. SmartWindows allows you to create unlimited profiles on Windows 10 & 11. It makes Windows smarter for busy professionals and even for kids at home. This app is designed from the perspective of increasing productivity. It allows you to work with as many profiles as you want. 

One most important feature of SmartWindows is that it remembers the desktop applications of each profile, remembers their screen positioning and their window size. It restores the apps across multiple profiles, restores the display window size of Chrome, Firefox, and Microsoft Edge, along with the URLs. You do not need to remember the apps you were working on. Just create a profile, make configurations, and SmartWindows will remember your display preferences automatically. 

See how it works in the video below.

Set Display Preferences and Restore with One Click

SmartWindows gives you more hands at work. Whether you are a researcher or a content writer, a developer or a gamer at the same time, SmartWindows allows you to effectively manage your work through its multi-display and multi-browser support. It automatically makes display position adjustments. Now you can create unlimited profiles on your computer with up to 6 displays in each profile. You do not need to worry about sudden Windows crashes or unexpected Windows updates, your work will be saved.

SmartWindows remembers the display preferences that you set on each display of all the profiles. It restores the apps you opened last time with the same window size and its positioning on the screen. Now instead of manually restoring each and every application and all tabs on your browsers, auto-arrange everything with one click. Save your time and effort for manual restoration.

Technical Benefits of Using SmartWindows

 If you are a researcher or a professional, you may have noticed many times that due to browsers, your laptop performance slows down. The processing power is affected due to multiple browsers opened at one time on your Windows. In this case, SmartWindows helps you in the following ways:

  • Internet browsers affect work performance. SmartWindows uses less memory and loads all the tabs of multiple browsers on multiple displays without freezing, stalling, or slowing down your computer.
  • It mitigates the barrier of bandwidth by optimizing the performance of Windows, no matter how many browsers are open on multiple profiles.
  • It reduces the latency, increases performance, and loads the web applications faster.

SmartWindows gives you flexibility and freedom of working on all your favorite applications at the same time. Don’t worry about sudden Windows updates or such events that could hinder your performance. Adjust display position on Windows 10 and Windows 11 and SmartWindows would take full responsibility for restoring your display preferences. Download the app now and enjoy a number of features in a 30-day free trial.