Managing workspace layouts is essential for productivity, especially if you juggle multiple tasks or work across multiple monitors. The new capabilities in Windows 11 have made it much simpler to maintain an ordered workstation. But what happens when your carefully arranged layout gets disrupted? Whether it’s due to a system reboot, switching between tasks, or connecting external monitors, restoring your ideal workspace layout can be frustrating. In this guide, we’ll explore how to save and restore your workspace layout in Windows 11 using built-in tools, third-party software, and practical tips.
What Are Save Workspace Layouts in Windows 11?
A workspace layout refers to how you organize your apps, windows, and tools on your screen. It’s more than just having multiple windows open; it’s about creating a configuration that allows you to work efficiently. For example, you might have a browser open on the left side of your screen, a document on the right, and a task manager running in the background.
Windows 11 has introduced several features that make workspace management more intuitive, including Snap Layouts, Snap Groups, and Virtual Desktops. These tools help streamline your workflow by allowing you to organize and restore your workspace layout with minimal effort. However, you may significantly increase your productivity if you know how to utilize these tools properly.
Built-in Tools for Managing Workspace Layouts
Snap Layouts and Snap Groups
Snap Layouts is one of Windows 11’s standout features for workspace organization. By hovering over the maximize button on any window, you may quickly and simply arrange several windows in different pre-defined combinations using Snap Layouts. This allows you to place windows side by side, in a grid, or in a combination that best suits your needs.
Snap Groups, on the other hand, takes this functionality a step further by grouping these windows together. When you click on one window in a Snap Group, Windows 11 automatically brings up the entire group. This makes switching between tasks much easier, as you don’t have to manually restore each window’s position and size.
How to Use Snap Layouts and Snap Groups?
- Move your mouse pointer over any open window’s maximize button.
- Choose a layout configuration from the Snap Layouts options.
- Select the apps or windows to fill each portion of the layout.
- Once your layout is set, the windows are saved as a Snap Group.
- To restore a Snap Group, hover over the app icon on the taskbar, and select the group from the preview.
This feature is particularly useful when you need to switch between different sets of apps, such as a research group for browsing and note-taking, and a work group for project management and email.
Virtual Desktops
With virtual desktops, you may set up many desktops, each with a different set of windows and applications. This is perfect for grouping several projects together or dividing work from personal responsibilities. Unlike Snap Groups, Virtual Desktops give you an entirely new desktop environment, making it easier to focus on specific tasks without the clutter of unrelated windows.
How to Use Virtual Desktops?
- Press Windows + Tab on your keyboard to open Task View or click the “Task View” icon in the taskbar.
- To establish a new Virtual Desktop, select “New Desktop” in the upper-left corner.
- Open the apps and windows you need on this desktop.
- To switch between desktops, use Ctrl + Windows + Left/Right Arrow or go back to Task View and select a different desktop.
Virtual Desktops are saved even after a reboot, so you can return to your work exactly where you left off
Multiple Monitor Setups
If you work with multiple monitors, Windows 11 makes it easier to save and restore your layout across different screens. When you disconnect and reconnect an external monitor, Windows 11 remembers the position of your windows and restores them to their previous location.
How to Set Up Multiple Monitors?
- Connect your external monitors and open the settings app (Windows + I).
- Go to “System”> “Display” and arrange your monitors in the configuration that matches your physical setup.
- Windows 11 will automatically save this configuration and restore it when you reconnect the monitors.
For users who frequently switch between laptop and desktop setups, this feature is a game-changer.
How to Save Your Workspace Layout?
While Snap Layouts, Snap Groups, and Virtual Desktops offer excellent ways to manage your workspace, ensuring these layouts are saved and restored correctly can sometimes be tricky. Here’s how to ensure that your workspace is saved properly.
Using Snap Groups
Snap Groups are automatically saved when you create them, but they are dependent on the apps being open. If you close all the apps in a group, you may lose the layout. To avoid this, try to keep your Snap Group apps open or use hibernation mode instead of shutting down your computer.
Saving Virtual Desktop Layouts
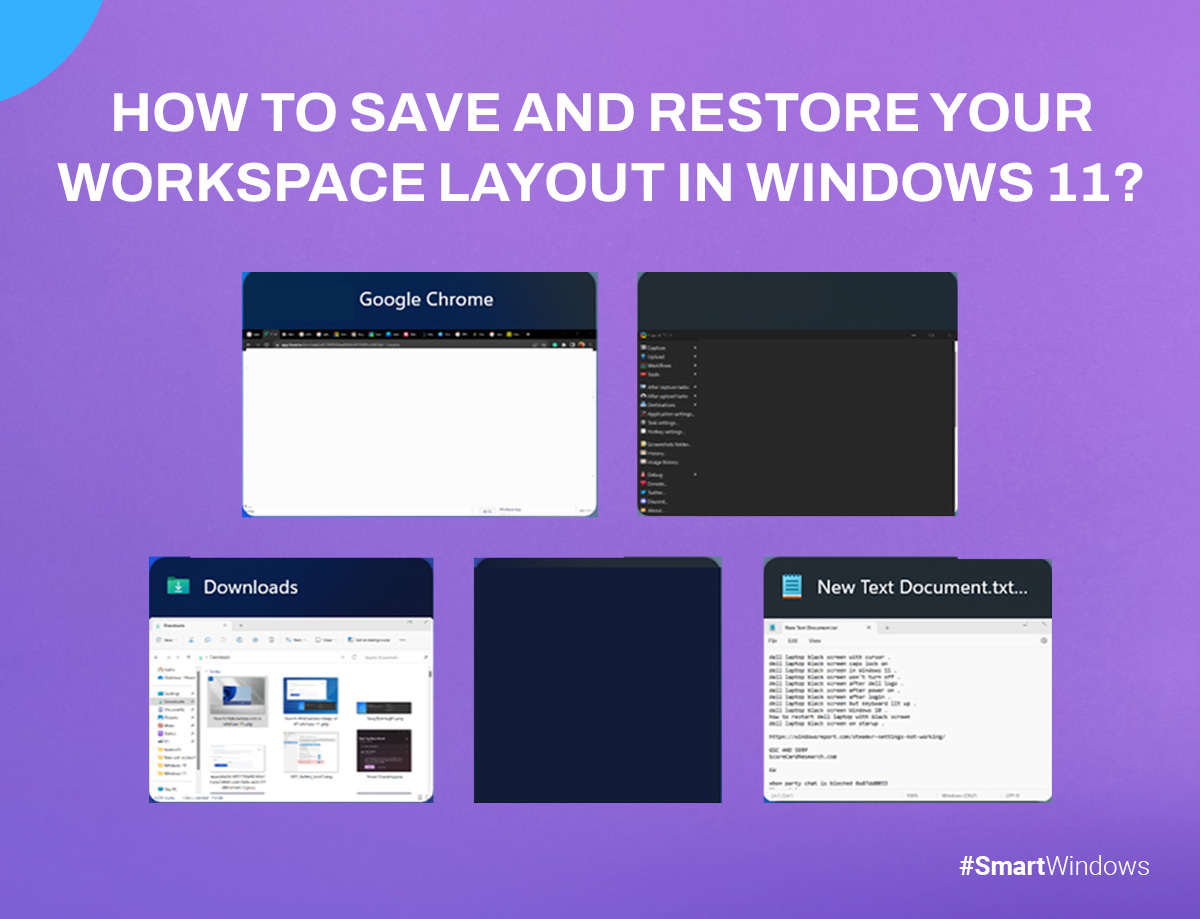
Virtual Desktops are persistent through reboots, meaning your layouts will remain intact even after you turn off your computer. However, the apps themselves might not reopen in the same arrangement if they don’t support session saving (e.g., Chrome might not restore all windows).
To avoid this issue, manually save your work and reopen apps when starting up. Alternatively, you can use a third-party tool to automate the process.
Multiple Monitor Setup
Make sure your display settings are configured to expand rather than duplicate your screen when utilizing multiple monitors. This way, your workspace layout will be preserved across the monitors.
To make sure your layout is saved:
- On the desktop, use the right-click menu to choose “Display settings.”
- Choose “Extend these displays” from the display options.
- Position your monitors in the arrangement that best suits your workflow.
Tips for Effortlessly Restoring Your Workspace
Now that you know how to save your workspace layout, let’s look at some tips for restoring it quickly and efficiently.
Restoring Snap Groups
When switching between tasks, you can restore Snap Groups by hovering over the app icon on the taskbar. From the preview, select the Snap Group to bring back your entire layout.
Reverting to Saved Layouts with Virtual Desktops
You may quickly move between multiple layouts with virtual desktops. Use the Task View button or the keyboard shortcut (Ctrl + Windows + Left/Right Arrow) to move between desktops and restore the associated layouts.
Restoring Layouts with External Monitors
Ensure your external monitors are connected before booting up your computer. Windows 11 will automatically restore your saved layout based on your display settings.
Troubleshooting Layout Restoration Issues
Sometimes, layout restoration doesn’t work as expected. Here are some common issues and their solutions:
Snap Groups Not Saving Properly
Ensure that your apps remain open in the Snap Group. Closing all apps in a group may cause the layout to be lost.
Virtual Desktops Not Retaining Layouts
If apps aren’t restoring correctly, check if they support session saving. If not, consider using a third-party tool.
External Monitor Setup Issues
Make sure your display settings are set to “Extend” rather than “Duplicate.” If issues persist, update your graphics drivers.
Conclusion
Customizing and save workspace layout windows 11 can greatly improve your productivity and workflow. By utilizing pre-installed tools such as Virtual Desktops, Snap Groups, and Snap Layouts.
Examine these choices to see which ones are most suitable for you. You won’t ever have to be concerned about forgetting your workspace arrangement again if you have the proper setup.
For More Related Information: how to reopen closed tabs | appdata | snipping tool shortcut | windows 10 key