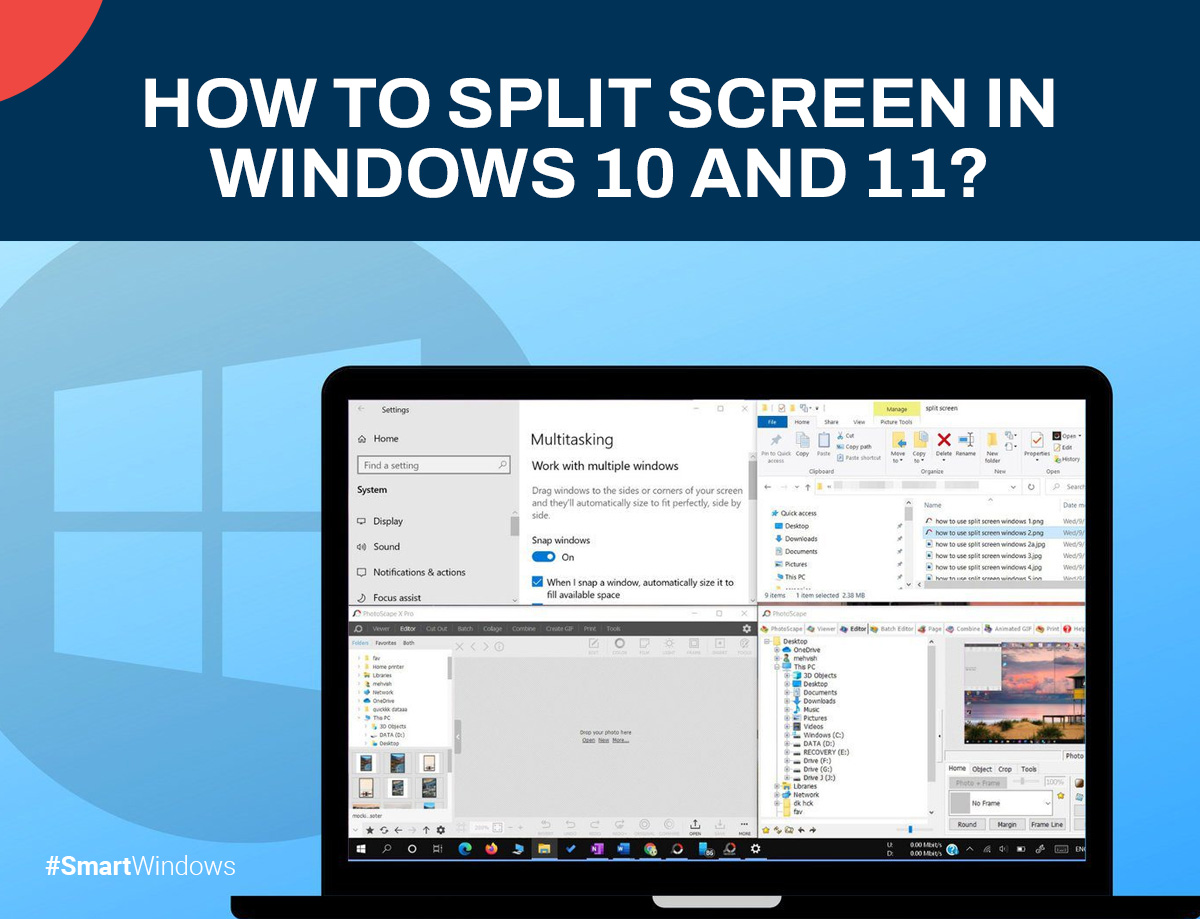
Multitasking is more than just a buzzword; it’s a necessity. The ability to split your screen may greatly increase productivity, whether you’re a professional managing many tasks, a student juggling assignment, or a gamer streaming while playing.
Splitting your screen allows you to view and interact with multiple windows simultaneously, making it easier to compare documents, monitor different applications, or keep an eye on your work while staying connected with others.
We’ll look at how to utilize Windows 10 and Windows 11’s split screen functionality in this post, giving you practical advice and step-by-step instructions.
What is Split Screen?
With split screens, you may partition your computer screen into many areas, each showing a separate window or application. When it comes to multitasking, this function is very helpful because it allows you to work on many projects at once without continually switching windows.
You may, for example, take notes during a video chat or write a report while citing a website. The benefits of using split screen extend to various users, from students who need to manage coursework efficiently to professionals who require multiple data streams and even gamers who want to enhance their gameplay experience.
Split Screen in Windows 10
Using Snap Assist
Windows 10 comes with a built-in tool called Snap Assist that makes it simple to arrange your windows by simply snapping them into position. This is how to apply it:
- Launch the desired windows or programs.
- Grab the first window’s title bar with your mouse.
- When you see an outline showing where the window will snap, drag it to the edge of the screen.
- When you let go of the mouse button, the window will slide into position to take up half of the screen.
- On the other side of the screen, Snap Assist will show thumbnails of the other open windows you have. To move one of these thumbnails to the other side of the screen, click on it.
Keyboard Shortcuts for Snap Assist
- To move the active window to the left or right side of the screen, use Windows Key + Left Arrow or Windows Key + Right Arrow.
- You may clip a window into a corner and see up to four windows at once by pressing the Windows Key + Up or Down Arrow keys.
Adjusting Window Sizes
- Move your mouse across the line that separates the two snapped windows until the cursor changes to a resizing one.
- To adjust the windows’ size to your liking, click and drag the dividing line.
Using the Task View
Task View is another useful feature in Windows 10 that allows you to manage multiple windows and virtual desktops. Here’s how:
- To access the Task View button from the taskbar, use Windows Key + Tab.
- In Task View, drag one of your open windows to the desired part of the screen.
- Drag a different window to take up the leftover space on the screen.
Task View is particularly useful for organizing your workspace and managing multiple tasks more efficiently.
Drag and Drop Method
For a more manual approach, you can simply drag and drop windows to split your screen:
- Open the applications or windows you want to view.
- Drag the first window’s title bar with your mouse.
- When you see an outline, release it from the edge of the screen.
- Repeat the process for the other window, dragging it to the opposite edge.
This is an easy-to-use approach that allows you to precisely align your windows.
Split Screen in Windows 11
Using Snap Layouts
With Windows 11, a new feature called Snap Layouts makes it simpler to organize several windows. Here’s how to use Snap Layouts:
- Move the pointer over any open window’s maximize button.
- A little menu with many layout choices (such as split screen, triple screen, etc.) will show up.
- Select the layout choice that you want.
- Decide the windows you wish to put in each layout component.
With Snap Layouts, you may select the arrangement that best fits your workflow from a variety of options.
Using Snap Groups
Snap Groups is another new feature in Windows 11 that enhances multitasking by allowing you to group and switch between sets of windows easily. Here’s how to create and manage Snap Groups:
- Arrange your windows using Snap Layouts or manually.
- Windows 11 will automatically remember these arrangements as Snap Groups.
- Hover over the taskbar icons of any of the grouped windows, and you’ll see the option to restore the entire group.
With Snap Groups, switching between various processes is simple and doesn’t affect your window layout.
Using Virtual Desktops
Virtual Desktops in Windows 11 provide an advanced way to manage multiple tasks.
- To access the Task View button from the taskbar, use Windows Key + Tab.
- In order to start a new virtual desktop, click “New Desktop”.
- To arrange your duties, drag and drop windows between desktops.
By alternating between virtual desktops, you may better focus and reduce clutter by keeping various tasks or types of work apart.
Tips and Tricks for Effective Split Screen Use
To make the most out of the split screen feature, consider the following tips and tricks:
Customizing Split Screen Settings
Adjust the snap settings in the Settings app (System > Multitasking) to suit your preferences.
Using Multiple Monitors
You may increase your workspace and productivity by extending your split screen configuration over additional monitors if you have them.
Organizing Windows and Applications
Keep related windows together and use Snap Groups or Virtual Desktops to manage different projects efficiently.
Recommended Apps and Tools
Explore third-party apps like FancyZones (part of Microsoft PowerToys) for more advanced window management options.
Troubleshooting Common Issues
Despite its usefulness, you might encounter some issues with the split screen feature. Here are some common problems and their solutions:
Windows Won’t Snap
Ensure Snap Assist is enabled in the Settings app (System > Multitasking). Should it already be activated, consider restarting your computer.
Uneven Window Sizes
To resize snapped windows, move the spacer between them. If the issue persists, consider resetting your display settings.
Applications Not Showing in Snap Assist
Not all applications support Snap Assist. Ensure you’re using compatible apps and try updating them if necessary.
For additional help, refer to the Microsoft support website or online forums where you can find solutions from other users.

SmartWindows
Restore Browser Tabs with SmartWindows. It maintains an active tab history and restores browser size as well as display position on one screen or many.
Conclusion
With Windows 10 and 11, you may handle numerous projects more effectively by splitting your screen, which can greatly increase your productivity. Whether you’re using Snap Assist in Windows 10 or exploring the new Snap Layouts and Snap Groups in Windows 11, these features provide flexible and powerful ways to organize your workspace. You may maximize the area on your screen and enhance your multitasking skills by using the techniques and advice provided in this article. Now you know “how to split screen windows 10”.
For More Related Information: how to reopen closed tabs | appdata | snipping tool shortcut | windows 10 key


