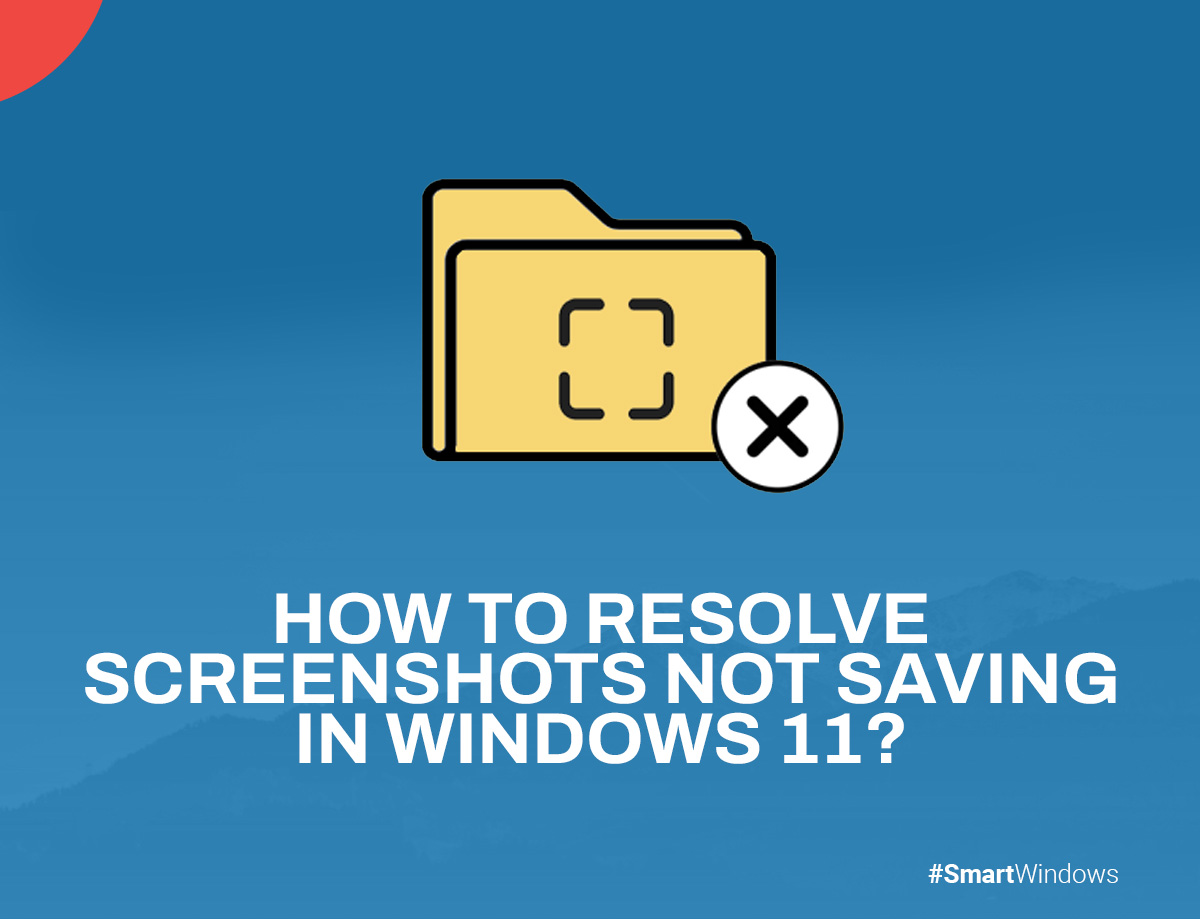
Does your work require you to take a lot of screenshots? If yes, then you might have faced the issue of your screenshots not saving at your desired location. This can happen due to a few reasons, most commonly a change of destination folder.
But sometimes, it can be a bit more serious than that, and you might have to dig into the Windows registry settings to set it right.
In this blog post, we will look into the reasons why your screenshots are not saving into the default Pictures folder and how you can fix that issue with a few simple fixes.
Why are my screenshots not saving in Windows 11?
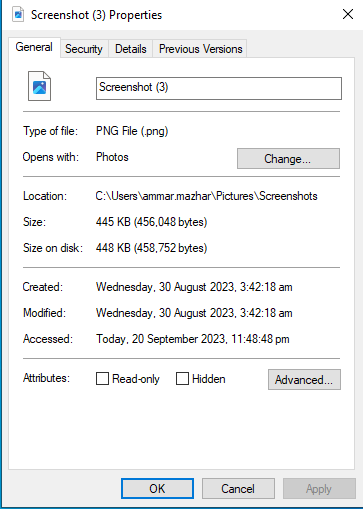
A simple reason why your screenshots are not being saved in the Pictures folder is that your default folder has been changed. You can check where your screenshots are saved by right-clicking on the image and clicking on the Properties option.
But if your images are still not saving in your desired folder, then it might be that your registry files are corrupted. But if you go about fixing it without knowing what you are doing, then you can do more harm than good and might disturb other registry settings.
How can I save my screenshots in Windows 11?
If your registry files are corrupted, which is causing your screenshots to not save in your desired folder, then you can implement the following fix to resolve the issue:
- Press Win+R to open the Run dialogue box.
- In the dialog box, type regedit
- Navigate to Explorer in HKCU.
- Right-click on it and create a new DWORD (32-bit) value.
- Rename it ScreenshotIndex.
- Select the decimal option by double-clicking on it.
- Enter the data value of 695.
- Save these settings by clicking OK.
- Navigate to the User Shell folders.
- After that, click on the following
{B7BEDE81-DF94-4682-A7D8-57A52620B86F} - Enter the following user profile:
%USERPROFILE%\Pictures\ Screenshots - Save the it and reboot your PC
Here’s a bit more detail on these steps:
Before changing your registry settings, make sure to create a system restore point. Subsequently, press the Windows + R keys to open the Run dialog box. Type regedit in the dialog box to open the Registry Editor.
Afterward, navigate to the following location:
HKEY_CURRENT_USER\Software\Microsoft\Windows\CurrentVersion\Explorer
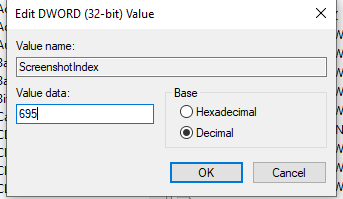
Once you navigate to the aforementioned location, look for ScreenshotIndex. You will not find this DWORD in your registry editor. This is the reason why your screenshots aren’t being saved in the default folder. You have to create this word yourself.
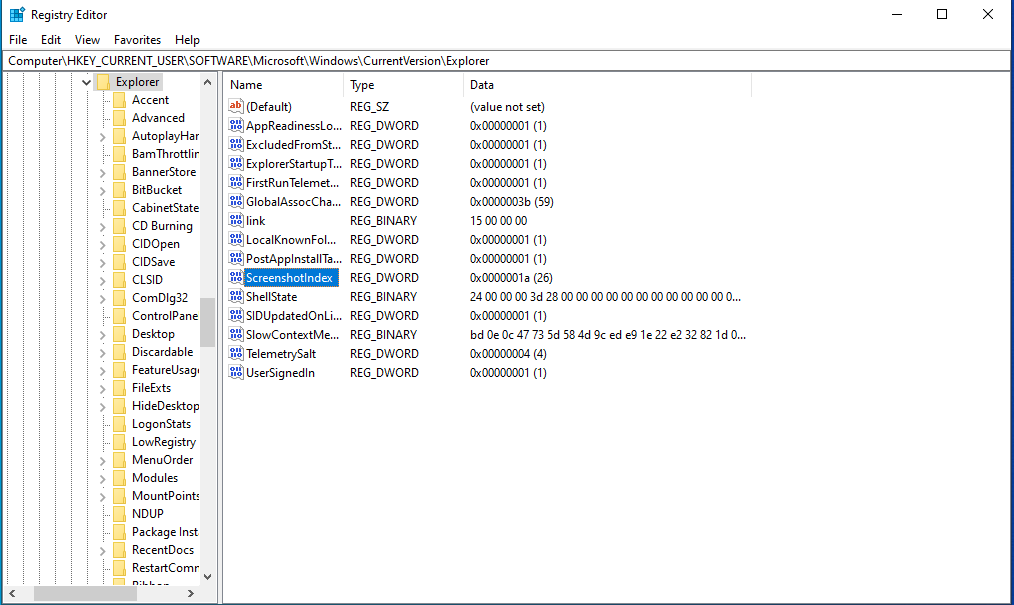
Start by right-clicking on the right window pane and create a new DWORD value. Double-click on the word to modify its decimal value to 695.
The next step is to point out this word in the correct user profile settings. You can do this through the User Shell Folders entry inside the Registry Editor. Start by navigating to the following location:
HKEY_CURRENT_USER\Software\Microsoft\Windows\CurrentVersion\Explorer\User Shell Folders
In the right pane, click on the following entry:
{B7BEDE81-DF94-4682-A7D8-57A52620B86F}
Make sure that the entry points to the following value data:
%USERPROFILE%\Pictures\Screenshots
After setting the value data, close the Registry Editor and reboot your PC. Now, try to take screenshots. You’ll see that your screenshots are saved in your desired folder.
How can you change where your screenshots are saved in Windows 11?
If you don’t want to use the default screenshot folder and want to change it, you can do it through the Registry Editor. After changing the default location through the Registry Editor, your computer will automatically start saving your screenshots to your new provided location.
SmartWindows
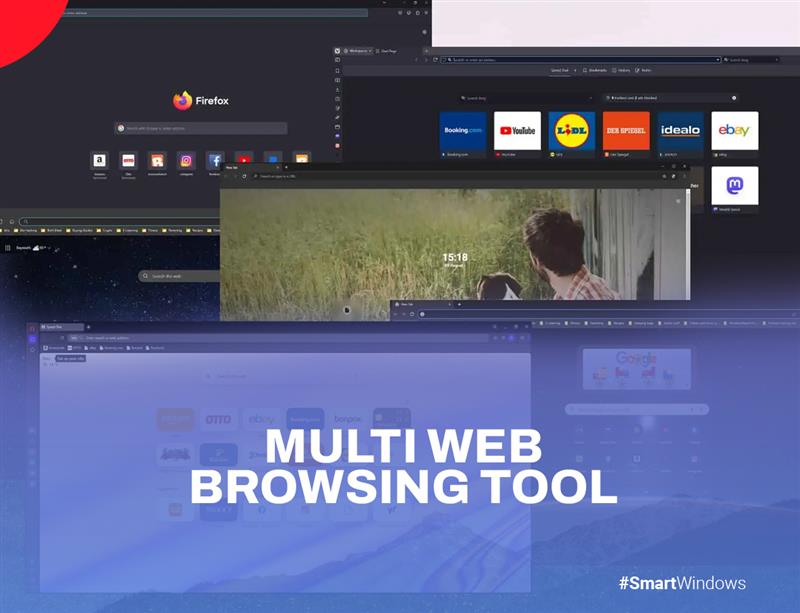
Restore Browser Tabs with SmartWindows. It maintains an active tab history and restores browser size as well as display position on one screen or many.
Conclusion
There you have it. With the steps mentioned in this guide, you can successfully resolve your screenshot-saving issues by just tweaking a few Registry Editor settings. But, before you change any settings in the Registry Editor, ensure that you first create a restore point. Because if the registry settings are wrongly changed, you can face serious issues with your PC.
That’s why you can save and restore your app positioning, display settings, and Registry Editor settings with SmartWindows. Smart Windows is a top-notch Windows utility tool that lets you become highly productive by allowing you to create multiple profiles for your Windows for multiple users and various tasks.